
Revamp Your Kitchen: 12 Trending Backsplash Ideas and Installation Tips
MAY 02, 2024 | Home Care Buzz Experts | 6 minute read
Project Overview

Intermediate

8 Hours

> $300
All Values are Estimates
Choosing the right backsplash can completely transform your kitchen. And the best part? You don't need to break the bank or be a crafting genius to revamp your cooking space. With a bit of inspiration and some simple DIY skills, you can give your kitchen a fresh new look in no time. You may even be inspired to do more DIY home improvements. If you need some kitchen backsplash ideas, we'll cover some popular options and even give you some installation tips. Let's get going!
Types of Backsplash Materials
When you're looking for backsplash ideas for kitchens, there are quite a few popular materials to choose from. Let's look at those first.
Ceramic tile: Its versatility in color, shape, and design makes ceramic tile a popular choice. Plus, it's easy to clean.
Glass tile: Glass tile adds a sleek and luminous look to your kitchen. It reflects light, so your space will appear brighter and larger. These tiles are also naturally stain-resistant.
Stone tile: Marble, granite, and slate offer natural, earthy vibes that can add texture to your kitchen. They're also completely one-of-a-kind, but they can require a bit more maintenance than other types.
Stainless steel: For a modern industrial kitchen, stainless is heat-resistant, durable, and easy to clean.
Stick-on backsplash: Stick-on backsplashes are an excellent option for a quick, inexpensive upgrade (also great for renters). They also offer a great way to test unique kitchen backsplash ideas before permanently committing.
Kitchen Backsplash Design Ideas
We've compiled a few of our favorite kitchen backsplashes to inspire you as you plan your update. Check them out below:
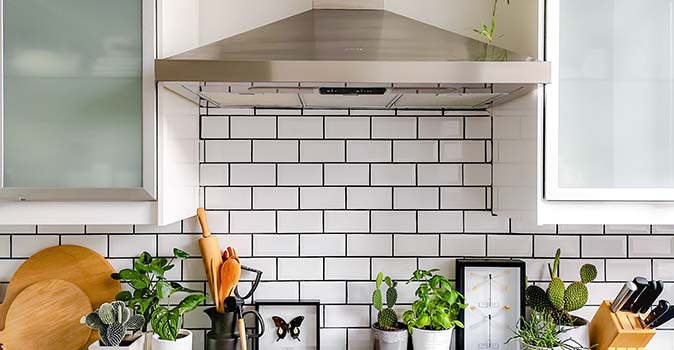
Classic Subway Tile
While a subway tile backsplash isn't a new idea, it's a classic that's endured for a reason. It fits well with many different design styles, from industrial to farmhouse.
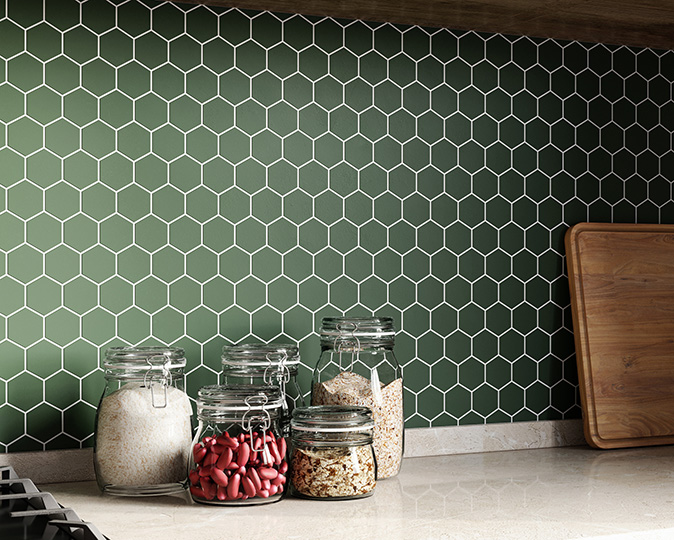
Unique Shapes
Hexagon-shaped tiles have become a popular choice to create an interesting visual. Paired with bright colors, they can make a bold statement.
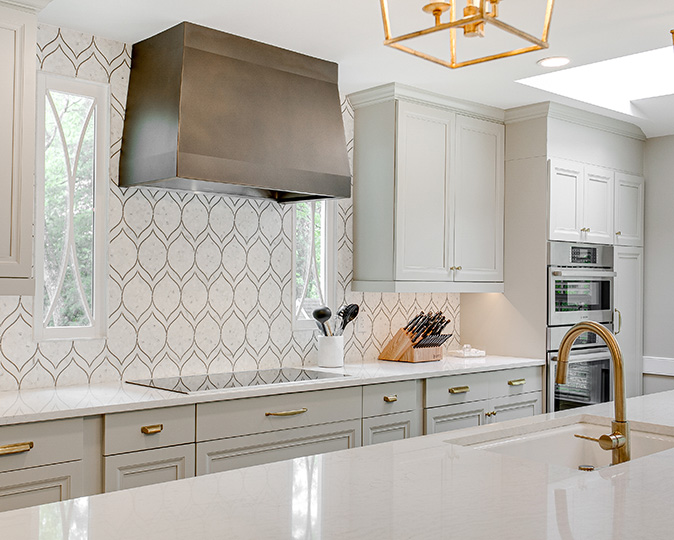
Stick-On Backsplash
Stick-on options offer much more variety in patterns and are a breeze to install.
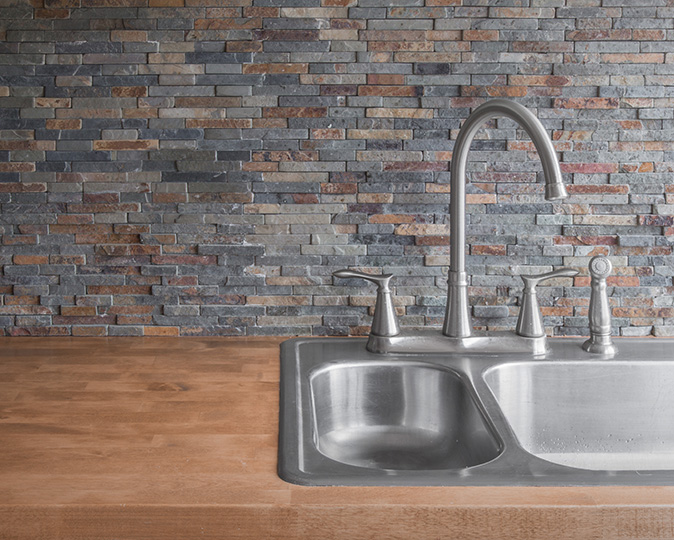
Stone Backsplash
Stone can provide a moody backdrop for a modern kitchen, giving your space tons of personality.
Bold Patterns
Go bold with interesting, eye-catching patterns, and make your backsplash the center of attention.
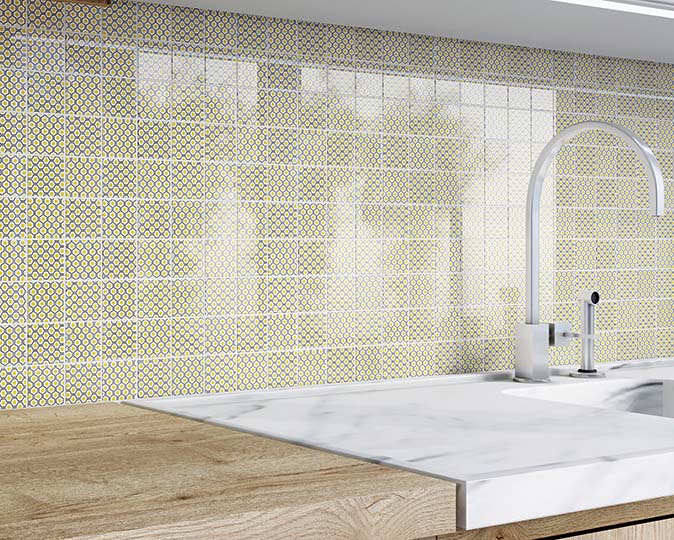
Custom Designs
Looking for unique kitchen backsplash ideas? The shape and color of your tiles are just part of the puzzle — you can also create intricate designs with the tiles themselves. Arrange them in chevron patterns, flowers, or anything else with visual appeal.
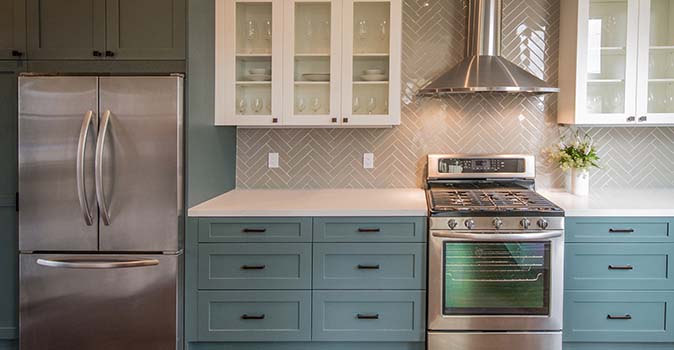
How to Install a Kitchen Backsplash
Once you've picked your favorite ideas for kitchen backsplashes, it's time to install your masterpiece. We've put together guides on installing tile or stone backsplashes and a few tips for the stick-on variety.
Install a Tile Backsplash
- Plan your design: Measure your backsplash area to determine how much material you'll need. Choose your tile and design layout. Remember to account for any outlets or switches.
- Gather materials and tools: You'll need tiles, tile adhesive (or tile mat for stick-on tiles), grout, a notched trowel, a tile cutter or snap cutter, a level, a sponge, and a grout float.
- Prepare the workspace: Clean the wall to remove grease or dirt. Ensure the surface is smooth and dry. Use painter's tape to protect countertops and cabinets.
- Layout your tile: Lay your tiles on the countertop to finalize your pattern and cuts. Mark any tiles that need to be cut to fit.
- Apply adhesive: If using traditional tiles, spread tile adhesive on the wall using the notched trowel. For stick-on tiles, peel off the backing to expose the adhesive.
- Install tiles: Start from the center or a focal point and press the tiles firmly into place. Use spacers to ensure even gaps for grout. Cut tiles as needed to fit around outlets or at the ends.
- Let it set: Allow the adhesive to dry according to the manufacturer's instructions. This usually takes at least 24 hours.
- Apply grout: Once the adhesive is dry, remove spacers and apply grout with a rubber float, pressing it into the gaps between tiles. Wipe away excess grout with a damp sponge. Avoid dragging the sponge across the gaps to prevent pulling grout out of the spaces.
- Clean and seal: After the grout has dried (typically 24 hours), polish the tiles with a soft cloth to remove any haze. Apply a grout sealer to protect against moisture and stains.
- Reinstall outlet covers and switch plates: Once everything is dry and clean, reinstall any outlet covers or switch plates you removed.
Install a Stone Backsplash
- Select your stone: Choose from natural stone options like marble, granite, slate, or travertine. Choose the stone's color, texture, and finish to match your kitchen décor.
- Measure and plan: Measure the backsplash area to calculate how much stone you'll need. Include extra (typically 10%) for cuts and waste. Plan your layout, keeping in mind any focal points or patterns.
- Gather your materials and tools: You'll need stone tiles, tile adhesive suitable for stone, sealer, grout, a notched trowel, a wet saw (for natural stone tiles), a level, a sponge, and a grout float.
- Prepare the area: Clean the wall to remove grease, dust, and debris. Ensure the surface is dry and smooth. Use painter's tape to protect countertops and cabinets.
- Seal the stone: Before installation, apply a sealer to the stone tiles following the manufacturer's instructions. This step is crucial for porous stones to prevent stains and facilitate cleaning.
- Dry lay the tiles: Arrange your tiles on the countertop to finalize the design. This step helps you visualize the end result and identify any necessary cuts.
- Apply adhesive: Spread a thin-set mortar specifically designed for stone on the wall using a notched trowel. Work in small sections to prevent the adhesive from drying out.
- Install the tiles: Start at a focal point and press each tile firmly into the adhesive. Use spacers to ensure even gaps for grout. A wet saw may be needed for cutting stone tiles to fit around outlets or edges.
- Let it set: Allow the adhesive to cure following the manufacturer's instructions, typically for at least 24 hours.
- Apply grout: Choose a grout color that complements your stone. Apply grout with a rubber float, pressing it into the spaces between tiles. Wipe away excess grout with a damp sponge. Be gentle to avoid pulling grout out of the gaps.
- Clean and seal again: After the grout dries, polish off any haze with a soft cloth. Apply another coat of sealer to the entire backsplash—stones and grout—to protect against moisture and stains.
- Finishing touches: Remove the painter's tape and reinstall any outlet covers or switch plates once everything is dry.
Tips for Stick-On Backsplashes
While the process is much less involved than installing tile or stone, a few tricks exist for successfully applying stick-on backsplashes.
- Prep the surface: Make sure your wall is clean and dry so the adhesive can stick to it properly.
- Measure carefully: Measure the area for your backsplash a couple of times for certainty and purchase extra material to account for mistakes and tile breaks.
- Apply precisely: Many stick-on backsplash materials can be tricky to line up perfectly because they must be applied in strips. Take time to line up the edges to create a seamless look.
Protect Your Kitchen Appliances with a Home Warranty
If you're investing in your kitchen, odds are you've also added new appliances along the way. And if you don't want to be surprised by costly repairs and replacements, a home warranty can be a lifesaver. First American offers coverage for different home types and all kinds of appliances, regardless of their age. Want to learn more? Get a free quote today.
Are you already a member and need to request service? Learn how the home warranty process works.
FAQs About Kitchen Backsplashes
Should my backsplash be lighter or darker than my countertop?
There's no hard and fast rule about choosing a lighter or darker backsplash than your counter. A lighter backsplash can brighten the space, while a darker one can create a striking, moody contrast.
Should backsplashes go on side walls in the kitchen?
Absolutely. Especially if the area is prone to spills or splatters. Don't forget backsplashes serve a purpose beyond just decoration.
What backsplash does not go out of style?
As mentioned above, subway tile is a timeless option thanks to its classic, clean look that complements many kitchen designs.
What backsplash goes with everything?
Neutral-colored ceramic tiles tend to go with everything and will likely stand the test of time, even if you decide to refresh your kitchen design.
The contents of this article are provided for general guidance only. First American Home Warranty does not assume any responsibility for losses or damages as a result of using this information.



Keep Reading





Home Care Buzz Experts
The First American Home Care Buzz team is made up of experienced home warranty writers and editors. Our team provides valuable insights and information to help homeowners like you meet the daily challenges of homeownership.
This article is about...