
Stainless Steel Cleaning Guide and Steps
AUGUST 23, 2023 | Home Care Buzz Experts | 6 minute read
Refrigerators, microwaves, dishwashers, ovens, stovetops, clothes washers, and dryers — a clean, stainless steel finish can add a sleek modern touch to these home appliances and more. Not only does stainless steel look great, but it's also durable, long-lasting, and germ-resistant. However, the bright sheen of stainless steel also leaves it vulnerable to smudges, streaks, and grime, and many homeowners want to make their metallic appliances look their best.
In this guide, we'll teach you the best ways to clean stainless steel to avoid damaging the surfaces of your appliances and keep them shining. While slight differences between the types of stainless steel used in home appliances mean ideal cleaning methods can vary, we'll provide you with some of the most widely used among homeowners and professional cleaners.
You can test which methods work to bring out the best in your appliances. Be sure to read the owner's manual of your appliance first to see if there are any special recommendations from the manufacturer to help you get the best possible clean.
To help keep your appliances in working order, learn about Home Appliance Warranties – Why They're Worth It.
Step 1: Choose a Cleaning Solution
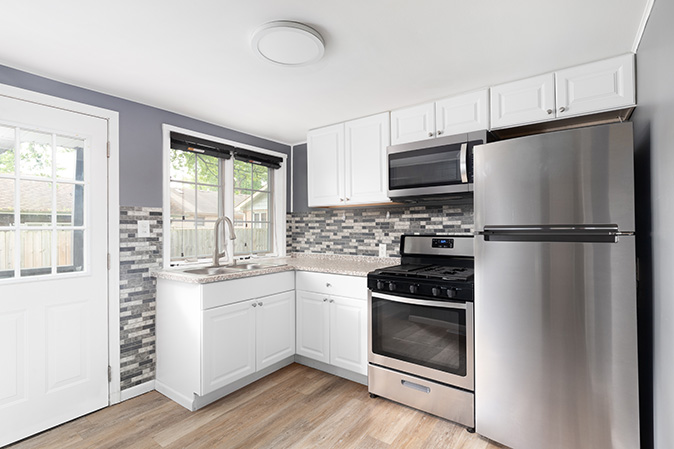
As you look at your dirty stainless steel appliances, your first thought may be about what to clean stainless steel with. Some people find that store-bought stainless steel wipes or cleaning solutions do a great job of removing dirt and grime from their appliances. Beyond cleaning products specifically for stainless steel, there are other cleansers you may want to research that can be well-suited for cleaning stainless steel appliances. However, others find these cleansers are not as effective as a homemade solution and microfiber cloth, or they prefer a more natural approach to appliance cleaning.
Making your solution is also a great choice if you've found that store-bought cleaners don't remove stains and dirt from appliances. However, homemade solutions have their pros and cons.
- Dish Soap: Commercial dish soap mixed with warm water is great at dissolving oils in sauces and foods but can leave streaks and a residue that needs to be polished off later (a bit of baby oil can make a great polish).
- White Vinegar and Olive Oil: Spritzing some white vinegar on appliances and then wiping them down with a bit of olive oil on a rag can be good for cleaning stainless steel since acetic acid in vinegar removes grease. However, the acid can also wear down metals over time, so there is a downside. Check out these 10 Household Uses for Vinegar for more information on its cleaning power.
- Mineral Oil: This natural oil has been known to remove minor smudges and gives metal a nice polish in one solution but doesn't always work well on tough messes.
- Club Soda: This cleaning solution works well on some clothes stains and can be very beneficial when learning how to polish stainless steel. Simply spritz, rinse with warm water, then wipe dry.
- Warning: Harsh, abrasive cleansers and those containing chlorine or chloride should never be used to clean stainless steel appliances, as they can cause scratches and other damage. There's also a preferred method of scrubbing and polishing to prevent scratches, which we'll cover in a bit.
Step 2: Apply the Cleaning Solution
When cleaning stainless steel appliances, use a spray bottle to apply your cleaning solution. Spray bottles can make cleaning easier and more consistent. However, using store-bought wipes is a simple option, or you can apply your solution to a clean, dry microfiber cloth. For thorough cleaning, make sure to spread the cleaning solution evenly over the entire surface of your appliance, not just where there’s visible grime.
Step 3: Wipe Down Your Appliance
Before wiping down your toaster, refrigerator, or other appliance, look at it under the light and you should be able to see a grain in the metal, much like wood grain. The best way to clean stainless steel is to wipe the cleaning solution with the flow or direction of the metal grain. Wiping against the grain can make the metal more porous and allow grime to collect more easily in the future.
|
Horizontal Grain
 |
Vertical Grain
 |
Wipe the appliance in the same direction as the grain with a microfiber cloth—microfiber cloths are better at preventing subtle scratches. Make sure you wipe the entire stainless-steel surface of your appliance, paying special attention to any stubborn, stuck-on stains. If you notice streaks on your appliance, you may want to reapply your cleaning solution and wipe again.
Step 4: Rinse & Dry
To finish cleaning stainless-steel appliances, simply take the non-abrasive side of a wet sponge or a damp cloth and remove the cleaning solution. This may take a while to do without leaving streaks or a film, so be sure to rewet your sponge or cloth frequently. You can also put a towel under the appliance to prevent water from dripping. Then, with a dry cloth, thoroughly dry the appliance. Remember to wipe with the flow of the metal grain during these two steps.
Step 5: Polish Your Appliance
Now that you have a clean stainless-steel appliance, you’ll want to polish it to preserve the metal finish and make it shine. As mentioned above, olive and mineral oils can make good choices for natural polish solutions, as well as baking soda paste, but many store-bought options can also do the trick.
Apply your chosen polish with a microfiber cloth in circular motions. Be sure to cover the entire surface of your appliance and buff until the polish is fully applied. Then, using a different clean, dry cloth, remove the polish in similar, circular motions until you no longer see a film or streaks.
Quick tip: Do not use industrial metal or stainless-steel polish solutions, as some contain chemicals that can be too harsh indoors.
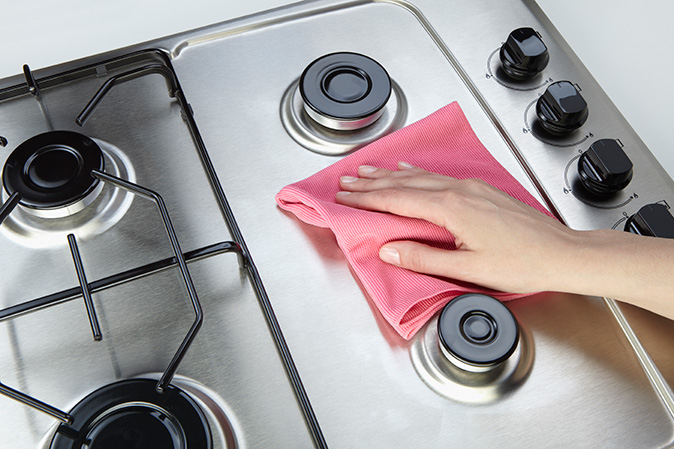
Now you know how to clean stainless-steel appliances. Regularly cleaning and polishing these metal surfaces helps keep them sanitary and looking their best in your home, so be sure to set a schedule to perform this necessary household task. And if things don't turn out as you hoped, you can always keep trying until you find the method that works best for your appliance. You can also read our guide, How to Remove Scratches from Stainless Steel.
FAQs About How to Clean Stainless Steel Appliances
What do you clean stainless steel appliances with?
Manufacturers may recommend using a mixture of dish soap and warm water, white vinegar, mineral oil, club soda, or store-bought stainless steel cleaners to clean appliances with this metal finish. It's also recommended to apply cleaning solutions and polishes, dry, and buff with microfiber cloths when cleaning stainless-steel appliances to reduce scratches.
What is not recommended to clean stainless steel?
You shouldn't use gritty or abrasive cleaning solutions designed for more resilient bathroom fixtures, or those containing harsh chemicals. Also, do not use steel wool or brushes with bristles, even soft ones, as these can cause damage if you use them to clean stainless steel appliances.
It is always recommended that you first test a surface area that is less visible to be sure your cleaning method does not scratch or damage stainless steel appliances.
How do I clean the outside of my stainless steel refrigerator?
There's no need to turn off your refrigerator beforehand; simply apply your chosen cleaning solution and thoroughly clean the stainless steel appliance with a microfiber cloth while wiping with the grain. Then rinse off the solution and dry with a clean microfiber cloth. After you've finished cleaning the stainless-steel appliance, you can apply polish to give it a sleek shine.
What is the best way to clean stainless steel appliances?
Using store-bought stainless steel cleaning wipes can save you time during the applying and drying steps, as many are formulated to leave a streak-free shine. However, the texture of these wipes likely won't have the same cleaning power as microfiber cloths and may not be as kind to your metallic surfaces as natural cleaning solutions.
The contents of this article are provided for general guidance only. First American Home Warranty does not assume any responsibility for losses or damages as a result of using this information.
Please be aware that if you disassemble a covered system or item, it can invalidate your home warranty or manufacturer's warranty.



Keep Reading




Home Care Buzz Experts
The First American Home Care Buzz team is made up of experienced home warranty writers and editors. Our team provides valuable insights and information to help homeowners like you meet the daily challenges of homeownership.
This article is about...