
Dishwasher Maintenance Guide in 7 Steps
DECEMBER 10, 2025 | Home Care Buzz Experts | 4 minute read
Your dishwasher works hard to clean up after family dinner, Sunday breakfast, and even the biggest holiday messes. However, like any other kitchen appliance, it requires regular maintenance to stay in top shape. If you don’t keep the appliance itself clean, you may notice cloudy dishes, odd smells, and eventually, it will break down.
Without proper care, a dishwasher can develop leaks, clogged drains, and water flow issues. Your appliance may even leave your dishes dirty after a full cycle. Regular maintenance keeps your dishwasher dependable and extends its lifespan.
Dishwasher maintenance is simple when you know the right steps. With a mix of cleaning and routine upkeep, you can help your dishwasher last longer and run more efficiently.
Why Dishwasher Maintenance Matters
Dishwasher maintenance isn’t just about keeping the inside clean. It also protects important parts like filters, hoses, and spray arms. When these areas are ignored, you may notice:
- Cloudy, spotted, or gritty glassware, even after a full cycle
- Standing water at the bottom of the tub
- Strong odors coming from the appliance
- Longer cycles or incomplete cleaning
- Unusual noises during operation
Addressing these issues early through regular maintenance can help prevent bigger repairs later.
How to Clean a Dishwasher in 7 Steps
Here are some simple do-it-yourself steps to follow when cleaning a dishwasher:
Step 1: Gather Supplies for Cleaning a Dishwasher
- Dishwasher-safe bowl
- White vinegar
- Soft-bristle brush
- Toothbrush (for cleaning only)
- Microfiber cloths
- Baking soda
- Dish soap
- Stainless steel cleaner (for stainless steel models)
Step 2: Clean the Removable Parts
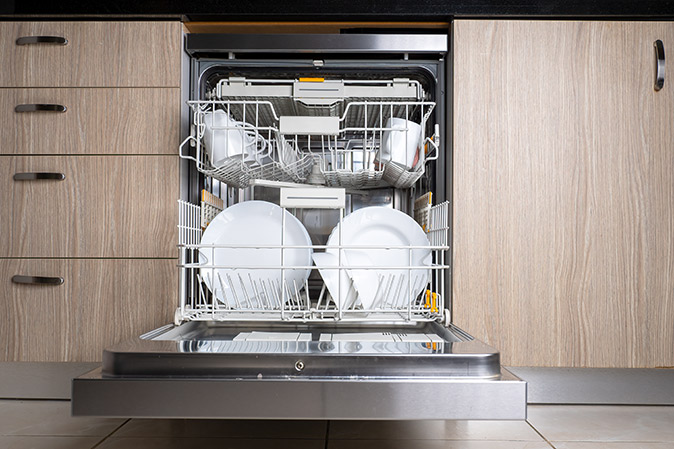
Start by removing utensil holders, racks, and any other detachable items. Rinse them in the sink to remove any food or residue, and then wipe them down with a clean cloth. If you notice stubborn stains or mineral buildup, soak the removable parts in a sink filled with warm water and two cups of white vinegar for at least 20 minutes. Vinegar works as a natural dishwasher cleaner, breaking down caked-on residue so it wipes away more easily.
Step 3: Clean the Interior
Food debris and hard water deposits can build up on the walls and tub. Over time, this leads to cloudy dishes, bad smells, and less effective cleaning.
How to clean a dishwasher with vinegar:
- Remove all dishes.
- Place a dishwasher-safe bowl filled with 1 cup of vinegar on the top rack.
- Run the hottest cycle available, skipping the dry cycle.
- Open the door and let it air dry.
How to clean a smelly dishwasher with baking soda:
- Sprinkle one cup of baking soda on the bottom of the tub.
- Run a short, hot cycle without drying.
- Leave the door open until fully dry.
Safety tip: Never use vinegar and baking soda during the same dishwasher cycle. The reaction will create foam and overflow.
Step 4: Clean the Filter
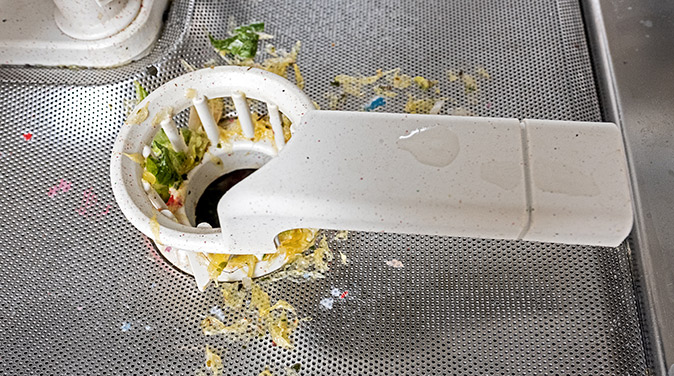
Your dishwasher filter catches food particles before they clog the drain. If you run your appliance daily, inspect and clean the filter at least once a week.
- Locate the filter, which is typically found at the bottom of the tub near the drain. If you can’t easily find it, consult the owner’s manual.
- Remove any large debris, such as food scraps, labels, or wrappers.
- If removable, take out the filter and scrub it with a toothbrush dipped in dish soap or vinegar.
- Rinse and replace the filter.
A clogged dishwasher filter can lead to odors, slow drainage, or dirty dishes. Skipping this step is one of the most common causes of dishwasher problems.
Step 5: Clean the Gaskets
Dishwasher gaskets create a watertight seal, but grime can collect in the folds. Check your owner’s manual first. Some recommend using only warm water. If vinegar is safe, mix three cups of hot water with half a cup of white vinegar and use a soft toothbrush to gently scrub away buildup.
Inspect the gaskets every few months, and replace them if you notice cracks, loose edges, or mold that won’t come off, because worn gaskets can cause leaks.
Step 6: Clean the Exterior
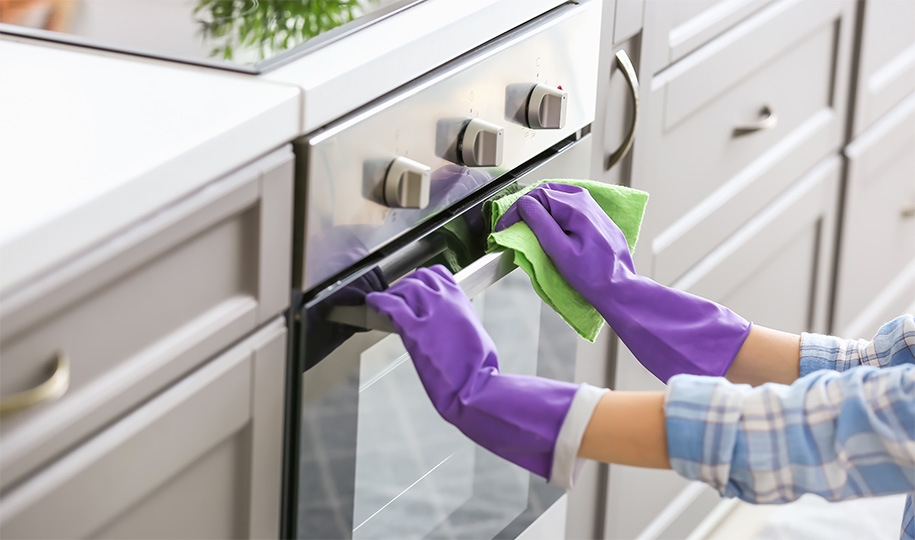
For most dishwashers, warm soapy water and a microfiber cloth will do the trick. Wipe down the door, handle, and buttons. If your appliance is stainless steel, use a stainless steel cleaner to prevent streaks or damage.
Don’t forget to clean the control panel, as dirty surfaces can affect performance. Wipe the buttons and touchpads where grease and fingerprints collect.
Step 7: Check Spray Arms and Hoses
Spray arms and hoses are often overlooked in dishwasher maintenance. Use a toothpick or pipe cleaner to clear any clogged spray holes. Once or twice a year, check the hoses at the back of the unit for cracks, leaks, or kinks that could restrict water flow or lead to water leaks.
How Often Should You Clean a Dishwasher?
Cleaning a dishwasher monthly and performing a deeper clean every few months is sufficient for most dishwashers. If you run yours daily, clean the filter weekly and run a vinegar cycle monthly. Signs like odors, dirty glassware, or longer cycles mean it’s time for extra care.
Maintenance schedule:
- Weekly: Rinse or clean the filter.
- Monthly: Run a vinegar cycle and check spray arms.
- Every three to six months: Deep clean with baking soda; inspect gaskets and hoses.
- Yearly: Replace worn seals or hoses if needed.
Pro tip: If you have hard water, increase cleaning frequency to help prevent scale buildup.
Protect your Dishwasher with a Home Warranty
Even with regular care, dishwashers will eventually still break down. A First American home warranty helps cover the repair or replacement of your covered dishwasher when it fails from normal wear and tear. Requesting service is simple, and a prescreened technician will be sent to diagnose and fix breakdowns covered by your plan.
To add home warranty protection for your home appliances, including dishwashers, get a free quote today.
The contents of this article are provided for general guidance only. First American Home Warranty does not assume any responsibility for losses or damages as a result of using this information.
Please be aware that if you disassemble a covered system or item, it can invalidate your home warranty or manufacturer's warranty.




Keep Reading






Home Care Buzz Experts
The First American Home Care Buzz team is made up of experienced home warranty writers and editors. Our team provides valuable insights and information to help homeowners like you meet the daily challenges of homeownership.
This article is about...