
DIY Bathroom Remodel: A Step-by-Step Guide
APRIL 30, 2025 | Home Care Buzz Experts | 5 minute read
A DIY bathroom remodel can save you money and give you the satisfaction of transforming your space. Whether updating fixtures, adding new tile flooring, or completely changing the layout, doing it yourself can be a rewarding project. However, without a solid plan, it can also become overwhelming.
Below, we break down the steps to make your bathroom renovation as smooth as possible.
Do-It-Yourself Bathroom Renovation: 8 Steps
Tackling a bathroom remodel yourself can be a lot of work, but with the right preparation and planning, you can personalize your space while saving money. Here are eight steps to remodeling your bathroom yourself.
Step 1: Plan Your DIY Bathroom Remodel
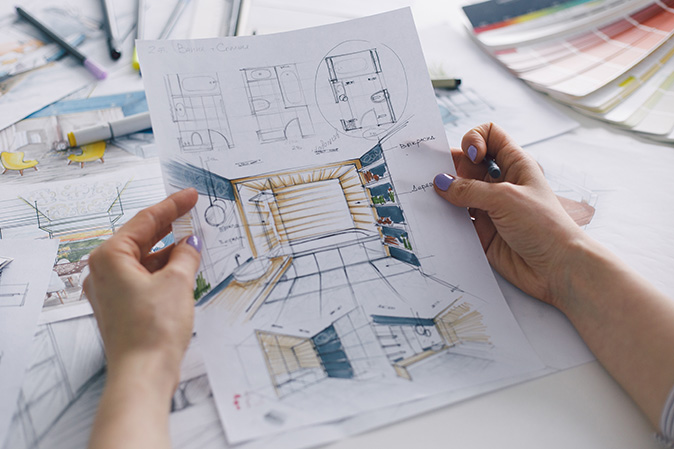
Before you start tearing anything down, take time to plan. A clear plan helps you stay on budget and avoid surprises. Jumping into demolition without a strategy can lead to costly mistakes and delays.
- Set a budget: Decide how much you want to budget for your renovation, and be sure to leave some extra room for unexpected costs. Factor in materials, labor (if needed), and emergency funds.
- Choose a design: Consider the style, color scheme, and layout you want. Consider functionality along with looks to make the most of your bathroom space.
- Make a list of materials: Include drywall, floor tile, paint, fixtures, and tools you’ll need. Double-check measurements to avoid buying the wrong sizes.
- Check permits: Some projects, like moving plumbing or electrical work, may require permits. If you skip this step, you risk paying fines or failing inspections.
Step 2: Gather Your Tools and Materials
Having everything ready before you start makes the job easier. Running to the store mid-project can slow you down and add frustration. Some common tools and materials include:
- Hammer, screwdrivers, and drill
- Measuring tape and level
- Utility knife and pry bar
- Tile cutter (if installing tile flooring)
- Paint, brushes, and rollers
- Safety gear (gloves, mask, and goggles)
- Caulking gun, grout, and sealant for sealing and finishing
Step 3: Remove Old Fixtures and Flooring
Before adding anything new, you’ll need to strip the old materials. Take your time with demolition to avoid damaging areas you plan to keep.
- Turn off the water supply. This prevents leaks and flooding. Shut off the valves under the sink and toilet before removing your bathroom fixtures.
- Remove the toilet, sink, and vanity. Carefully disconnect these fixtures and avoid any plumbing mishaps. Use a bucket to catch excess water when removing the pipes and/or have extra towels around to soak up spills.
- Remove old tiles and/or flooring. Use a pry bar or chisel to carefully loosen stubborn materials while minimizing damage to the undercarriage, such as the walls or floors. If you're keeping the subfloor, inspect it for damage before moving forward.
- Check for water damage. If you find rot or mold in the bathroom, fix it before moving forward. Addressing issues early can prevent bigger problems down the road.
Step 4: Update Plumbing and Electrical
If you’re changing the layout of your bathroom or upgrading fixtures, now is the time to update the pipes and wiring. Ignoring this step before installing new features can lead to costly repairs later.
- Replace old pipes if they show signs of wear. Rusted or corroded pipes should be replaced with modern, long-lasting materials.
- Install new light fixtures or add outlets where needed. Good lighting placement can improve your bathroom’s function and style.
- Add or upgrade a bathroom fan to improve ventilation and reduce moisture from building up. A fan can also help prevent mold and mildew growth.
Step 5: Install New Flooring
Your bathroom floor needs to handle moisture and be easy to clean. The right flooring can enhance durability and style. Popular DIY-friendly options include:
- Vinyl plank flooring: Waterproof, affordable, and easy to install. It’s a great option for high-moisture areas.
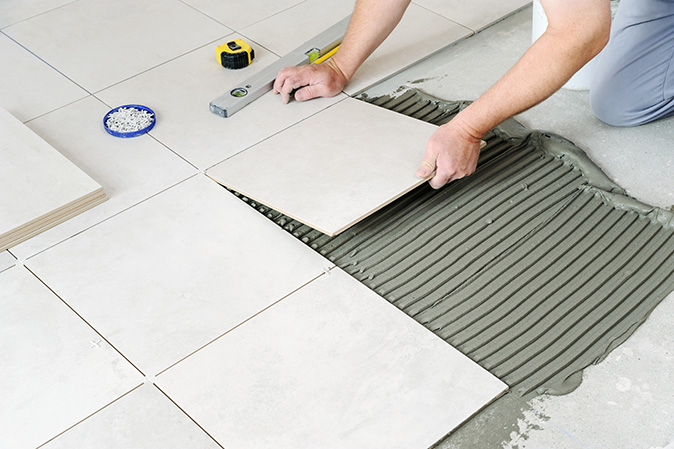
- Tile flooring: Classic and durable, but requires more skill. Proper grout and sealing help prevent water damage.
- Laminate flooring: Water-resistant and simple to put in. Make sure to choose moisture-resistant varieties for longevity.
Follow the manufacturer’s instructions and use a level to ensure an even surface. Uneven floors can lead to cracks or shifting over time.
Step 6: Paint the Walls and Ceiling
A fresh coat of paint can make a huge difference. Here are some painting tips for your bathroom walls and ceiling:
- Choose mold-resistant paint in a satin or semi-gloss finish to handle the moisture.
- Make sure to ventilate the room while painting to help it dry faster and prevent toxic fumes from lingering.
- Use painter’s tape to protect trim and edges. This helps create crisp lines and a professional-looking finish.
- Apply a primer if you’re painting the walls a darker color. A good primer ensures even coverage and a long-lasting finish.
- Paint in even strokes and let each coat dry fully. Rushing through layers can cause streaks and uneven coverage.
Step 7: Install New Fixtures and Features
Now, it’s time to put everything back together. This is where your new bathroom starts taking shape.
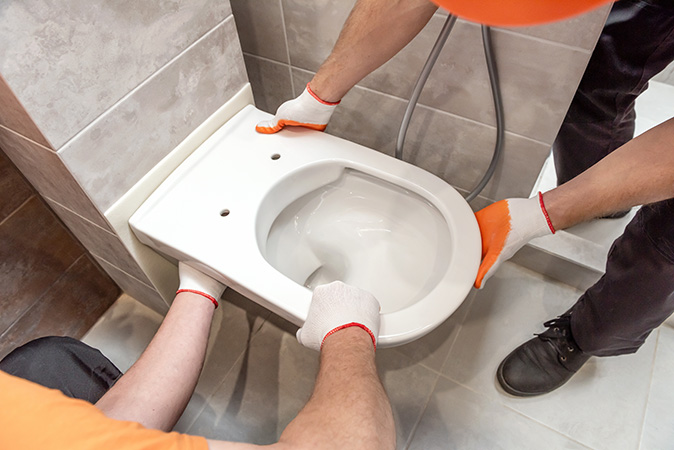
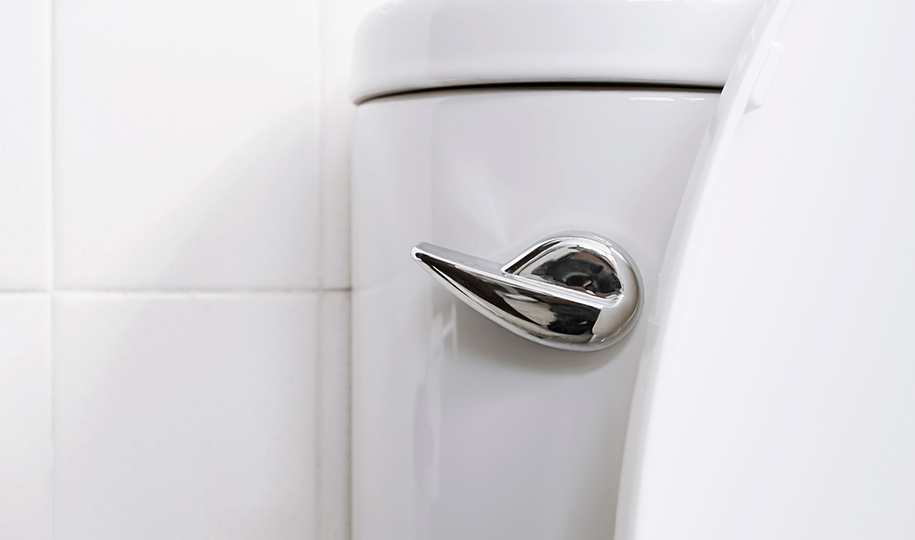
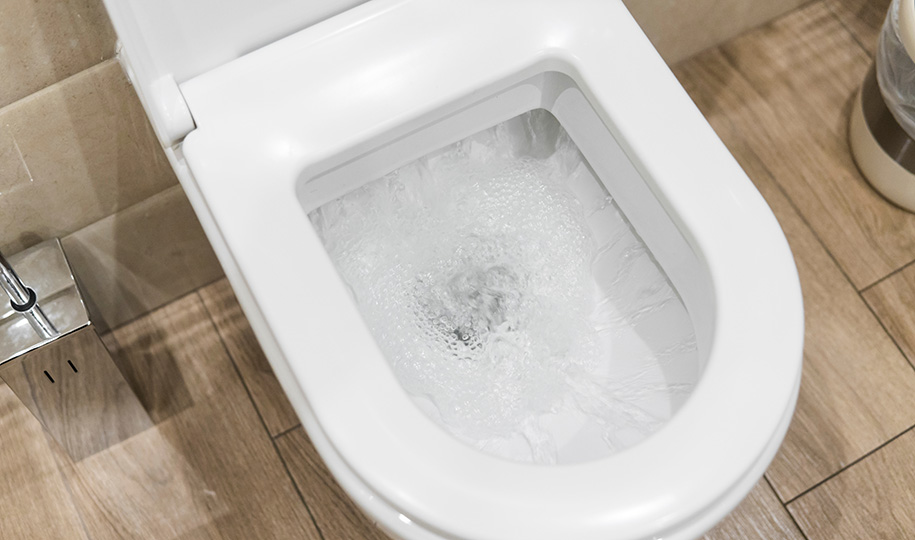
- Toilet: Reinstall or upgrade to a water-efficient model. Modern toilets can help reduce water usage and lower bills.
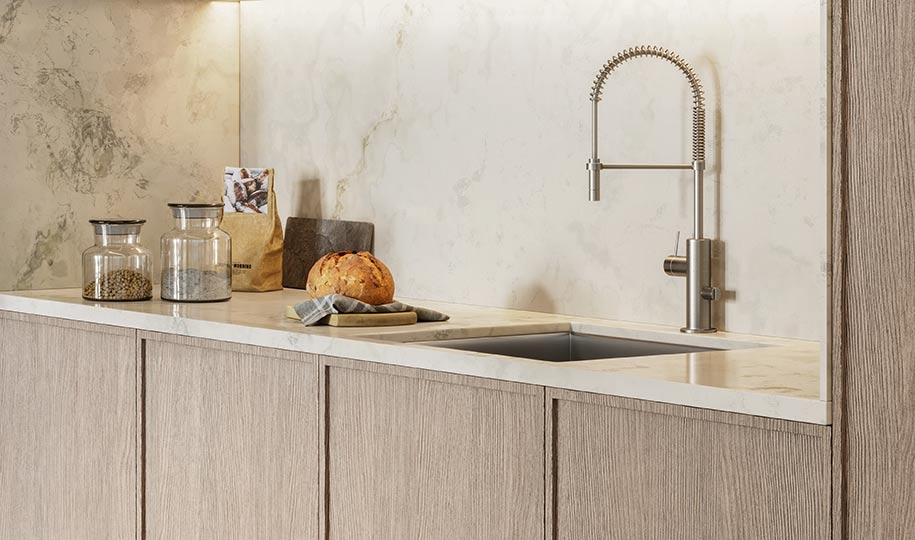
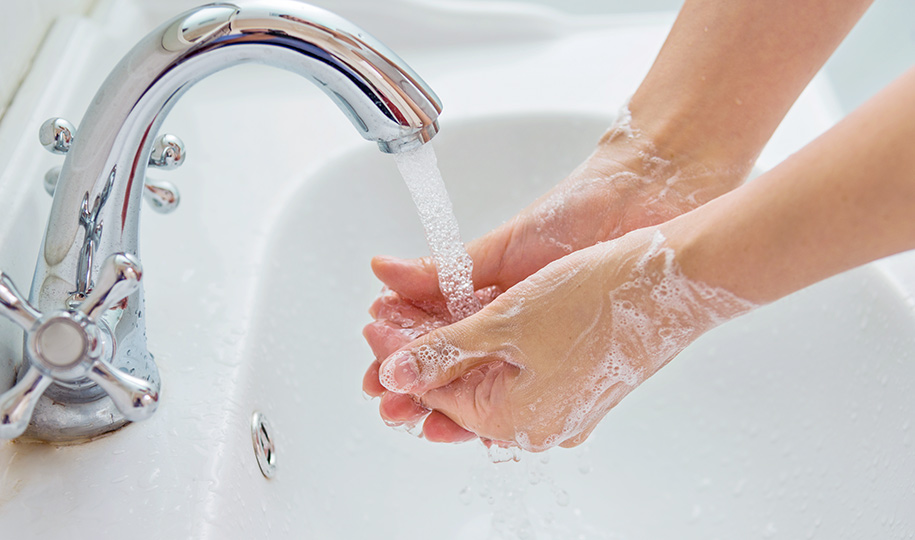
- Faucet, vanity, and sink: Secure these fixtures properly and connect them to your plumbing. A stylish vanity can add both function and a fresh look.
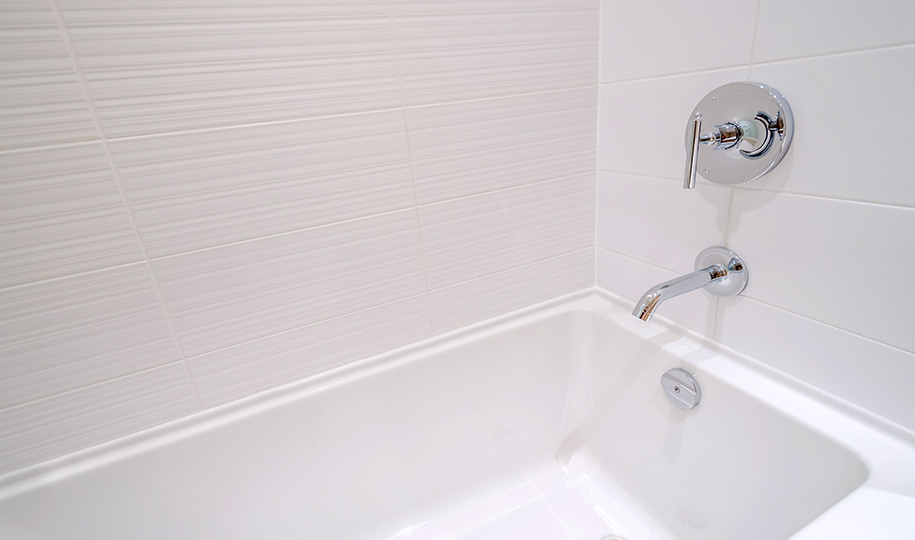
- Shower or bathtub: If you’re updating or repairing your shower or tub, ensure they're properly sealed to prevent leaks.
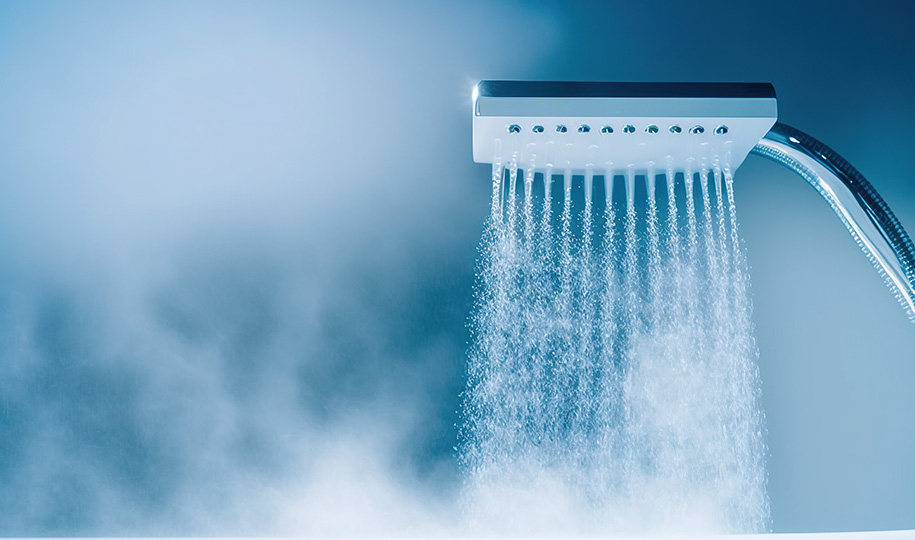
- Showerhead: Replacing a showerhead can help improve your water pressure, save water, and reduce the strain on your plumbing system. Several options, including dual and rain shower heads, are available for aesthetics and comfort.
- Lighting and mirrors: These small updates can make a big impact. Well-placed lighting improves both ambiance and practicality.
Step 8: Add the Finishing Touches
The final details pull your bathroom together. Check out these small touches you can include in your bathroom remodel.
- Install towel rods, shelves, and hooks. Consider space-saving storage solutions for smaller bathrooms.
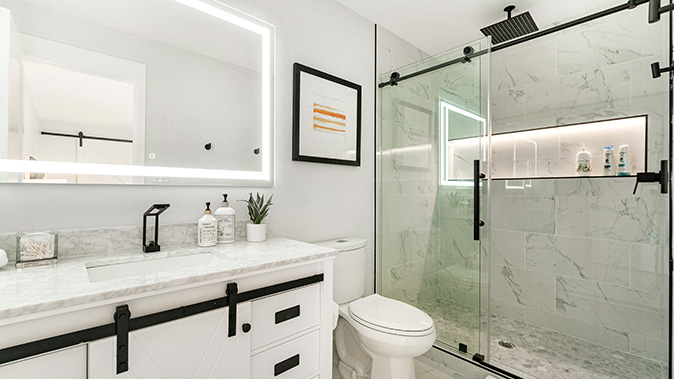
- Add a shower curtain rod or glass door. Glass doors create a modern, open feel, while curtains offer flexibility.
- Seal around the bathtub, sink, and floor edges with a caulking gun. Good sealing helps prevent moisture from seeping into walls and flooring.
- Decorate with plants, rugs, and storage solutions. Personalizing your space makes it feel complete and inviting.
When to Call a Professional
While you may feel confident in taking on a bathroom remodel yourself, some tasks require expert help. Moving plumbing or electrical lines takes specialized knowledge to meet safety codes. Major structural repairs, like fixing rotted floorboards, may be better handled by professionals to avoid bigger issues later on.
If you want to install a custom shower or bathtub, a professional can help make sure it’s properly installed and waterproofed. And if you find mold or serious water damage during your remodel, an expert may know more about removing it safely.
If you think any of the steps in your bathroom renovation may be too much to take on yourself, calling in a professional might be your best bet.
Protect Your Bathroom Fixtures With a Home Warranty
A DIY remodel is a great way to upgrade your bathroom, but maintenance is essential, and unexpected repairs don’t stop after the project is complete. A home warranty can take care of covered plumbing and fixture repairs, including toilet tank and bowl coverage, plumbing stoppages, and other plumbing systems.
Don’t let future breakdowns undo all your hard work — get a free quote today and protect the systems in your newly renovated bathroom.
The contents of this article are provided for general guidance only. First American Home Warranty does not assume any responsibility for losses or damages as a result of using this information.
Please be aware that if you disassemble a covered system or appliance, it can invalidate your home warranty or manufacturer's warranty.



Keep Reading




Home Care Buzz Experts
The First American Home Care Buzz team is made up of experienced home warranty writers and editors. Our team provides valuable insights and information to help homeowners like you meet the daily challenges of homeownership.
This article is about...