
How to Refinish Hardwood Floors: Step-by-Step Guide
APRIL 30, 2024 | Home Care Buzz Experts | 5 minute read
Project Overview

Expert

12 Hours

> $300
All Values are Estimates
Are you ready for a home improvement idea that will breathe new life into your living space? Refinishing hardwood floors will not only restore and update the look of your home, but it can also boost your home’s overall value.
If you are an expert DIYer, taking on the project of refinishing hardwood floors may save you up to $1,000 or more compared with hiring a professional service. The cost to refinish hardwood floors using professionals can range from $3 to $8 per square foot, but the total cost depends on the overall square footage, the type of wood, local labor costs, and other factors.
Tools and Materials
|
Plastic sheeting |
Floor sanding screens (multiple grits) |
|
N95 respirator |
Pole sander |
|
Safety goggles |
Tack cloth |
|
Putty knife |
Vacuum |
|
Matching wood filler |
Denatured alcohol |
|
Hammer |
Rag or mop |
|
Drum sander |
Paintbrush |
|
Large piece of wood (to test the drum sander) |
Floor stain |
|
Edger |
Stain applicator |
|
Sandpaper (multiple grits) |
Hardwood sealer |
You can rent some of these items from your local hardware store, like the drum sander and edger.
Before You Start
As you prepare for this project, keep in mind that you’ll want to set aside enough time to complete your hardwood floors. While it can take as little as 1 to 2 days, it depends on the square footage of the space you are refinishing and the number of sealer coats you plan to use. Answers to those details may increase your project time to as many as 3 to 4 days.
Before you refinish wood floors, it’s important to prepare your rooms:
- Remove furniture, rugs, and long window drapes.
- Cover floor and wall vents, plugs, thermostats, and heating or air conditioning units.
- If you’re refinishing hardwood floors in only one room, cover open doorways with plastic sheeting to keep dust out of other areas of the house.
- Optional: If you have quarter-round trim on your baseboards, you can remove it using a small pry bar or putty knife. If you’re worried about damaging the wall, floor, or quarter-rounds themselves, you can skip this step and work around the baseboards carefully as you refinish the floors.
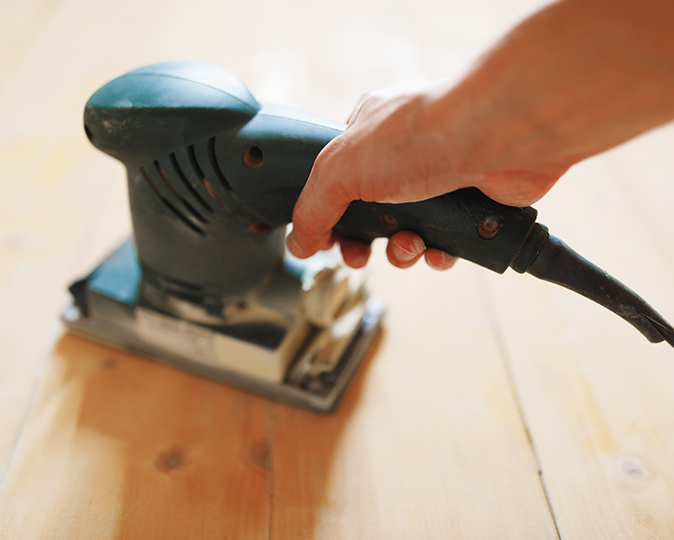
How to Refinish Hardwood Floors in 9 Steps
Now that you’ve done the necessary prep work, it’s time for the steps to refinish hardwood floors.
1. Make Repairs
Examine your hardwood floors for any small holes, dents, or protruding nails. Use the wood filler to fill small holes and dents, and gently hammer loose nails into the floor so that they’re flush with the surface.
Let the wood filler dry, then wipe down the floors using a store-bought cleaner — or make your own hardwood floor cleaner.
2. Test the Sander
Before you start sanding the floors, it’s a good idea to test the drum sander first. Practice using the power tool on a large piece of wood, ensuring you’re comfortable with the technique and handling this large sander. Strive for uniform, gentle pressure throughout the sanding process.
Pro tip: Always sand in the direction of the grain for a smooth, polished finish (and to prevent splintering).
3. Sand
The next step in refinishing hardwood floors is the actual sanding. Starting with 40-grit paper on the edger, sand along the edges of the room that the drum sander won’t be able to reach well. Then, use the drum sander with 40-grit sandpaper for the remaining portion of the room.
Vacuum up the dust from the floor and walls, then repeat these steps using 60- or 80-grit sandpaper, and finally 100- or 120-grit, moving along the edges first, then using the drum sander for the main floor area. After using the 120-grit sandpaper for both the edges and central area, you’ll notice that the floor’s surface is smooth, and any small holes, dents, or cracks have become flush with the floor.
4. Buff
Use a pole sander with a 120-grit sanding screen to buff the floors, moving with the grain. You can also rent a wood floor buffer to complete this step faster, but a pole sander will get similar results for a lower rental cost.
5. Vacuum and Tack
Now it’s time to dust the ceiling fans and vacuum the walls and floors. Use a soft vacuum attachment that won’t hurt your newly buffed floors.
Then, use a tack cloth on the wood floors to pick up any dust or debris the vacuum didn’t get.
6. Prep for Staining
After all your sanding and buffing, the wood grains will have become tighter. To make sure the stain can penetrate the wood fibers, you need to use a technique called “water popping” to open the fibers again.
Mix one part denatured alcohol with two parts water and use a rag or mop to apply the mixture across the floors. Let it dry completely before staining.
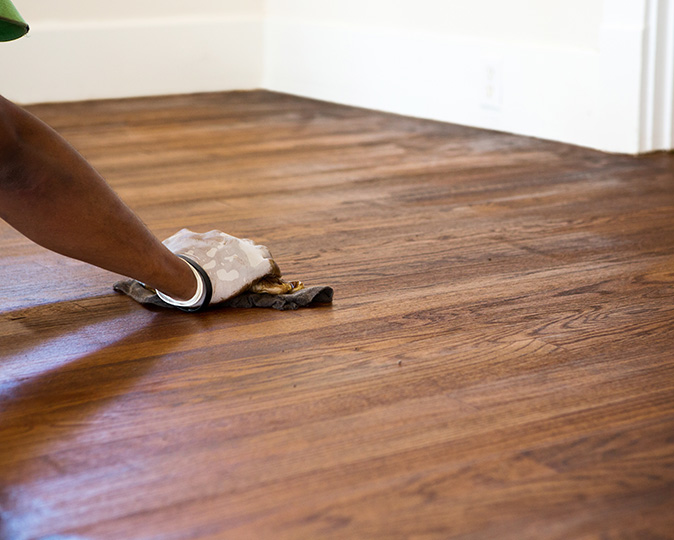
7. Stain
Using a paintbrush, carefully apply the stain along the baseboards. (If you removed the quarter-rounds earlier, there’s no need to do this.)
Then, apply your desired stain with a roller, designated applicator, or sponge. You’ll want to start in a section of the floor farthest away from the door, working your way toward the door as you stain. Make sure you wipe up any excess stain so it’s evenly distributed across the floor. Like sanding, always apply stain in the direction of the grain.
Let it dry for at least 24 hours before staining again for a darker coat or moving on to the next step in refinishing hardwood floors.
8. Seal
Sealing can extend the life of your wood floors by protecting them from general wear and tear. It’s one of the most important steps to refinishing hardwood floors.
Before applying hardwood sealer, repeat step 5, “Vacuum and Tack.” Once the floors are free of dust and debris, apply your desired sealer (oil- or water-based polyurethane are the most popular sealers because they’re affordable, durable, and easy to apply). Carefully apply sealer with a paintbrush around the edges and corners of the room first, then to the main area.
Follow the manufacturer’s directions, which will tell you how many coats of the finish to apply and the drying times between each coat.
9. Maintain Your New Floors
Now that you have newly refinished floors keep them looking beautiful by following these simple tips for maintaining hardwood floors.
When to Hire a Professional
When it comes to refinishing hardwood floors, a DIY approach can bring you a sense of pride in your home, but make sure that you’re up to the task before you begin. If your floors are heavily damaged, you don’t have time to refinish your entire space, or if any imperfections bother you, it might be time to call a professional with experience refinishing hardwood floors. Ensuring your floors are refinished the right way and safely is the best way to maintain their beauty for years to come.
The contents of this article are provided for general guidance only. First American Home Warranty does not assume any responsibility for losses or damages as a result of using this information.






Home Care Buzz Experts
The First American Home Care Buzz team is made up of experienced home warranty writers and editors. Our team provides valuable insights and information to help homeowners like you meet the daily challenges of homeownership.
This article is about...