
How to Maintain Your Washer and Dryer
JUNE 02, 2025 | Home Care Buzz Experts | 5 minute read
Your washer and dryer make laundry easier, but without regular maintenance, they can run into problems that could lead to expensive repairs. Detergent buildup, lint, and mineral deposits can cause issues over time. Follow these simple maintenance tips to keep your appliances working well and lasting longer.
Tools You’ll Need for Washer and Dryer Maintenance
There are a variety of different tools you’ll need to perform the various maintenance tasks required on your washer and dryer. Before you start, gather these basic tools:
- White vinegar or bleach
- Microfiber cloth
- Soft-bristle brush
- Screwdriver
- Bucket
- Pliers
- Vacuum with brush attachment
Washer Maintenance Tips
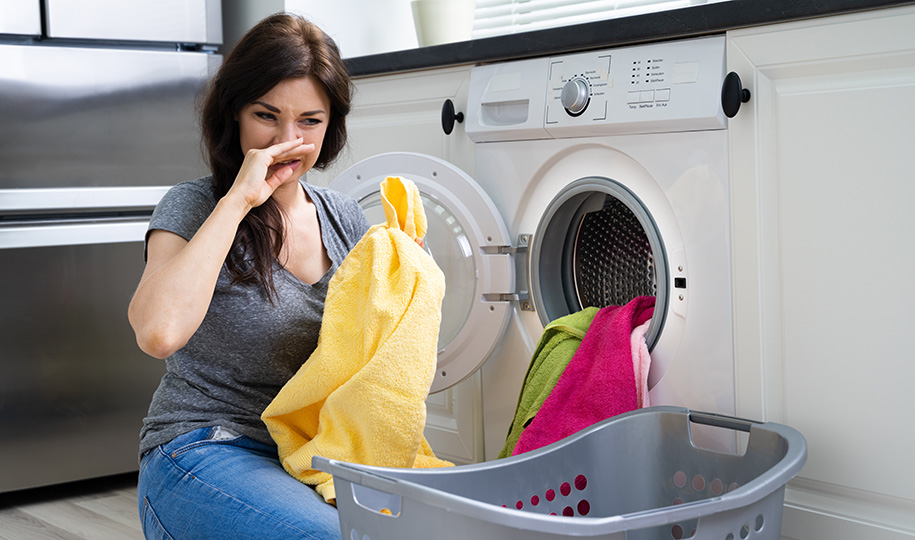
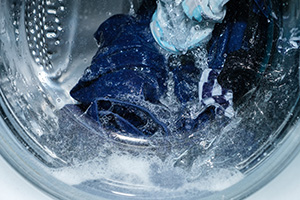 Dirt, mold, and mineral buildup in your washer can impact its cleaning power, cause unpleasant odors, and contaminate laundry items. Washer maintenance can help ensure everything is adequately washed and it looks (and smells) its best.
1. Clean the Drum Monthly
Run an empty cycle with hot water and one cup of white vinegar or bleach to break down residue and kill bacteria. This prevents bad smells and keeps your washer fresh.
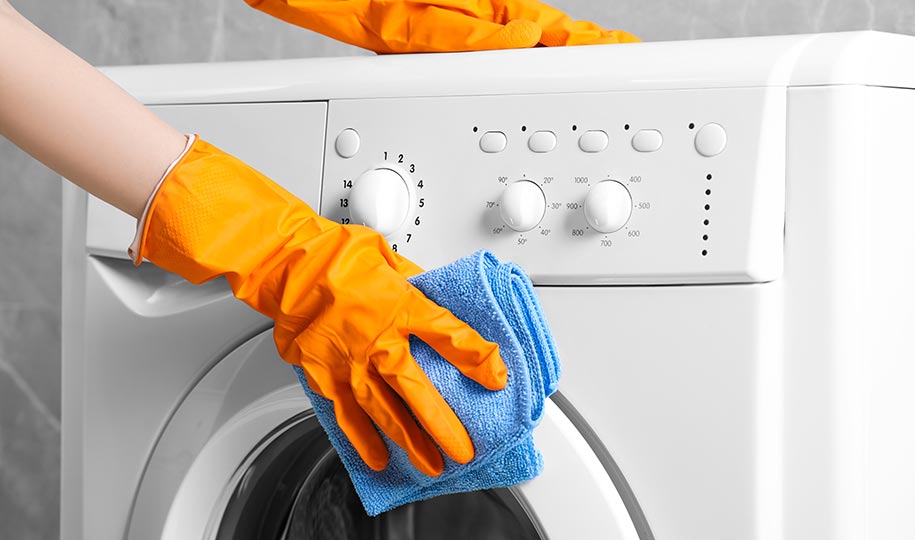
You should do this about once a month — or more often if your washer starts to smell, your laundry isn’t coming out clean, or you notice visible buildup inside the drum. After the cycle, wipe the drum and rubber gasket with a microfiber cloth to remove any leftover grime.
2. Inspect and Replace Water Hoses
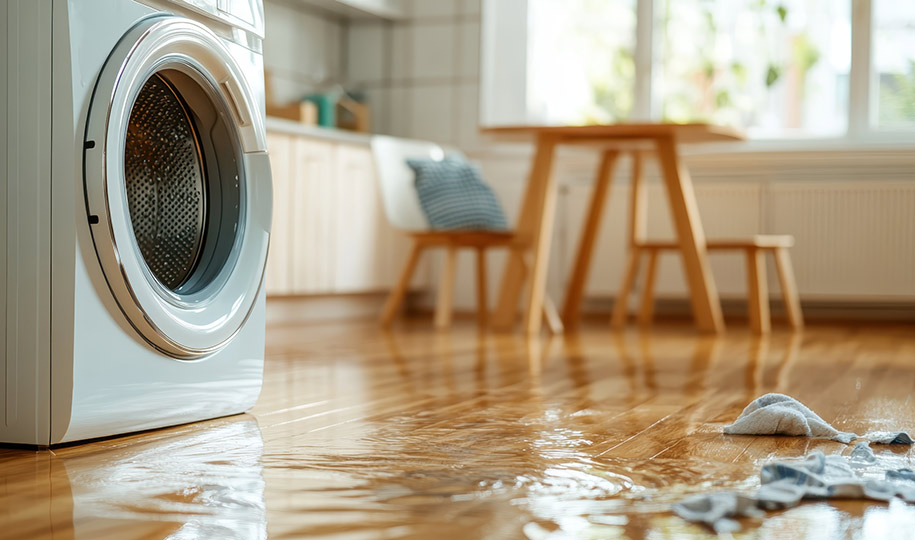
Rubber washing machine hoses are prone to damage, as the rubber can dry and crack over time, causing them to burst. Check your two water hoses regularly for leaks or bubbles, and keep in mind that most manufacturers recommend replacing rubber hoses every two to five years.
To replace cracked or broken hoses, follow these steps:
- Place a bucket under the hoses to drain any excess water.
- Turn off the water and unplug the machine.
- Use pliers to disconnect the hoses. Remove them one at a time.
- Replace the old washer hoses with new ones.
- Turn the water back on and run your machine.
Pro tip: For a safer and longer-lasting investment, replace your rubber hoses with braided stainless steel ones, which are sturdier and provide extra protection against bursting.
3. Avoid Overloading the Washer
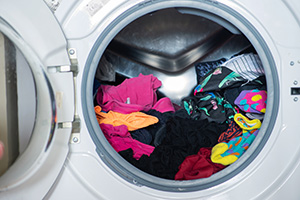 Stuffing too many items into the washer prevents them from moving freely, so they aren’t cleaned properly. It also puts extra stress on the drum, which can cause wear and tear over time. Follow your washer’s recommended load size for the best results and to extend its lifespan.
4. Remove Wet Laundry Items Immediately
Leaving wet laundry in the washer creates the perfect environment for mold and mildew. This can make your laundry smell musty and even lead to bacterial growth. To prevent this, transfer everything to the dryer as soon as the wash cycle finishes.
5. Clean the Washer Filter
Some washers have a filter that traps lint and debris, which can get clogged and cause drainage issues. A clogged filter can also lead to bad smells and water leaks. Locate the filter (often near the bottom front of the washer), remove it, rinse it under warm water, and use a soft brush to remove trapped debris before placing it back.
Dryer Maintenance Tips
Dryers also require regular maintenance to extend their longevity. Here’s how to get the most out of your dryer:
1. Clean the Lint Trap After Every Load
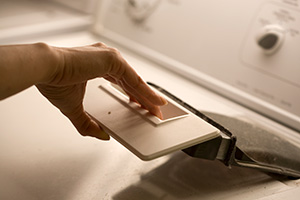 A clogged lint trap slows down the drying process and increases the risk of a fire. After each load, pull out the lint screen (usually located on the top of the dryer in front of the controls, or inside the door in front of the drum) and remove any lint buildup.
Rinse the lint screen with warm water if it's really dirty. For a deeper clean, scrub it with a soft brush and mild soap, then let it dry completely before putting it back.
2. Vacuum the Dryer Vent
Like your lint trap, lint can build up in the dryer vent hose and make your dryer work harder, which increases fire risk. To clean out your dryer vent, follow these steps:
- Unplug the dryer. If you have a gas dryer, turn off the gas valve.
- Pull the dryer away from the wall.
- Disconnect the duct using a screwdriver.
- Use your vacuum (or a scrub brush) to loosen and remove lint buildup and debris.
- Check the duct hose for damage and replace it if necessary. Reattach the duct and plug the dryer back in or turn on the gas.
Run the dryer on the air fluff or air-dry setting to ensure the air is flowing correctly.
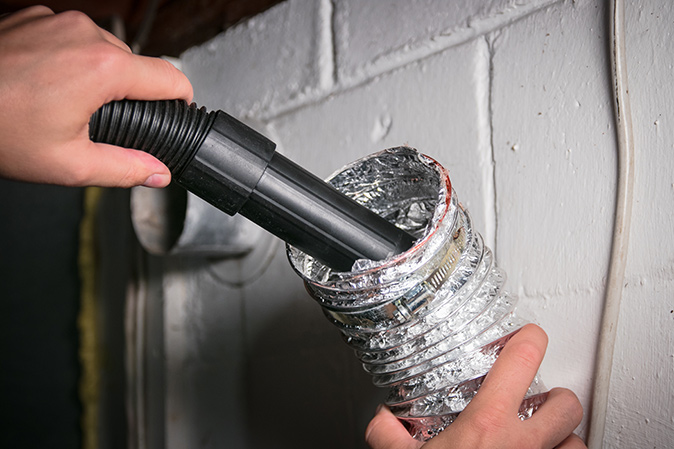
3. Check the Exterior Vent Hood
Make sure the outside vent hood isn’t blocked by lint or debris. Go outside while the dryer is running and check if air is flowing freely out of it. If the flap isn’t opening properly, clear away any blockages with a brush or cloth, and check for signs of nests or pests that might obstruct the airflow.
4. Avoid Overloading the Dryer
Packing too many items into the dryer makes it harder for hot air to circulate, which means longer drying times and added strain on the motor. Overloading can also cause uneven drying, leaving some items damp and others overly hot. Stick to smaller loads to help your dryer run more efficiently and last longer.
5. Wipe Down the Drum
Residue from detergent, fabric softener, and lint can build up inside the drum. Use a microfiber cloth and a mix of vinegar and water to wipe down the inside surface. For tougher residue, scrub gently with a soft-bristle brush, then wipe again with a damp cloth and leave the door open to air dry.
Signs Your Washer and Dryer Need Professional Repair
If you notice any of these issues with your washer or dryer, it might be time to call in a professional:
- Your washer leaks or won’t drain properly.
- The washer doesn’t spin.
- The dryer takes too long to dry items.
- The dryer doesn’t spin or heat up.
- Your washer or dryer makes strange noises, like banging or grinding.
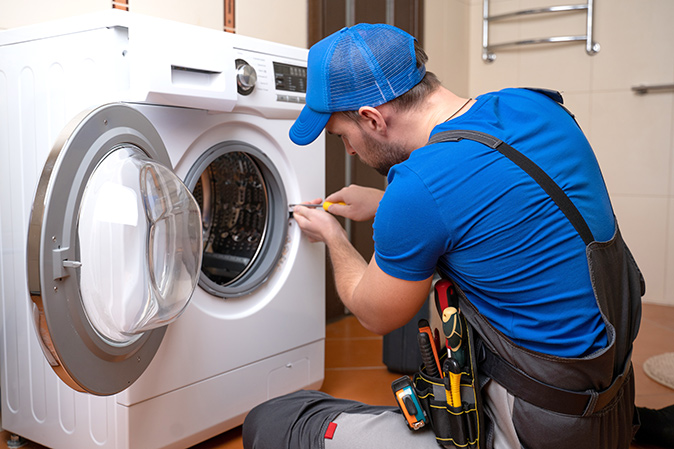
Does a Home Warranty Cover Washers and Dryers?
A home warranty offers budget protection and peace of mind when your covered washer or dryer unexpectedly breaks. Washing machine warranty coverage can help cover the repair or replacement of your covered washer if it malfunctions due to normal wear and tear. Likewise, a dryer warranty provides reassurance that if your covered dryer stops working correctly, you have a budget-friendly repair/replacement solution.
First American Home Warranty offers coverage for both washers and dryers. A prescreened professional will come to your home to diagnose problems you’re experiencing with your covered washer or dryer, so you can get your household running smoothly again.
Protect Your Washer and Dryer with a Home Warranty
Even with regular maintenance, washers and dryers can break down. A First American home warranty can help safeguard your budget from covered repairs and replacements for these and other major home appliances and systems that you use every day. Learn more about our comprehensive coverage and get a free home warranty quote today.
The contents of this article are provided for general guidance only. First American Home Warranty does not assume any responsibility for losses or damages as a result of using this information.




Keep Reading



Home Care Buzz Experts
The First American Home Care Buzz team is made up of experienced home warranty writers and editors. Our team provides valuable insights and information to help homeowners like you meet the daily challenges of homeownership.
This article is about...