
Spring HVAC Maintenance Checklist: A Homeowner's DIY Guide
MARCH 26, 2026 | Home Care Buzz Experts | 10 minute read
Taking care of certain maintenance tasks in springtime can help you avoid aggravations — like your heating, ventilation, and air conditioning (HVAC) system sputtering out on the hottest day of the summer. Our spring HVAC maintenance checklist helps prepare your system for the warmer months ahead, and many of these tasks can impact your system’s energy efficiency. Use this guide to tackle eight DIY AC maintenance tips you can do right now to help prevent system breakdowns and ensure your HVAC system keeps its cool.
Before you dive in, here are tips to help you make the most of our spring HVAC maintenance checklist:
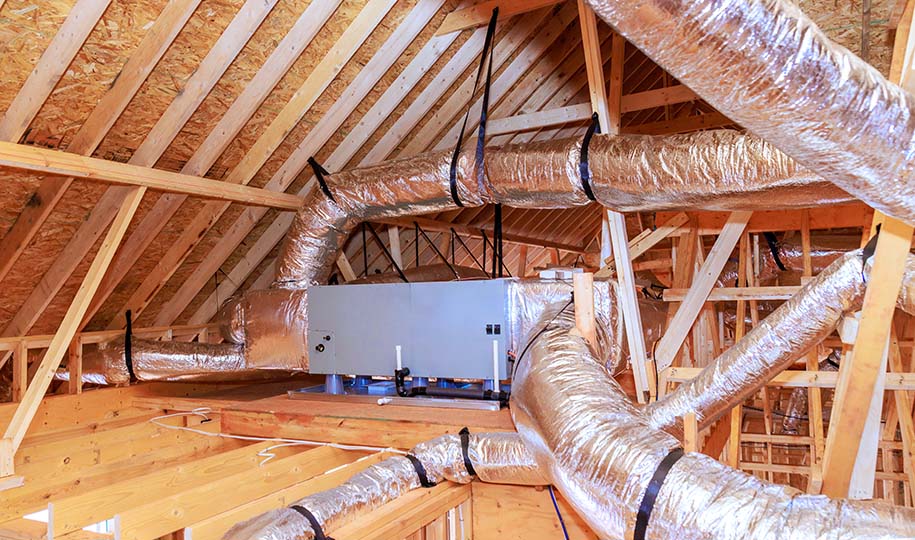
- It covers the maintenance of the two main components of your system: the outdoor unit, called a condenser, and the indoor unit (either an air handler unit or a furnace).
- For most indoor units, the air filter is located inside the blower area or in a ceiling return air grille.
- Some steps in this guide are simple, novice-level tasks; others require DIY know-how and may still feel beyond your comfort zone. If you have any hesitation, call a professional HVAC technician.
Pro tip: Consult our HVAC glossary for helpful explanations about the parts and components of an air conditioning system that we'll discuss in this guide, and what each one does.
DIY AC Maintenance Tips for the Condenser Unit
1. Clear Debris Around Condenser Unit
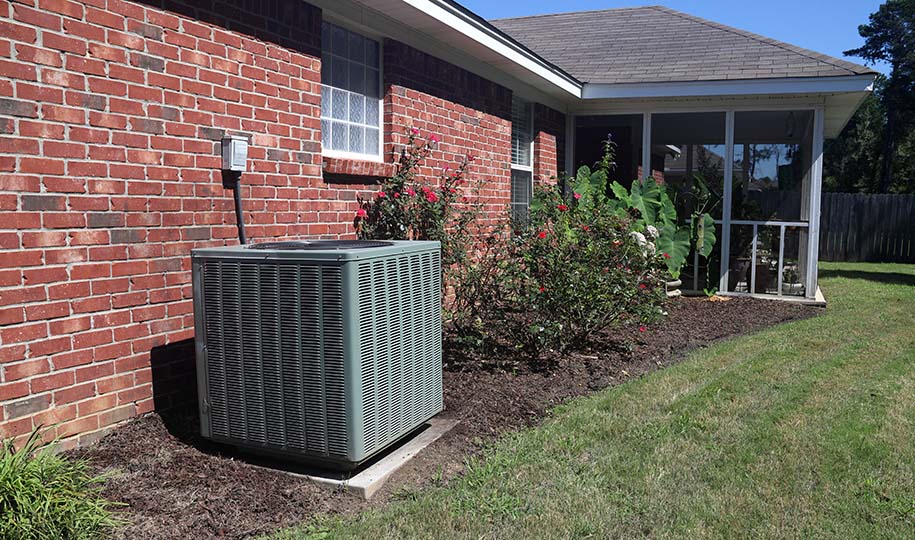
Leaves, dirt, and other debris can pile up around and behind a condenser unit during the colder months. It’s important to clear this area as often as possible, but especially when spring arrives. Simply grab a rake, a broom, some trimmers, and:
1. Clear the area around your unit thoroughly to remove winter’s debris. Rake away leaves and sweep the cement padding it sits on.
2. Take your trimmers and cut away any vegetation to achieve about 2 feet of clearance. If the area is easily reachable with your lawnmower, you can make quick work of this step.
3. After you’ve cleared the area, use a bubble level and check that the concrete padding on which the condenser unit sits is still level. Debris buildup and erosion due to rain and snow often cause the ground under the padding to shift. If the padding is only slightly off, that is typically OK; however, if there has been significant shifting, contact your HVAC technician to discuss options for realigning the unit.
Condenser units are typically installed in the exterior areas of homes where traffic is lower, making them easy to neglect. Clearing this area at the start of each season and inspecting the unit and surrounding area for potential problems can help prevent issues down the line and help your system run smoothly.
2. Clean the AC Condenser Unit
This task isn't easy or quick, but if you’re confident with DIY projects, it’s an important part of proper spring air conditioner maintenance.
For your safety, start this step by turning off the power at the thermostat, the main house breaker, and (importantly) also removing the outside breaker that powers the unit. Typically, this breaker is housed in a small gray metal box behind the condenser unit and is likely attached to your house. Each HVAC setup is different, so review your manufacturer’s guidelines on how to remove the breaker gently and with care, then set it aside in a clean, dry area away from your workspace and follow these steps:
- Use a drill or screwdriver to gently remove the screws around the fan assembly cover. Be careful not to tug on the wiring harness that’s attached to the underside of the cover. It’s best to avoid disconnecting the harness. Instead, try balancing the cover on the top of the unit near an edge and supporting it with a stepladder next to the unit to prevent it from sliding off. (Better yet, have someone keep a hand on it as you proceed with the next steps.)
- Clear away any reachable leaves or debris from the base area inside the unit and bag them.
- Using a wet-dry vacuum, attach the long nozzle and clear as much dirt and remaining debris from the bottom of the unit as you can.
- Cover the fan motor with plastic sheeting (if none is already in place) to protect the motor from excess water.
- Turn the nozzle of your garden hose to the lowest spray setting. Point the nozzle at a downward angle and gently rinse off dust and debris from the inside of the condenser and over the coils, working from top to bottom. Using a low water flow helps protect the fins from bending. (Never use a power washer on a condenser!)
- Use coil-cleaning foam (available at your local hardware store) to coat the coils around the inside of the unit. Let it sit for no more than 10 minutes, then follow the same process in Step 5 to rinse the coils off. Check that water at the bottom of the unit is flowing out of the drainage holes in the base (sometimes leaves and debris build up here and clog the water outflow).
- Let the unit dry as thoroughly as time permits, then screw the fan assembly back into place, put the breaker back into the panel, turn the home breaker back on, and switch on the thermostat.
3. Clean the AC Condensate Drain Line
When your air conditioner is working properly, the cold air it pumps out causes condensation to form. This water drains into a pan and through tubing that leads outside via the condensate drain line.
The condensate drain line for most central air conditioner units and HVAC systems will be outside your home, usually near the condenser unit. Some indoor units may also be set up to drain into your plumbing (typically, this drain line is made of PVC pipe).
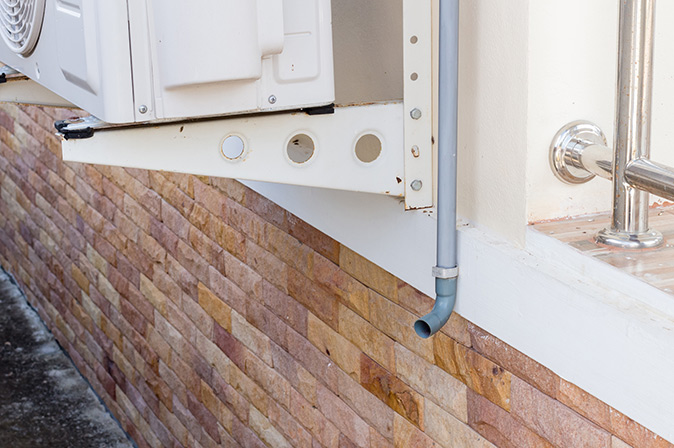
Find and inspect the drain line, visually checking that the flow is not restricted by vegetation or other potential blockers such as gunk, algae, and (sometimes) mold. When buildup happens over time, it clogs an air conditioner’s drain line, which causes the drain pan to overflow. Consult your manufacturer’s manual for tips on clearing clogs, or try these tips:
- Use a wet-dry vacuum to remove the clog; typically, this is the most effective way to clear it.
- Alternatively, you can try adding a solution of one part vinegar and one part water.
- If you are not comfortable trying to clear a clogged line, contact a professional.
Most professional HVAC services recommend clearing out the drain line once per year in the springtime. This helps prevent clogs, which can lead to water damage to the system and your home.
Pro tip: Adding a float switch to your air conditioner unit can help prevent damage from water leaks. The switch shuts down the air conditioner unit automatically if it overflows with water.
4. Inspect Cooling Fins and Clean/Straighten as Needed
Even with careful cleaning, you may see areas where the fins are flattened or bent – and bent fins restrict air flow. Provided the damage isn't too severe, it’s easy to fix bent fins. To get started:
- Visit your local hardware store and ask for a condenser fin comb kit. These handy tools come with interchangeable heads, so you can gently test which size works best with your fin’s spacing.
- Remove the unit's metal outer housing.
- With either a comb or a nylon brush, work slowly from top to bottom in sections, gently straightening the fins with firm, even strokes. Added bonus: You’ll find that these tools also help clear out any debris stuck between the bent fins. Be careful, however, not to be too rough, as this could cause damage and leaks.
- Compare the section with bent fins you’re working on against areas where the fins are not bent to be sure your fixes look similar.
DIY AC Maintenance Tips for Indoor Components
5. Change the HVAC Air Filter
When it comes to spring air conditioner maintenance, it’s essential to clean or change your HVAC air filter. A neglected air filter can become clogged with unwanted contaminants, reducing airflow, making your air conditioner less efficient, and leading to poor or harmful air quality in your home. Your air conditioner filter should be cleaned or replaced regularly (typically every 3 months) and monthly during heavy-use seasons. Here’s what to do:
- Locate your HVAC air filter. The one for your system will be inside either a ceiling return griller or the blower area. Alternatively, you may find it near the bottom of the blower area if your system is in a garage or basement.
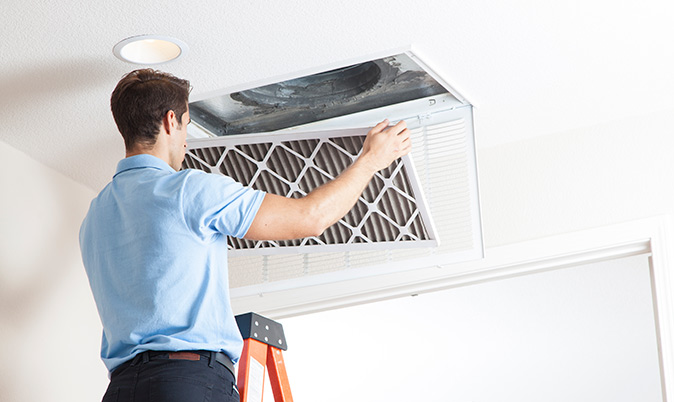
- Check the type of air filter you have: Filters with a paper or cardboard frame are disposable, while those with a plastic or metal frame are typically reusable.
- Replace or clean the air filter: Inspect the filter closely upon removal. Is it noticeably gray? Can you see layers of dirt and dust build up? If so, it may be best to replace it.
Related: Learn how to replace an AC air filter in our step-by-step guide.
To clean a reusable filter, fill a tub with equal parts water and vinegar and submerge the filter in the solution. Soak for one to four hours, depending on how long it’s been since it was last cleaned. Remove the filter without rinsing, then place it on a towel in a sunny area until thoroughly dry. An air conditioner filter should be cleaned quarterly at a minimum, but when usage is heavy, monthly is advised.
6. Clean Indoor Vents
- Turn off your system at the thermostat. This keeps air from blowing as you clean.
- Remove and clean vent covers (registers) by unscrewing them and placing them in warm, soapy water to remove dust, mold, and debris. Set them aside to dry thoroughly.
- Vacuum the ducts using the long hose attachment on your wet-dry vacuum, and try to reach as far into the ductwork as possible. Be careful not to put any pressure on the ductwork walls as you vacuum.
- Clean reachable surface areas around the vent with a damp microfiber cloth and wait until they’re dry before reattaching the vent covers.
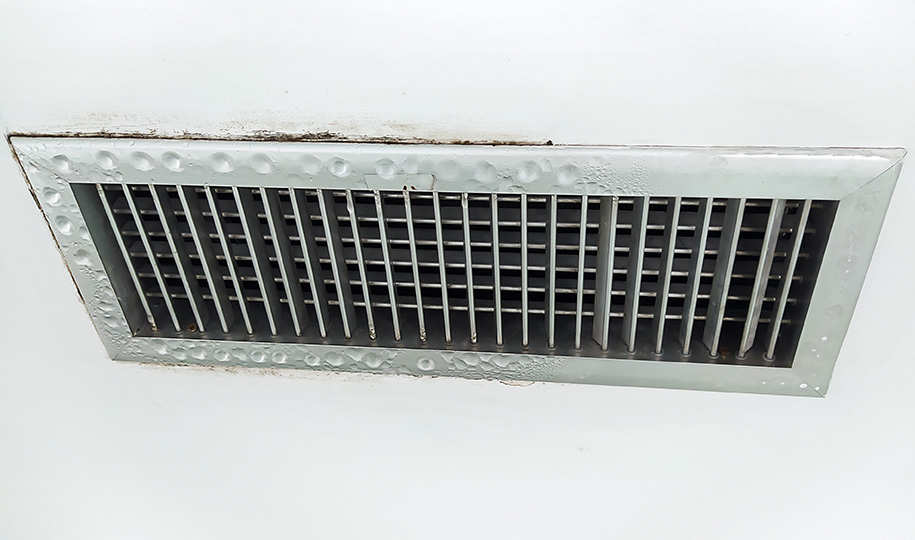
Pro tip: When cleaning indoor vents, check for condensation and review this blog on the causes and fixes for AC vent condensation.
7. Vacuum Around the Blower Motor
Gently cleaning the blower motor area can help improve air flow and system efficiency. To get started, turn off the power to your home.
- Next, you will likely have to remove the access panel to inspect the blower motor. (Try to avoid disturbing any exposed wiring behind the panel.)
- Use the hose attachment on your vacuum cleaner to carefully remove dust and debris around the blower motor. Move carefully to avoid damage and wear goggles.
- If the area has not been cleaned for a long time, you can also use a can of compressed air in hard-to-reach areas.
- If the fan blades are dusty, dampen a microfiber cloth and clean around them, then use a fresh cloth to thoroughly dry the fans before placing the access panel back on.
- Turn the power back on and run the system to ensure the blower is working properly.
8. Optimize Thermostat Settings for Spring and Summer
You can significantly reduce your energy bills and save money by optimizing your thermostat as the weather turns warm. The U.S. Department of Energy estimates that by adjusting your thermostat 7 to 10 degrees from its normal setting for 8 hours a day, you can save up to 10% per year on heating and cooling bills. Optimizing your thermostat settings also helps keep your HVAC system from working too hard, which can help increase its lifespan. Try these tips:
- As temperatures rise in spring and into summer, set your thermostat between 74 and 78 degrees Fahrenheit while you’re home.
- When summer arrives, setting the thermostat to 78 degrees when at home helps reduce your HVAC system’s workload.
- Use your smartphone and apps to easily set your thermostat to a higher degree when no one is home and on cooler nights.
Related: Learn 9 smart thermostat benefits that can help you optimize settings and save money.
Consider Professional HVAC Servicing
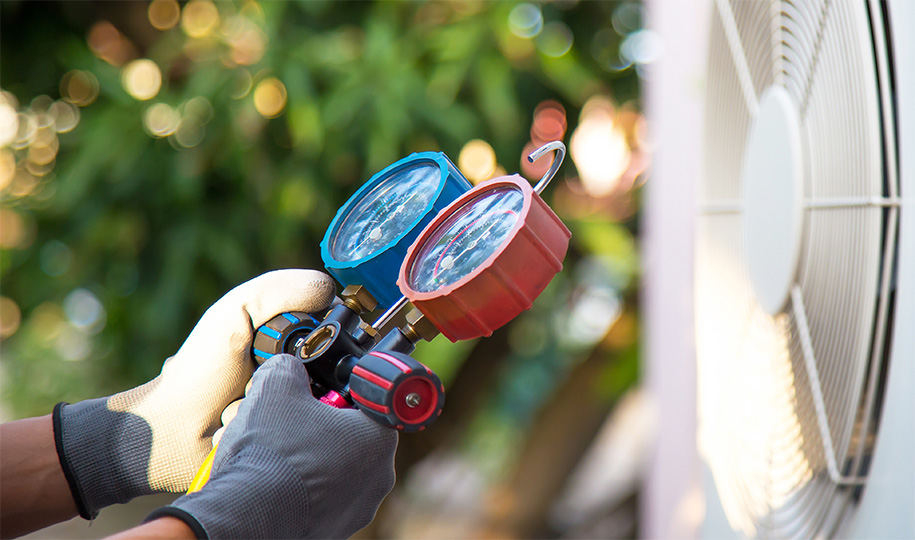
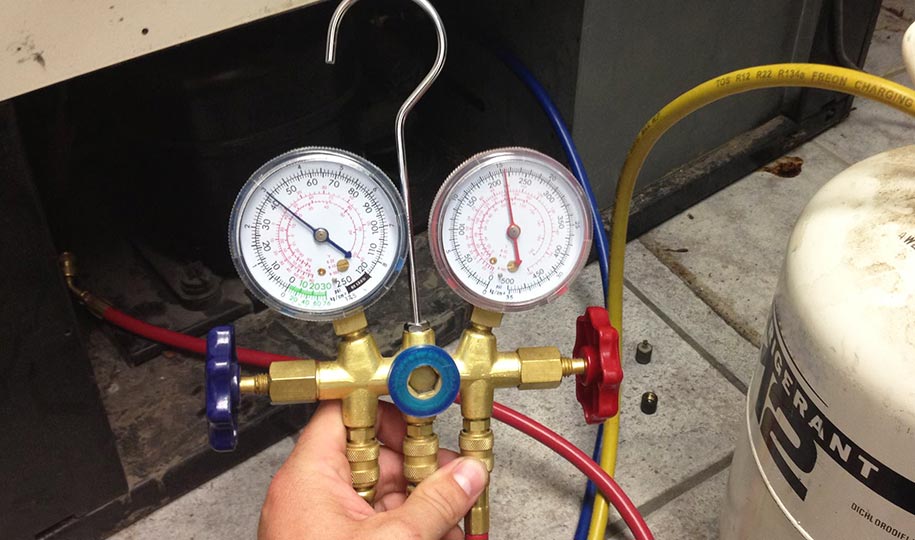
Some HVAC system maintenance must be done by professionals, including HVAC tune-ups that include checking the refrigerant level. During an HVAC inspection, your technician can either top off the coolant or replace the refrigerant if a leak is detected during the diagnostic test. A proper refrigerant level also helps your system run efficiently.
Protect Your HVAC System with a Home Warranty
Our spring HVAC maintenance checklist is a smart way to prepare your system for sunny days ahead. Another way to be prepared is with a First American home warranty. Homeowners with First American HVAC coverage can contact us for help when their covered systems break. We’ll assign a prescreened service technician to diagnose the issue and begin the repair/replacement.
Learn more about First American's home warranty plans, the essential home appliances and systems they cover, and get a personalized quote today.
FAQs About HVAC Systems
Do First American home warranties cover HVAC system replacements?
Yes. When you have coverage, you simply submit a claim to begin the service process. If the repair technician determines your covered system cannot be repaired, we will replace it.*
Will First American cover an old HVAC system?
Yes, we cover home appliances and systems, including HVAC systems, regardless of age, as long as each covered item is in safe working condition when coverage starts. Plus, our home warranties do not require service records for any system or appliance we cover.
Do home warranties cover refrigerant as part of an HVAC repair?
Yes, all First American home warranty plans include refrigerant coverage. Plans vary in the amount of refrigerant that is covered, so check your service contract for details.
How does ceiling fan direction help HVAC energy efficiency?
When you change the direction of your ceiling fan seasonally, it keeps you cooler in summer and warmer in winter. Learn more about which direction your ceiling fan should turn, when to change it, and how.
*If we can’t repair an item, we will replace it. Please review the sample contract for specific coverage, terms, and limitations.
The contents of this article are provided for general guidance only. First American Home Warranty does not assume any responsibility for losses or damages as a result of using this information.
Please be aware that if you disassemble a covered system or item, it can invalidate your home warranty or manufacturer’s warranty.




Keep Reading



Home Care Buzz Experts
The First American Home Care Buzz team is made up of experienced home warranty writers and editors. Our team provides valuable insights and information to help homeowners like you meet the daily challenges of homeownership.
This article is about...