Garage Decluttering Checklist: Reclaim in 1 Weekend
AUGUST 12, 2025 | Home Care Buzz Experts | 7 minute read
You can't remember the last time your car fit inside. The bikes are buried somewhere behind that tower of boxes marked "miscellaneous." And that donation pile? Still sitting there from your New Year's resolution three years ago.
If this sounds familiar, you're not alone. Your garage becomes the catch-all space for everything that doesn’t have a clear home elsewhere. But here's the good news: you can transform your chaotic garage into an organized, functional space using this complete garage decluttering checklist — and it only takes you one weekend.
Your Garage Decluttering Project: A Weekend Plan
Most homeowners avoid garage organization and basic room-by-room decluttering because it feels overwhelming. Where do you even start when every surface is covered? The secret is breaking this massive project into manageable, motivating steps. When you organize your garage in one weekend using a structured approach, you'll actually finish what you start instead of creating an even bigger mess.
Just like tackling your Spring-cleaning checklist, garage decluttering works best when you follow a proven system. Let's break this into clear, bite-sized steps that transform chaos into calm.
Friday Night Garage Decluttering Prep (1 Hour Setup)
Success starts before you touch a single box. Friday night preparation makes your weekend garage cleanout smooth and efficient instead of frustrating and scattered.
Gather Your Decluttering Arsenal
- Work gloves and safety glasses
- Heavy-duty trash bags (you’ll need more than you think)
- Storage bins in various sizes (be diligent with your labeling)
- Tarps or painter’s plastic
- Permanent markers, labels, masking tape
- Measuring tape
- Basic cleaning supplies
Before you dive in, prioritize safety. Check your workspace for proper lighting and wear sturdy shoes for moving heavy items. The right protective gear can help prevent injuries during your garage transformation and other home projects.
Create Your Sorting Command Center
Clear a space in your driveway or yard to become your sorting headquarters. Set up four distinct zones using tarps or tape:
- Keep zone: Items staying in the garage
- Donate zone: Functional items you no longer need
- Trash zone: Broken, expired, or unusable items
- Relocate zone: Items belonging elsewhere in your house
After creating your sorting command center, research local donation options before Saturday. Some organizations will even pick up large items, such as furniture or exercise equipment
Set Your Victory Reward
Choose a motivating reward for Sunday evening when you're done. Maybe it's ordering pizza instead of cooking, buying those new storage shelves you've been eyeing, or simply enjoying the satisfaction of parking your car inside again. Having a reward creates momentum when the sorting gets tough.
Saturday: Complete Garage Cleanout and Sorting (Day 1)
Saturday is game day. This is when you'll use your garage decluttering checklist to tackle the big sort. Budget 3 to 4 hours for this phase, working at a steady pace with regular breaks.

Step 1: Pull Everything Out (Yes, Everything)
Start by removing every single item from your garage. Sure, your driveway will look like a yard sale explosion, so this might feel counterproductive. However, clearing the space helps you see the full scope of what you're dealing with.
Begin with items along the walls and work your way toward the center. When moving heavy items like lawn mowers or tool chests, use proper lifting technique: bend your knees, keep your back straight, and don't hesitate to ask for help.
As you move items, quickly scan for immediate safety hazards such as old paint cans, containers of gasoline, or chemicals that have been sitting for years and need special attention. Set these aside for proper disposal and check if your community has a hazardous waste collection service, or where you can drop items off.
Step 2: Sort Ruthlessly Using the 12-Month Rule
Now comes the moment of truth. For every item, ask yourself: "Have I used this in the past 12 months?" If the answer is no, it goes to donate or trash. Do not hesitate.
Speed matters here. Spend no more than 10 seconds deciding on each item. Your first instinct is usually right. That exercise bike you bought with good intentions? If it's been serving as a clothes hanger for two years, it's time to let someone else get some use out of it.
Be especially ruthless with duplicate items. You might not need three garden hoses, five snow shovels, and a dozen extension cords. Keep the best ones and donate the rest.
Step 3: Execute the Three-Pile System
By now, your sorting zones should be filling up. Focus on moving items quickly through your system:
Trash Zone
Broken tools, expired products, and items with missing parts. Don't save broken things "just in case;" if you haven't fixed it in the past year, you most likely won't fix it in the next year either.
Donate Zone
These items have some good life left but need a new home. Take those old bikes the kids outgrew, the sturdy folding lawn chair you no longer use, and any other functional items that people could use as their primary items. Also, just like properly disposing of materials, donating usable items keeps them out of landfills.
Relocate Zone
These items belong somewhere else in your house. Deal with these immediately — don't let them migrate back into your garage. Avoid creating "maybe" piles. These always become permanent fixtures. If you're undecided, simply donate. The goal is to reclaim your space, not to keep items just in case.
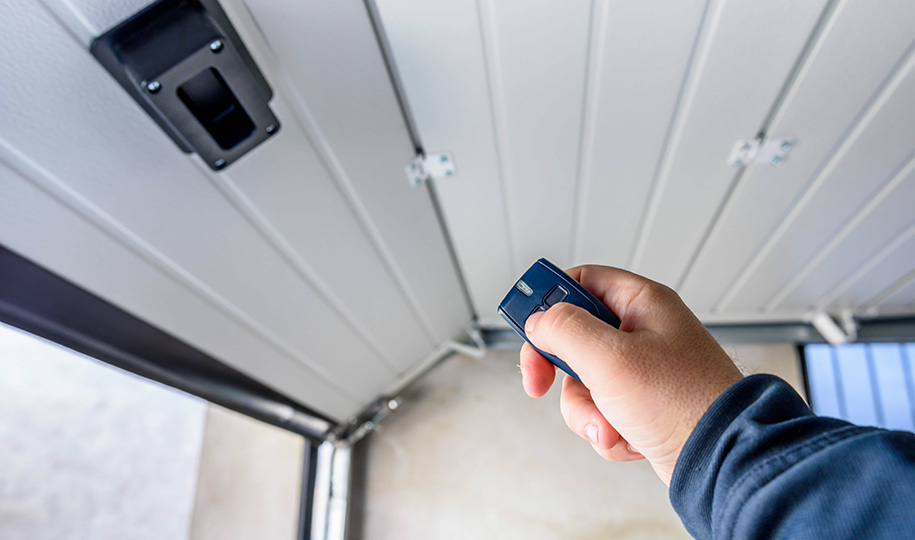
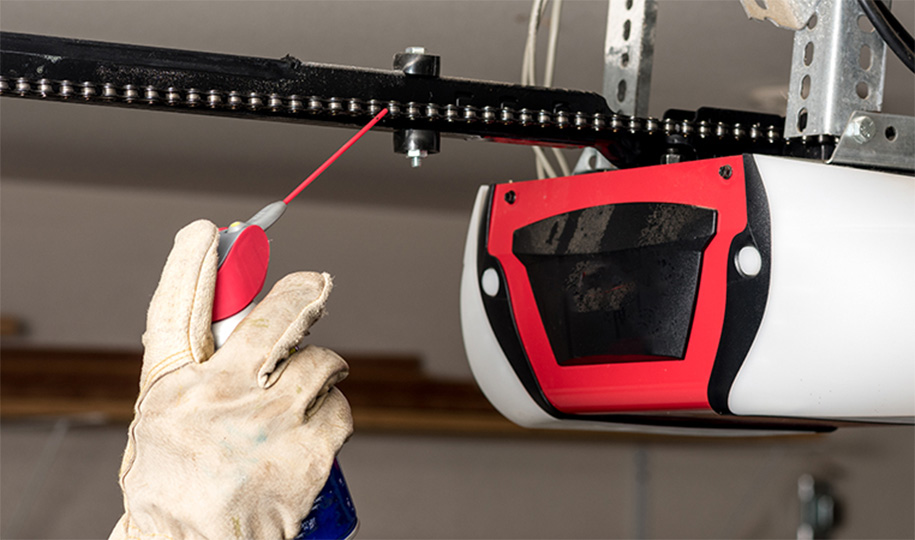
Homeowner tip: With your garage door open and the room empty, it's a good time to give your garage door a maintenance checkup.
Sunday: Garage Organization and Storage Solutions (Day 2)
Sunday transforms your newly decluttered space into an organized, functional area. You've done the hard work of sorting. Now, you get to create truly functional garage storage systems.
Step 1: Group What Stays by Function
Organize your keeper items into logical zones:
- Tool zone: Hand tools, power tools, hardware
- Sports & recreation: Bikes, sports equipment, outdoor gear
- Seasonal storage: Holiday decorations, seasonal clothing
- Auto supplies: Car care products, emergency kits
- Household overflow: Extra paper goods, bulk purchases
Place frequently used items at eye level and within easy reach. Think about your daily routines. If you grab your bike every morning, don't store it behind a wall of storage bins. Seasonal items like holiday decorations can go on high shelves or in less accessible areas.
This zoning approach works like organizing any area of your home. Just as you maintain your home seasonally, creating logical groups makes everything easier to find and maintain.
Step 2: Install Simple Storage Solutions
You don't need expensive custom storage systems. Work with what you have first, then add simple solutions:
Vertical Wall Storage
- Pegboards for hand tools (incredibly versatile and expandable)
- Wall-mounted bike hooks
- Ceiling-mounted storage racks for seasonal items
Bin and Shelf Systems
- Clear storage bins (so you can see what's inside) with labels
- Wire shelving units (affordable and adjustable)
- Repurpose old bookcases or cabinets
Quick Organization Wins
- Tension rods between joists for hanging long items
- Magnetic strips for small metal tools
- Old coffee cans or jars for screws and small hardware
The key is to create a home for everything. When every item has a designated spot, maintaining organization becomes automatic. This systematic approach to garage decluttering gives you the same confidence you'd get from tackling other DIY home improvement projects.
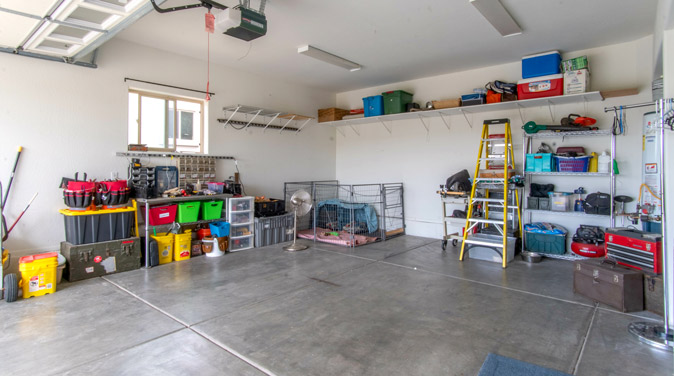
Step 3: Final Cleanup and Documentation
Sweep the floor thoroughly, wipe down any surfaces, and dispose of the dust and debris. This final cleaning step transforms your organized garage.
Step back and admire what you've accomplished. Take before-and-after photos. These serve multiple purposes: they help you remember where things belong, are satisfying proof of your weekend's hard work, and are great for motivation when you need to tackle maintenance. Your garage went from chaotic storage dump to organized, functional space in just one weekend.
Pro tip: If you need more space in your home, consider a cost-effective garage conversion over a garage reorganization.
Simple Garage Storage Ideas That Actually Work
Your organized garage represents hours of hard work and newfound functionality. As you store treasured items and tools in your newly organized space, these five strategies will help keep it that way:
- Label everything clearly: Use a label maker or clear handwriting. Future you will thank present you when you're looking for something specific six months from now.
- Embrace vertical space: Walls and ceilings are underutilized real estate. Install hooks, shelves, and hanging systems to keep floor space clear.
- Limit "miscellaneous" storage: Allow yourself one miscellaneous bin maximum. When it's full, sort through it before adding anything new.
- Create seasonal rotation systems: Store current season items at eye level, off-season items up high. Switch them twice a year during your seasonal home maintenance routine.
- Maintain monthly donation habits: Keep a donation bag or box in your garage. When it's full, schedule a pickup or drop-off. This prevents accumulation before it becomes overwhelming.
Think of garage maintenance like caring for your home's other systems — regular attention prevents major problems later.
Protect Your Newly Organized Space Year-Round
Just like weekend decluttering can give you control over your garage chaos, a home warranty gives you control over your budget for unexpected expenses. When covered home systems and appliances break from normal wear and tear, First American Home Warranty can help protect your budget from surprise repair and replacement costs.
Want to learn more about how a home warranty can take the stress out of homeownership? See what a home warranty covers and how it can give you peace of mind in protecting your home's systems and appliances. Get a free quote to see how we can help you keep control over your budget.
The contents of this article are provided for general guidance only. First American Home Warranty does not assume any responsibility for losses or damages as a result of using this information.
Please be aware that if you disassemble a covered system or item, it can invalidate your home warranty or manufacturer's warranty.