
How to Clean a Garbage Disposal
JANUARY 21, 2026 | Home Care Buzz Experts | 5 minute read
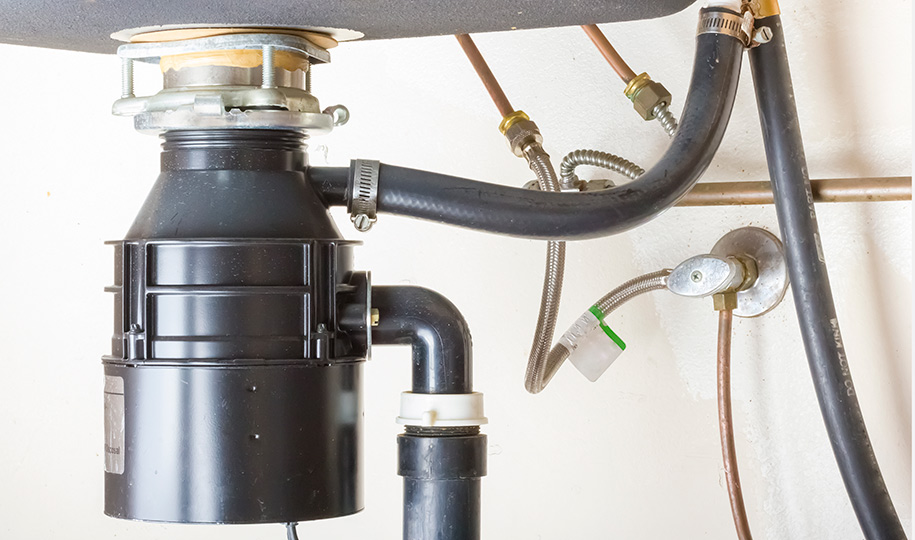
Garbage disposals make kitchen cleanup quick and convenient, but it’s easy to forget they need cleaning sometimes, too. Over time, bits of food, grease, and residue accumulate in the grinding chamber and the splash guard, leading to unpleasant odors and reduced performance. Learning how to clean a garbage disposal not only helps keep your sink smelling fresh but also supports its efficiency and longevity.
In this guide, we’ll walk you through safe, simple steps to remove buildup and freshen your disposal using tools and ingredients you probably already have at home.
Why Cleaning Your Garbage Disposal Matters
Most food waste that accumulates in your garbage disposal is quickly ground up and flushed away with running water. But small scraps can stick to the splash guard, grinding chamber, and drain walls. Over time, this buildup can:
- Cause a foul odor
- Harbor bacteria and mold
- Slow drainage
- Reduce grinding efficiency
Common culprits include:
- Grease and oil
- Coffee grounds
- Fibrous vegetables like celery
- Starchy foods like pasta and rice
- Eggshells
By learning how to clean a smelly garbage disposal, you can eliminate lingering odors and improve performance.
Signs It’s Time to Clean Your Garbage Disposal
Even if you follow good garbage disposal habits, yours will still need regular cleaning. You may need a deep clean if:
- You notice a foul odor coming from the sink
- Water drains more slowly than usual
- You hear a grinding sound that seems louder than normal
- The unit vibrates more than it used to
- You see food particles lingering in the splash guard or grinding chamber
Catching these signs early can help you avoid costly repairs later.
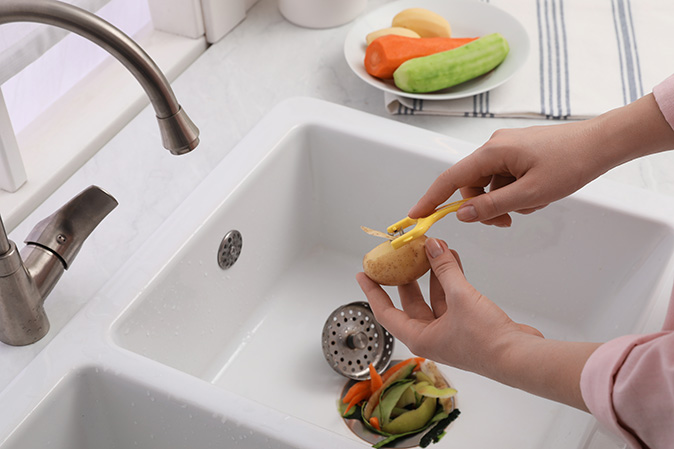
How to Clean a Smelly Garbage Disposal
If your sink smells unpleasant, there’s a good chance the odor is coming from your garbage disposal. Here’s how to give it a deep clean:
Step 1: Disconnect the Power
Safety comes first. Turn off the power by unplugging the disposal under the sink or switching off the breaker. Double-check by trying to turn it on before you start cleaning.
Step 2: Clean the Splash Guard
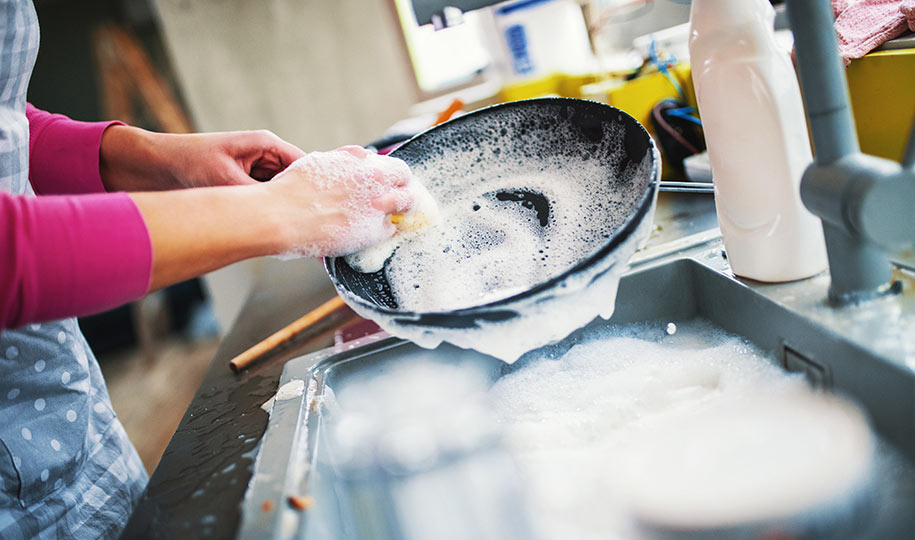
The splash guard (also called a gasket or baffle) is the rubber flap that covers the disposal’s opening. By design, it often traps food particles and grease. If it’s removable, take it out and scrub both sides with dish soap and a small brush. If it’s fixed, scrub it in place, making sure to get into the grooves.
Step 3: Remove Visible Food Debris
Shine a flashlight inside the disposal. Use tongs or pliers to remove large food particles. Never use your hands, even when the unit is off, because the blades are sharp.
Step 4: Use Baking Soda and Vinegar
Pour half a cup of baking soda into the disposal, followed by a cup of distilled white vinegar. The mixture will fizz and foam, breaking down residue in the grinding chamber. Let it sit for 5 to 10 minutes before rinsing with hot water.
Step 5: Scrub with Ice Cubes and Salt
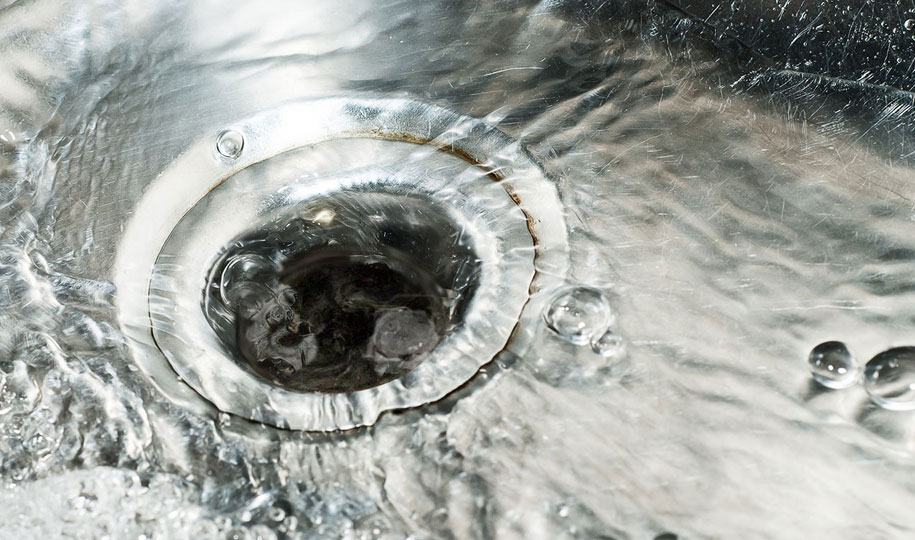
Add two cups of ice cubes and a cup of coarse salt to the disposal. Run cold water and turn the unit on for 30 to 40 seconds. This combination scrubs the blades and loosens the buildup.
Step 6: Freshen with Citrus Peels
Drop a few citrus peels (lemon, lime, or orange) in your disposal. Run cold water and turn the unit on. If you like, add a splash of lemon juice. The oils in the peels help clean the disposal and leave behind a fresh scent.
This process also removes grime from the splash guard, grinding chamber, and drain, restoring a clean and fresh-smelling disposal.
Natural vs. Chemical Cleaners for Garbage Disposals
While you might see chemical drain cleaners marketed for garbage disposals, they’re generally not recommended. Harsh chemicals can damage rubber and metal parts, and they may not remove all residue.
Natural cleaners like baking soda, vinegar, ice, salt, and citrus are effective, inexpensive, and safe for most disposals. They also won’t release harsh fumes into your kitchen.
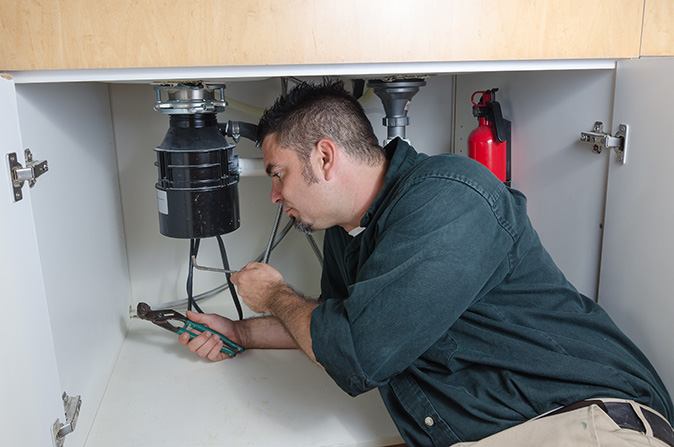
How Often Should You Clean Your Garbage Disposal?
For the best results, give your disposal a quick clean once a week by running cold water and grinding a few citrus peels. Do a deeper clean once a month with baking soda, vinegar, ice, and salt to remove buildup. And clean it anytime you notice a foul odor or slower drainage. Regular cleaning prevents the need for more extensive repairs and helps the disposal run efficiently.
Tips for Preventing Garbage Disposal Odors
Now that you know how to clean a garbage disposal, follow these steps to keep it clean longer.
- Run cold water: Always use cold water when running the disposal and keep it running for 15 to 20 seconds after turning off the unit. Cold water helps solidify fats and oils so they can be whisked away more easily and prevents the disposal from overheating.
- Avoid certain foods: Don’t put grease, fibrous vegetables, or starchy foods in your disposal. Use a heat-resistant container with a lid to collect grease, and store it under your sink or another cool, dark place.
- Use citrus regularly: Grinding small amounts of citrus peels helps prevent odors.
- Grind ice occasionally: Ice cubes help scrape buildup from the blades.
- Clean the splash guard weekly: Because it traps a lot of debris, it’s important to clean it regularly.
When Cleaning Isn’t Enough
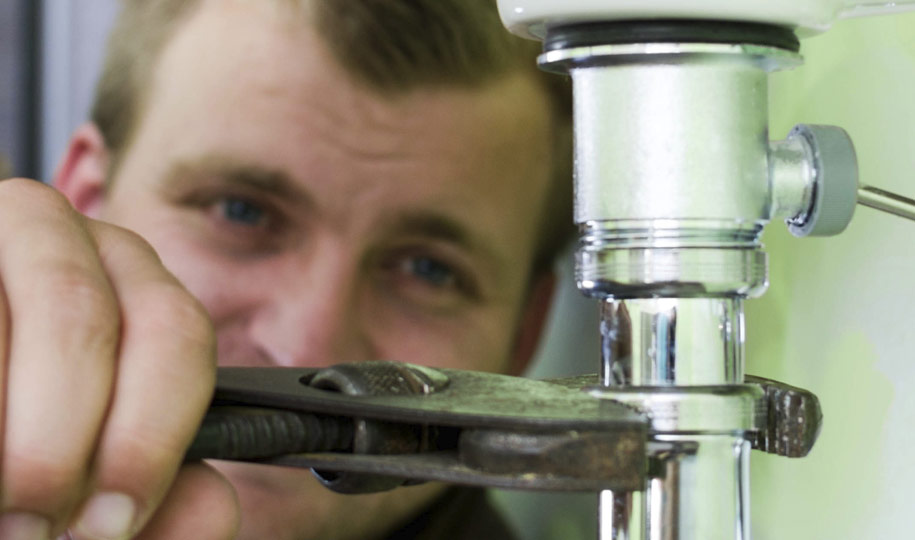
Regular cleaning can keep your garbage disposal fresh and running smoothly, but sometimes an underlying issue requires more than a simple DIY fix. Problems like a failing motor, damaged blades, or electrical faults can stop your disposal from working altogether. If that happens, it’s best to bring in a professional to diagnose the problem and make the proper repair.
Protect Your Garbage Disposal with a Home Warranty
When your garbage disposal breaks, it can disrupt more than just kitchen cleanup. Clogs, odors, and plumbing backups can follow quickly. Fortunately, a home warranty from First American includes coverage for garbage disposals. We’ll assign a prescreened service provider from our network who can get your disposal back in working order or replace it if needed.
Coverage also includes dishwashers, ovens, ranges, and cooktops, electrical and plumbing systems, and many other home appliances and systems that you use every day to keep your household running smoothly. A home warranty helps protect your budget and provides a handy repair/replacement solution when something unexpectedly breaks.
Request a free quote today and learn more about our comprehensive coverage and what your plan could include.
The contents of this article are provided for general guidance only. First American Home Warranty does not assume any responsibility for losses or damages as a result of using this information.
Please be aware that if you disassemble a covered system or item, it can invalidate your home warranty or manufacturer's warranty.







Home Care Buzz Experts
The First American Home Care Buzz team is made up of experienced home warranty writers and editors. Our team provides valuable insights and information to help homeowners like you meet the daily challenges of homeownership.
This article is about...