Fixing Your Bathtub: DIY Crack, Chip, and Hole Repair
JANUARY 17, 2024 | Home Care Buzz Experts | 4 minute read
Maintaining a bathtub is not just a matter of aesthetics; it's about ensuring your bathroom remains safe, comfortable, and functional. At First American, we advocate for proactive home maintenance to keep home systems and appliances running well. Sometimes, however, bathtub damage like cracks, chips, and holes can surface even with the best of care. This guide is your ally in navigating the waters of cost-effective, DIY solutions to these common types of bathtub damage. From small bathtub chip repair to tackling an unsightly hole, these pro tips can help you restore your bathtub to its former glory.
Identifying the Issue and Understanding Your Bathtub's Material
Identifying the damage and understanding the material of your bathtub are the first steps in a successful repair:
- Type of Damage: Inspect the damage closely to determine whether the tub has a minor chip, a crack, or a giant hole.
- Material Identification: Bathtubs come in a variety of materials including acrylic, fiberglass, and porcelain. A simple knock can help you discern the material—a dull thud often indicates fiberglass, while a more metallic sound suggests porcelain. You'll know if it's acrylic if, when you press gently against one side of the tub, you notice it has some give to it.
Preparing for the Repair
A well-prepared work area is a must for a successful repair bathtub crack repair. Here's how to set the stage:
Tools and Materials
- Sponges and cleaning solution: Clean the damaged area thoroughly to rid it of grime and let it dry completely.
- Bathtub crack repair kit: Purchase one suited for your bathtub's material.
- Sandpaper
- Epoxy
- Paintbrush
Chipping Away at the Problem
Fixing a chip is usually a straightforward task. Here's a detailed guide on how to fix a chipped bathtub:
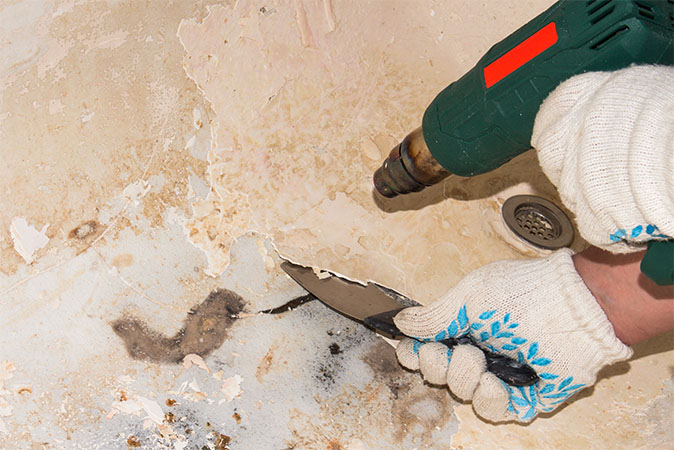
- Sand the damaged area gently with fine-grit sandpaper to remove any loose material and create a smooth surface.
- Mix the filler compound following the repair kit instructions.
- Apply the filler to the chip, ensuring it is level with the surface of the bathtub.
- Allow it to dry as directed, then sand it until smooth for a polished look.
Addressing Cracks and Holes
Cracks and holes require a bit more attention, but with the right approach, they're no match for a determined homeowner:
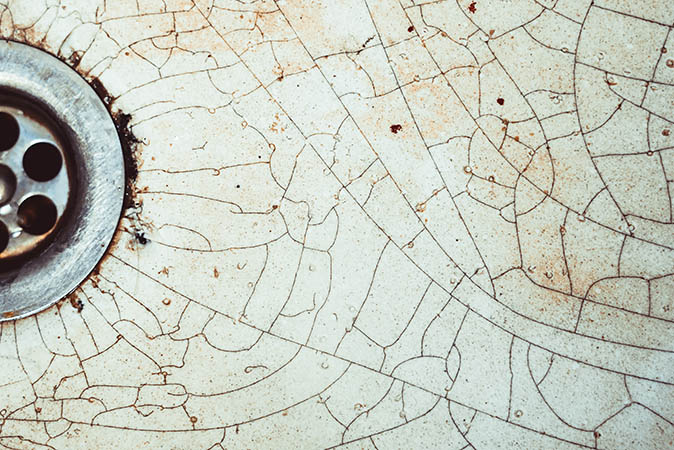
- Crack repair:
- Sand around the crack to smooth rough edges.
- Fill the crack with epoxy, smoothing it out with a putty knife.
- Allow it to dry, then sand it until smooth.
- Apply a coat of bathtub repair paint to blend the repair with the rest of the tub.
- Hole repair:
- For larger holes, a fiberglass mesh may be necessary to support the epoxy.
- Apply epoxy to the hole, pressing the mesh into place if needed.
- Allow to dry, then sand smooth.
- Apply a coat of bathtub repair paint for a finished look.
Specific Material Concerns
Different tub materials may require specific repair strategies:
- Fiberglass tub crack repair: Fiberglass is prone to cracking but responds well to epoxy fillers.
- Hairline crack in acrylic tub: Hairline cracks can be sealed with a specialized acrylic repair kit.
- Fixing a crack in a fiberglass tub: Use a fiberglass repair kit and follow a similar procedure to the general crack repair outlined above.
- Plastic bathtub crack repair: Plastic bathtubs can be repaired using a plastic-friendly epoxy or repair kit.
- Shower floor crack repair: Like fixing a bathtub crack, use a repair kit suited for your shower floor's material, then follow the procedure above for crack repair.
Post-Repair Care and Maintenance
Taking care of the repaired area and maintaining your bathtub will ensure the longevity of your DIY fixes:
- Care: Allow the repaired areas to cure fully before using your tub again. If you're not sure how long this will take, just check the product packaging.
- Maintenance: Regular cleaning and avoiding dropping heavy objects will prevent further damage.
Bathroom Refresh Ideas: Design a fresh and inviting bathroom with these creative ideas.

Common Mistakes to Avoid
Embarking on a DIY repair can be rewarding, but certain missteps could turn it into a frustrating experience. Be sure to steer clear of these common mistakes:
- Skipping preparation: Failing to thoroughly clean and dry the damaged area can disturb the adhesion of repair materials, leading to a less durable repair.
- Mismatched materials: Not using a repair kit or materials suited to your bathtub's material can cause further damage or an unsightly finish.
- Impatience: Rushing through the repair process, especially the drying and curing stages, can compromise the quality and longevity of the repair.
- Overfilling: Applying too much filler or epoxy can create an uneven surface that's hard to smooth out later.
- Skipping safety precautions: Neglecting to work in a well-ventilated area or failing to wear protective gear can pose health and safety risks.
- Ignoring manufacturer's instructions: Every repair kit comes with specific instructions. Ignoring these can lead to a failed repair.
- Neglecting post-repair care: Being too rough on the repaired area soon after the repair can lead to further damage.
Avoiding these common pitfalls will set you on a path to a successful, hassle-free repair.
Consider a Home Warranty for Plumbing and Bathroom Coverage
A home warranty from First American can help alleviate the financial strain of specific plumbing repairs when DIY skills are not enough, or the work requires a professional:
- Plumbing coverage: View coverage and add-ons for your home's plumbing to decide what coverage is best for you.
- Warranty benefits: A home warranty complements your homeowners insurance, covering many aspects of home repairs and maintenance.
Tackling bathtub crack repair, bathtub hole repair, and bathtub chip repair can be manageable tasks with a bit of patience and the right tools. A well-maintained bathtub not only elevates the aesthetics of your bathroom but also adds to the comfort and functionality of your home.
A First American home warranty helps protect your home's budget from repair and replacement costs for many types of plumbing issues, and much more. Get a quote today so you can benefit from the peace of mind of knowing that when leaks or breakdowns happen, you have a solution at hand.
Note: We're here to help guide and empower you to take on DIY projects but be sure to gauge your comfort level and skillset before taking on repair projects. If you feel uncomfortable, call a professional to ensure your safety and maintain your bathroom's use and appeal.
The contents of this article are provided for general guidance only. First American Home Warranty does not assume any responsibility for losses or damages as a result of using this information.
Please be aware that if you disassemble a covered system or item, it can invalidate your home warranty or manufacturer's warranty.



Keep Reading