
How to Install a Toilet in 10 Steps
OCTOBER 14, 2025 | Home Care Buzz Experts | 4 minute read
Installing a toilet might sound intimidating, but it’s a manageable DIY project with the right tools and a little know-how. Whether you’re replacing a toilet, upgrading your bathroom, or you’re a first timer, this guide walks you through how to install a toilet confidently and without hiring a plumber.
When It’s Time to Install a Toilet
Toilets are built to last, but there are times when installing a new one makes sense. If you’re renovating a bathroom, upgrading it to a more efficient model, or dealing with frequent clogs or leaks, it may be time for a new installation. Leaks around the base, cracks in the bowl, or an older toilet that no longer flushes properly are all signs it might be time to replace a toilet and install a new one. Please don't ignore these warning signs. Catching them early can help you avoid water damage and bigger repairs later.
Tools and Materials Needed
Before you start, gather the following items:
- Adjustable wrench
- Putty knife
- Sponge and bucket
- New toilet (with all the internal workings)
- Wax ring
- Toilet bolts
- Bathroom cleaner
- Towels or rags
- Gloves
- Mask
You may also want a pair of channel-lock pliers and mineral spirits to help with cleanup and bolt removal. Having everything ready makes it easier to follow each step in how to install a toilet correctly.
How to Install a Toilet: 10-Step Guide
Installing a new toilet? If you're working on a bathroom build or remodel and don’t need to remove an old toilet, skip ahead to Step 5. These first few steps focus on removing an existing unit.
Step 1: Turn Off the Water and Drain the Toilet
First things first:
- Turn off the water supply to your toilet
- Flush it a few times to drain the water from the tank and bowl, holding the handle down if needed
- Mop up any remaining water with a sponge
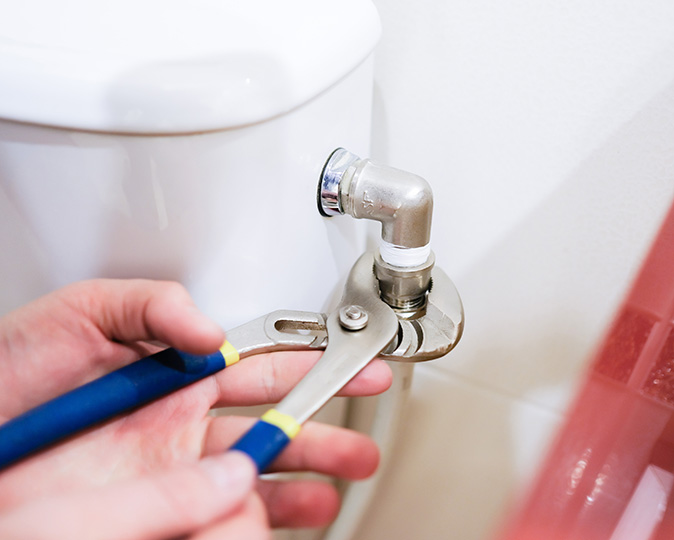
- Disconnect the water line from the tank, placing a bucket underneath to catch drips. Use channel-lock pliers if the coupling nut is tight or corroded.
Step 2: Remove the Toilet Tank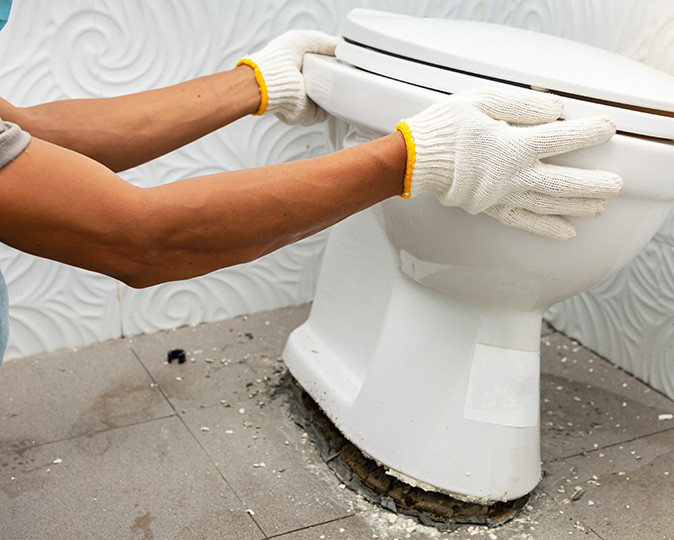
Use pliers and a screwdriver to loosen the bolts connecting the tank to the bowl. If the nuts won't budge, apply penetrating oil or cut them off with a hacksaw. Once the tank is free, lift it away and set it aside. Be careful when lifting. It may still hold a little water.
Step 3: Remove the Toilet Bowl
Unscrew the nuts that fasten the bowl to the floor. If they're stuck, applying some penetrating oil or using a hacksaw should do the trick. Lift the bowl straight up and off the flange. Have a towel ready in case water drips from the base. Remember to plug the drain with a rag to block noxious sewer gases.
Step 4: Clean Off the Old Wax Ring
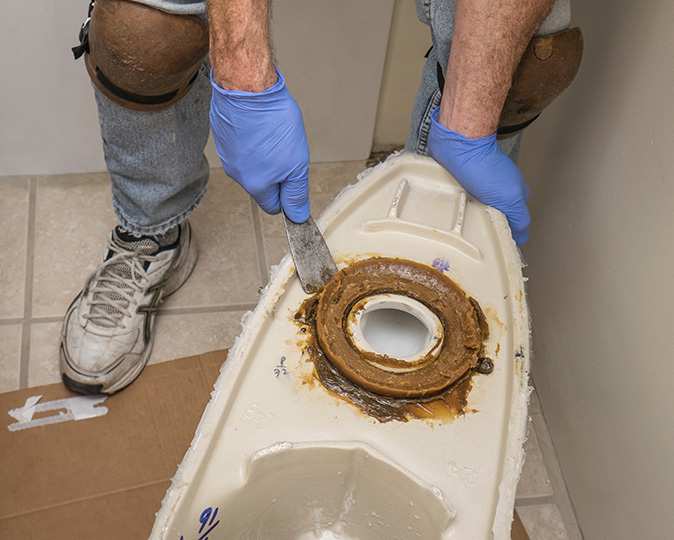
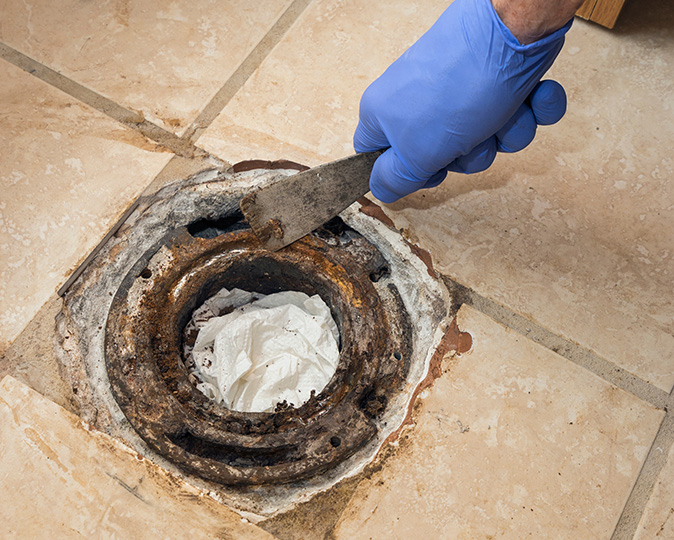
It's time for the messiest part: removing the old wax ring. Wear your gloves and mask, and scrape away the ring with a putty knife. Clean the flange and surrounding area thoroughly to ensure a good seal for the new toilet.
Step 5: Prep the Flange and Install New Bolts
- Clean the flange thoroughly with mineral spirits for a pristine surface
- Next, remove the rag from the drain
- Place new bolts into the flange, securing them with nuts or plastic washers to keep them upright and steady. Make sure the bolts are evenly spaced and aligned to match the holes in your toilet base
Step 6: Install the New Toilet Bowl
Place the new wax ring on the flange. Lower the new bowl over it, guiding the bolts through the holes. Press down firmly to seal the bowl to the ring. Avoid rocking or twisting the bowl. Just apply steady, even pressure.
If necessary, level the toilet with shims and secure it by alternately tightening the nuts on either side. Trim any excess bolt length with a hacksaw.
Step 7: Assemble and Install the Tank
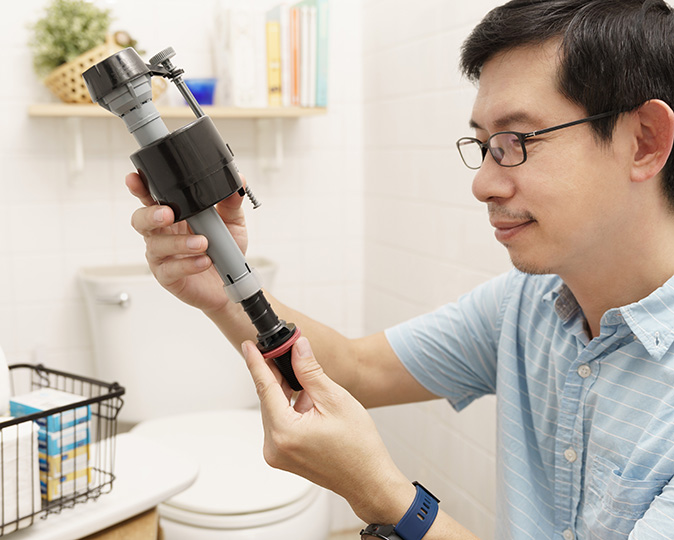 If your tank isn't preassembled, install the internal components per the manufacturer's instructions. Attach the tank to the bowl, lining the bolts with the holes. Tighten the nuts evenly to avoid cracking the porcelain. Check that the tank sits level and doesn’t wobble.
Step 8: Reconnect the Water Supply Line
Position the tank so the bolts pass through the holes in the bowl. Tighten the nuts just enough to ensure the tank is stable and level.
Then, connect the water supply line to the fill valve and slowly turn the water back on. Watch for leaks and tighten or seal connections as needed. Letting the tank fill completely before moving on is a good idea.
Step 9: Test the Flush
Allow the tank to fill and give it a flush. Check around the base and at connection points for any signs of leaks. Adjust if necessary. If you notice movement in the bowl or base, retighten the floor bolts carefully.
Step 10: Install the Toilet Seat
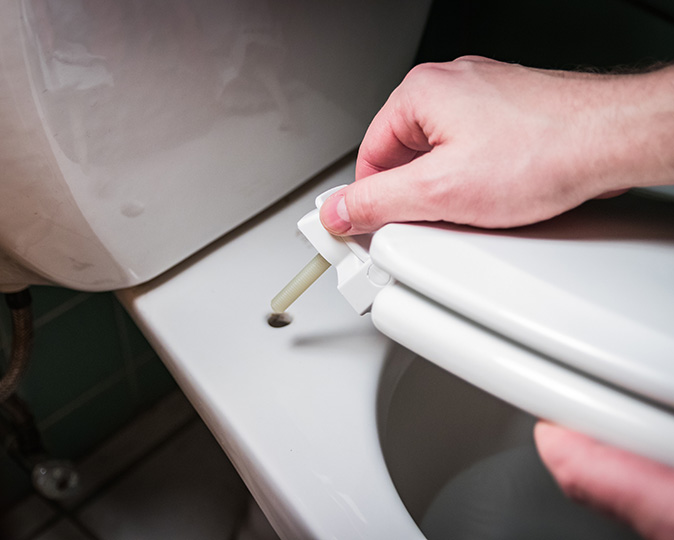
Finally, attach the toilet seat. Secure it with bolts and nuts, ensuring it's tight enough to stay put without wiggling. Double-check alignment before tightening all the way.
You’ve now completed the steps for replacing a toilet and learned how to install a toilet from start to finish. Check out these additional tips on how to keep your new tank clean and well-maintained.
Related: Our blog offers helpful tips for unclogging a toilet as well as other everyday plumbing system maintenance tips for homeowners.
Protect Your Plumbing System with a First American Home Warranty
When you have one of our home warranty plans, you can rest easy knowing covered repairs and replacements won’t flush away your savings when breakdowns occur due to normal wear. Not covered? Check out our guide to understanding home warranties to learn how coverage works.
If you want the peace of mind that comes with protecting your budget against various types of plumbing issues and more, invest in a First American home warranty. Get a personalized quote today and protect the systems and appliances that help keep your home running.
This article's contents are provided for general guidance only. First American Home Warranty does not assume any responsibility for losses or damages resulting from using this information.
Please be aware that if you disassemble a covered system or item, it can invalidate your home warranty or manufacturer's warranty.


Keep Reading






Home Care Buzz Experts
The First American Home Care Buzz team is made up of experienced home warranty writers and editors. Our team provides valuable insights and information to help homeowners like you meet the daily challenges of homeownership.
This article is about...