
How to Change the Light Bulb in a Microwave
JANUARY 08, 2026 | Home Care Buzz Experts | 4 minute read
How many people does it take to change a microwave light bulb? Only one, if you follow our step-by-step guide. In most cases, a dark microwave interior signals a burned-out light bulb. Fortunately, this is one of the easier microwave fixes to handle on your own. Knowing how to change the light bulb in a microwave can help you avoid an unnecessary service call and keep your meal planning on track.
Follow these steps to replace your microwave light bulb and discover how a home warranty can help protect your covered microwave and many other appliances when they break.
Microwave Light Bulb Safety Tips
Before getting started, it’s essential to follow a few safety precautions:
- Unplug the microwave or disconnect it from the power supply to avoid electrical shock. Don’t ever attempt to replace a microwave light bulb while the microwave is plugged in. Even a slight shock can be dangerous.
- Allow the appliance to cool down if it was recently used.
- Review your user manual to locate the bulb area and confirm you’ve purchased the correct replacement bulb type. Some models allow easy access to the microwave light bulb, while others require removing panels to access it. If your manual isn’t available, look up your microwave model number online.
What You Need to Replace a Microwave Light Bulb
Before you start, gather these tools and supplies to safely change the light bulb in your microwave:
- Phillips head screwdriver for removing a panel or light bulb cover, if needed
- Soft cloth or gloves to handle the bulb without getting oil on it
- Replacement microwave light bulb; check your user manual for the correct type
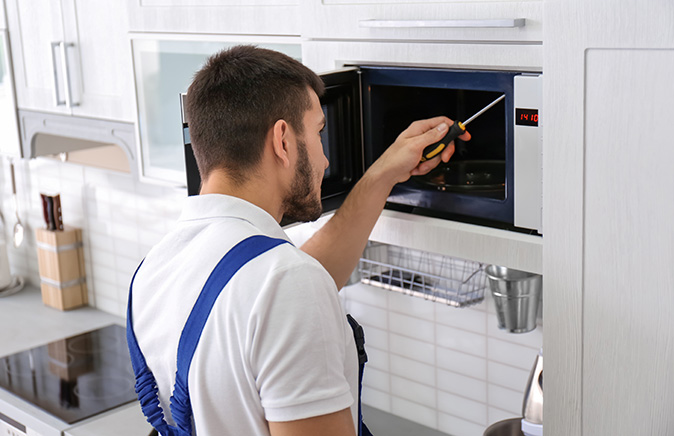
Step-by-Step: How to Change a Light Bulb in a Microwave
Use this guide to safely replace a burned-out microwave bulb.
Step 1: Disconnect the Power
Unplug the unit or turn off the circuit breaker connected to your microwave oven. Never attempt repairs while the appliance is plugged in.
Step 2: Locate the Bulb
Check your user manual to find the light bulb’s location. For most countertop models, the bulb is located behind a light bulb cover on the inside of the ceiling or side wall. For over-the-range or built-in units, the bulb may be behind a panel on the back or bottom.
If you can’t find the light bulb cover, contact the manufacturer or check your model number online for a parts diagram.
Step 3: Remove the Light Bulb Cover
Use a screwdriver (if needed) to remove the cover. Set the screws aside in a safe spot. Handle all parts gently to avoid cracking the cover or interior casing.
Step 4: Remove the Burned-out Bulb
Remove the old bulb either by carefully unscrewing it or by pulling it out (depending on your model). If the bulb looks dark or cloudy, it has likely burned out.
Step 5: Install the New Bulb
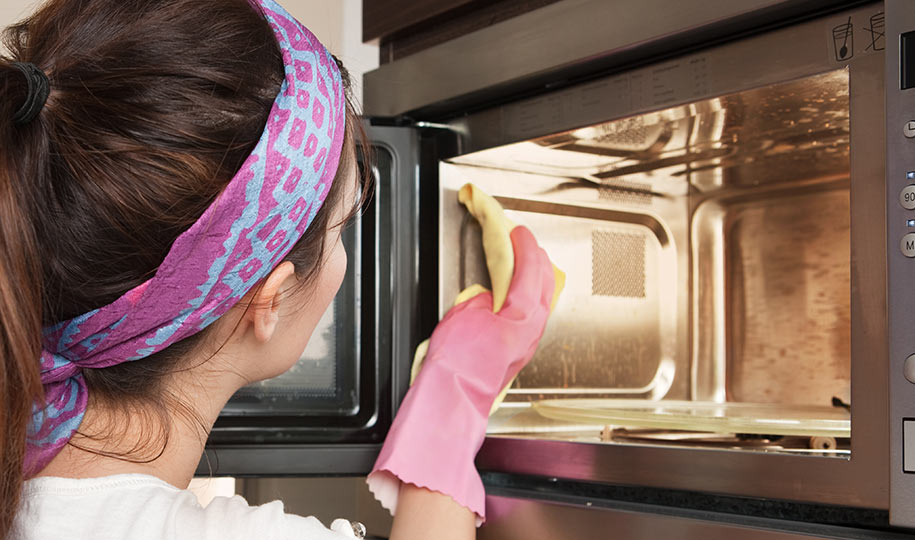
Insert the correct replacement bulb into the socket. Avoid touching it directly with your fingers. Use cloth or gloves to prevent oils from shortening the bulb’s life, particularly if it’s a halogen bulb.
Step 6: Reattach the Cover
Replace the light bulb cover and any screws you removed. Make sure everything is secured snugly but not over-tightened.
Step 7: Restore Power and Test
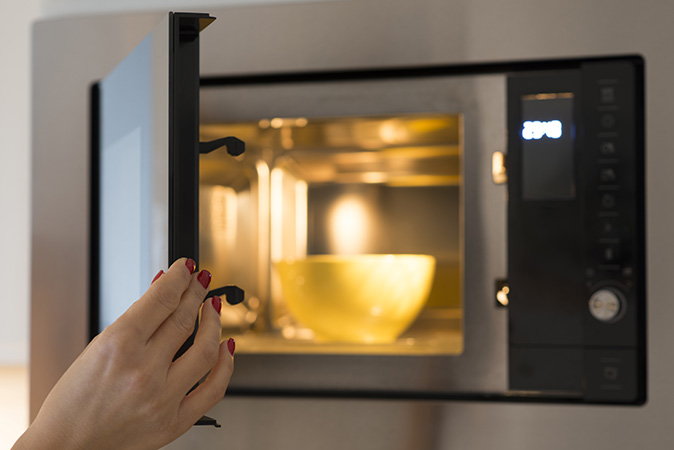
Plug your microwave back in (or turn the breaker back on). Open the door or start a short cook cycle with some food inside (never run a microwave with nothing in it) to confirm the new bulb is working.
When to Call a Pro
If you’ve followed the steps above and the bulb still isn’t working, there could be another issue at play, such as a faulty light socket, wiring problem, or blown internal fuse. In that case, it’s a good idea to contact a technician to evaluate the appliance.
Over-the-range microwaves may require more technical disassembly to locate the light bulb, which may involve taking the unit down from the wall. You may feel more comfortable bringing in a pro to tackle your light bulb replacement, especially if your microwave is a larger, heavier model.
Protect Your Microwave (and More) with First American
Swapping out a microwave light bulb is a quick fix, but not every issue is that simple. First American Home Warranty can help when your covered microwave stops working altogether. Our plans include coverage for built-in microwave ovens and many other major appliances that help keep your home running smoothly — so you can skip the stress and focus on what matters most.
Get a free quote today and explore our coverage options to see how we help protect your home and your budget.
FAQs on Changing Microwave Light Bulbs
Can I use any bulb to replace my microwave light?
No. Always use the bulb type listed in your user manual. Some models require appliance-specific bulbs that handle high temperatures.
Why did my new microwave bulb burn out quickly?
Touching the bulb directly can transfer oils that reduce its lifespan. Always use gloves or a cloth when installing a new bulb.
Where can I find my microwave model number?
Look inside the microwave door frame or on the back wall of the unit. You’ll need this to look up parts and diagrams.
What if I can't access the bulb in my over-the-range microwave?
Some built-in units require you to remove the microwave from the wall. If that's the case, it may be safer to call a professional.
How long do microwave light bulbs usually last?
Most bulbs last between 1,000 and 2,000 hours of use. If you use your microwave often or leave the door open frequently, the bulb may burn out faster.
The contents of this article are provided for general guidance only. First American Home Warranty does not assume any responsibility for losses or damages as a result of using this information.
Please be aware that if you disassemble a covered system or item, it can invalidate your home warranty or manufacturer's warranty.


Home Care Buzz Experts
The First American Home Care Buzz team is made up of experienced home warranty writers and editors. Our team provides valuable insights and information to help homeowners like you meet the daily challenges of homeownership.
This article is about...