
How to Fix a Leaky Outdoor Faucet
JULY 21, 2025 | Home Care Buzz Experts | 5 minute read
Project Overview

Beginner

1 Hour

< $150
All Values are Estimates
A leaky outdoor faucet might not seem like a big deal, but it can waste water, raise your bill, and lead to bigger problems down the line — including damage to the exterior wall or foundation near the faucet. In many cases, the fix is quick and something you can often handle without calling a plumber.
Whether the drip is coming from the spout, the handle, or the connection point, we’ll show you how to find the problem and fix it, step by step.
What Is a Hose Bib?
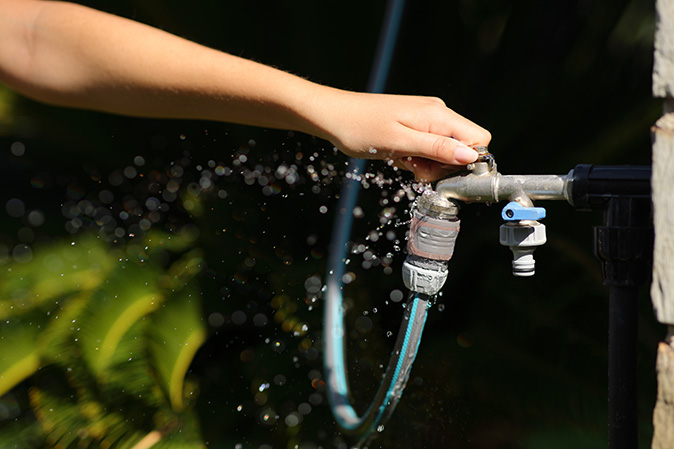
A hose bib, also called an outdoor faucet or spigot, is the tap on the outside of your house, where you connect your garden hose.
It’s usually mounted to your home’s exterior and connected to your main water supply. When you turn the handle, it opens a valve that lets water flow through the hose. But like any fixture, wear and tear on the hose bib can cause leaks over time.
What Causes Hose Leaks at the Spigot?
There are a few common reasons your hose might leak at the outdoor spigot. These include the following:
- The washer inside the hose bib is worn out.
- The packing nut is loose, or the packing is worn.
- The faucet threads are damaged or rusty.
- The hose itself is cracked or not connected tightly.
- Freezing temperatures caused a crack in the pipe or faucet.
Figuring out the source of the problem is the first step to fixing it and preventing future leaks.
How to Fix a Leaky Hose Bib: 7 Easy Steps
Fixing a leaky outdoor faucet is a job you can usually handle with a few basic tools. Here’s a simple step-by-step guide to walk you through it.
Step 1: Collect the Right Tools
Fortunately, you probably already have most of the tools and materials needed to fix a leaky outdoor faucet yourself:
- Adjustable wrench
- Flathead screwdriver
- Penetrating oil
- Replacement washer or packing
- Teflon (plumber’s) tape or graphite string
- Rag or towel
- Bucket
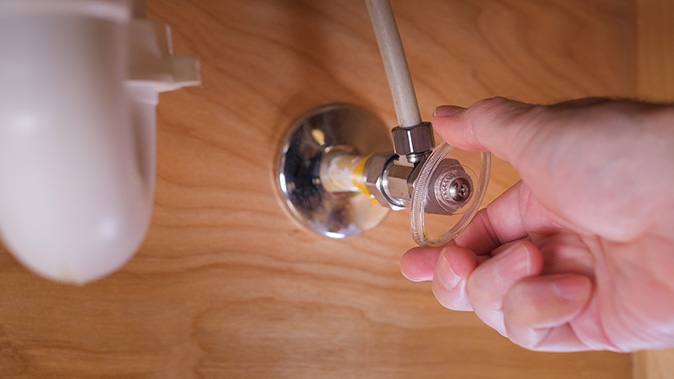
Step 2: Turn Off the Water
Start by turning off the water supply to the faucet. Most homes have a shut-off valve inside, often located where the pipe runs out to the exterior wall. If your home doesn’t have one, you’ll need to turn off the main water valve instead.
Once the water is off, go outside and open the faucet to let any remaining water drain out. This will help prevent drips or spills while you work.
Step 3: Remove the Handle
Next, remove the faucet handle so you can reach the parts inside. Use a flathead screwdriver to remove the screw in the center of the handle, then gently slide the handle off the stem. If it’s stuck, you can wiggle it a bit or gently tap it with a hammer or mallet.
Set the handle and screw aside — you’ll need them when it’s time to reassemble everything in Step 6.
Step 4: Loosen the Packing Nut
With the handle removed, you’ll see a hex-shaped nut, called a packing nut. This nut helps seal the faucet and holds the stem in place. Use an adjustable wrench to turn the nut counterclockwise.
If it doesn’t move easily, apply a little penetrating oil and let it sit for a few minutes before trying again. Once the nut is loose, pull it off and set it aside.
Step 5: Replace the Washer or Packing Material
Now, gently pull the faucet stem straight out of the hose bib. On the end of the stem, you’ll find a small rubber washer. This washer is often the cause of leaks if it’s cracked, brittle, or worn down. Remove the screw holding the washer in place, swap in a new one of the same size, and tighten the screw.
If the leak is coming from the handle area instead of the spout, the packing material inside the nut might be the issue. You can fix this by wrapping new graphite string or plumber’s (Teflon) tape around the stem where the packing nut sits. This helps form a better seal when you put everything back together.
Step 6: Reassemble the Faucet
Slide the stem back into the faucet body, then screw the packing nut back on. Use your wrench to tighten the nut, but don’t overdo it or you could strip the — a snug fit is all you need.
Reattach the handle with the screw you set aside earlier. Once it’s in place, turn the handle to make sure it moves smoothly and doesn’t feel loose.
Step 7: Turn the Water Back On and Check for Leaks
Turn the water back on slowly so you can watch for any leaks as the pressure builds. Open the outdoor faucet and check carefully around the spout, the packing nut, and the handle.
If water is still dripping, you may need to tighten the packing nut a little more. If that doesn’t solve the problem, the hose bib may be too worn or corroded to fix and might need replacement.
How to Prevent Your Hose Spigot from Leaking
Here’s how to help your outdoor faucet last longer and avoid future leaks:
- Disconnect your hose before winter: Leaving it attached can trap water in the pipe, which may freeze and cause it to burst.
- Use a hose bib cover: A simple foam cover helps protect the faucet from freezing temperatures.
- Avoid overtightening the handle: Turning the handle too hard can wear down the washers and damage the stem.
- Inspect washers and packing each spring: Replacing worn parts before you use the outdoor faucet can stop small leaks before they get worse.
- Drain and shut off outdoor faucets in freezing weather: If your faucet has a shut-off valve inside, use it to prevent freezing and pipe damage.
- Install a frost-free hose bib: If you live in a cold climate, this type of faucet can help prevent freeze damage year-round.
Wrap Up Your Repairs With a Home Warranty
Fixing a leaky outdoor faucet can be a simple DIY project, but plumbing issues don’t always stop there. If something bigger goes wrong, having home warranty coverage can help take care of plumbing repairs and replacements on covered equipment.
Get a free quote today from First American Home Warranty and find out how we can help protect your home's plumbing system and more.
Leaking Hose Bib FAQs
Can you still use a hose bib that’s leaking?
You can use an outdoor faucet that’s leaking, but it’s not a good idea. Even small leaks waste water and can cause damage to the surrounding area.
What’s the cost to replace a hose bib?
Replacing a hose bib usually costs between $100 and $200 if you need a plumber. Other factors that impact cost are location and if there's pipe damage.
Should I get a frost-free hose bib?
Yes, if you live in a colder climate, a frost-free hose bib helps prevent freezing and cracking during the winter months.
The contents of this article are provided for general guidance only. First American Home Warranty does not assume any responsibility for losses or damages as a result of using this information.
Please be aware that if you disassemble a covered system or item, it can invalidate your home warranty or manufacturer's warranty.

Keep Reading






Home Care Buzz Experts
The First American Home Care Buzz team is made up of experienced home warranty writers and editors. Our team provides valuable insights and information to help homeowners like you meet the daily challenges of homeownership.
This article is about...