
Ceiling Fan Installation Guide
JULY 20, 2023 | Home Care Buzz Experts | 4 minute read
If you’ve read our blog on how your ceiling fan direction can affect the temperature and comfortability of your home, you may want to purchase more of them for your home. Running a ceiling fan can make your home feel up to four degrees cooler in the summer and help you save on your winter utility bill. These helpful fixtures keep the fresh air flowing in your home and even elevate your design style or serve as a main light fixture in a room.
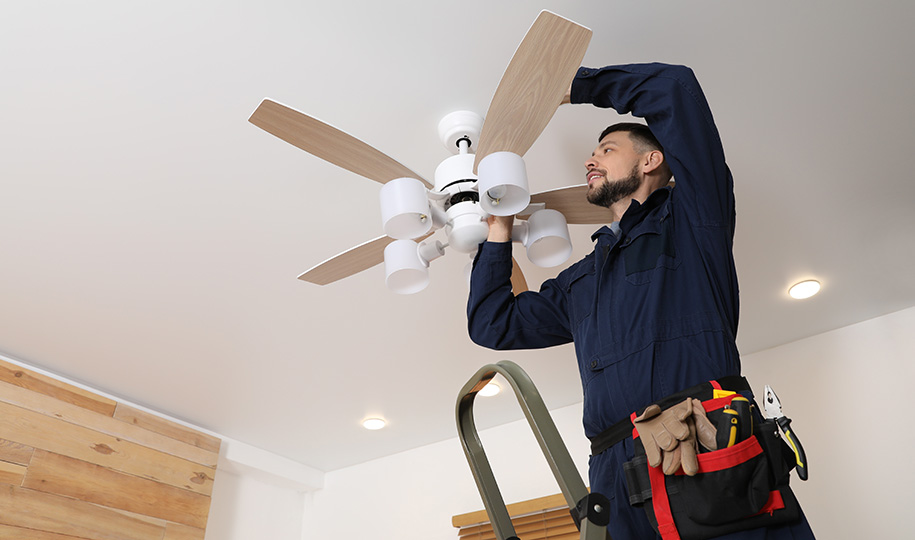
Luckily, installing a new one is fairly easy, and with just a little DIY experience, you can confidently install a ceiling fan in your home. However, unless you’re replacing an existing ceiling fan, you’ll likely need an electrician to upgrade your electrical box to one rated for these appliances. Once you have the right box, follow these eight steps:
1. Turn off the Power.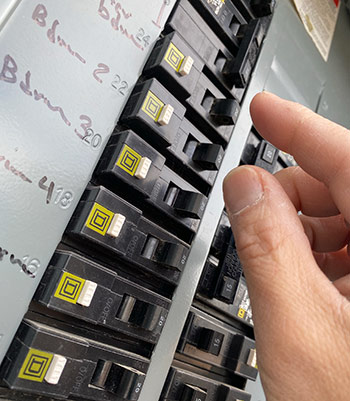
Shut off the electricity to the circuit that powers your ceiling fan. This will ensure your safety and keep your wiring and new fixtures safe.
2. Determine If You Need to Install New Wiring.
If you’re replacing an existing light fixture, the same wiring setup will work for your new ceiling fan, saving you some steps in the setup process. If you’re comfortable trying some types of electrical work, you can also learn how to install a ceiling fan without existing wiring.
For the scope of this guide, we’ll assume you’re replacing an old fixture with your new ceiling fan.
3. Remove the Old Light Fixture or Fan.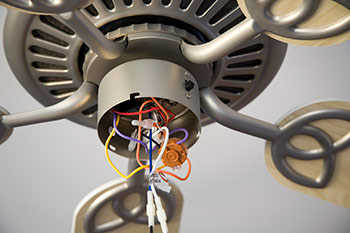
If your fixture has a light, remove the glass globe or cover. Then, unscrew the light or fan from the ceiling. Use your voltage tester to test whether the wires are active. If clear, disconnect any ceiling fan wiring by untwisting the connectors that hold them together.
4. Check the Electrical Box.
Unless you’re replacing an existing ceiling fan, you may need to upgrade your electrical box to one rated for ceiling fans. If your old electrical box is nailed down, you may need to remove it with a tool like a pry bar. (Be careful using a prying tool to avoid damage to the ceiling.) Otherwise, you may be able to unscrew it from its base.
Installing your new box may be messy and time-consuming, but to properly set up your fan, it’s essential to learn how to install a ceiling fan electrical box. The process involves:
- Using a drywall saw to create a hole, or expand an existing hole
- Mounting the new box
- Installing any new wiring
- Securing all the components
5. Choose a Ceiling Medallion.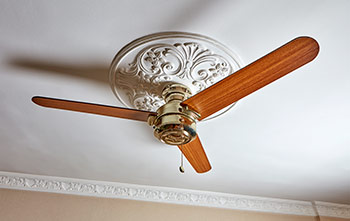
Changing or checking your electrical box may leave you with a sizeable hole in your ceiling, which can be covered by a ceiling medallion — a decorative piece that covers any wiring and holes — before hanging a ceiling fan. When selecting a medallion that suits your style, be sure to size it correctly so the diameter matches closely to the area around the ceiling fan light fixture.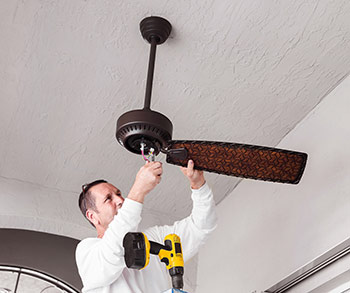
6. Assemble Your New Ceiling Fan.
It’s a good idea to assemble your fan on a floor or flat surface before installing it. This will help you avoid confusion or unnecessary risks while standing on a ladder and mounting a ceiling fan. (This step also helps you to check that all the parts required for the installation were included in the box.)
7. Set Up the Lighting for Your Ceiling Fan.
Now that your fan is assembled, you need to hook up the lighting wires. (Understanding wiring colors is essential to this step.) To ensure the ceiling fan’s lights will work properly, feed any lighting wires through the hole in the fixture. You can then hide any exposed wiring with the fan’s lighting kit — then screw on the housing and tighten the screws.
8. Light Things Up.
 Once you’ve successfully wired the lighting kit onto your fan, add the LED or light bulb of your choosing, and screw in the globe or cover to complete installation. Turn on the ceiling fan and/or light to ensure the fixture is working correctly.
A ceiling fan installation isn’t a complicated task, but if you’re wondering what tools you need to install one, here’s what to have on hand:
- Ladder
- Screwdriver(s)
- Drill and bits
- Wrenches
- Wire strippers
- Electrical tape
- Wire connectors
- Electrical tester
Optional tools:
- Drywall saw
- Additional ladder
- Caulk gun
- Touch-up paint
Once you’ve completed your ceiling fan installation, you can protect your hard work with a home warranty from First American. Our plans cover exhaust, attic, and ceiling fans when they break, so you can keep the fresh air flowing. Get a free quote today and find out how much you could save.
Ceiling Fan Installation FAQs
Q. Do you need an electrician to install a new ceiling fan?
It depends! If you’re comfortable with a little DIY electrical work, installing a ceiling fan can be an easy task. But if you’re not the handy type, you can call an electrician to ensure your fan is installed safely and correctly.
Q. How much does it cost to install a ceiling fan?
The cost to install a ceiling fan varies based on factors, including the type of ceiling fan, your location, and how complicated the installation is. The typical range for a home ceiling fan is between $100-600.
The contents of this article are provided for general guidance only. First American Home Warranty does not assume any responsibility for losses or damages as a result of using this information.
Please be aware that if you disassemble a covered system or item, it can invalidate your home warranty or manufacturer’s warranty.








Home Care Buzz Experts
The First American Home Care Buzz team is made up of experienced home warranty writers and editors. Our team provides valuable insights and information to help homeowners like you meet the daily challenges of homeownership.
This article is about...