
Imagine coming home after a heavy rainstorm to find your basement flooded. Or maybe you've noticed a persistent damp smell and mold growing in the corners. If you have a wet basement, you're not alone. It's estimated that 60% of homeowners with basements will eventually experience water issues. Keeping your basement dry is crucial to prevent structural damage, mold growth, and unhealthy living conditions. While some basement waterproofing tasks require professional help, there are several DIY steps you can try first. This guide will walk you through the process of waterproofing basements, helping you protect your home and maintain a healthy environment.
When You Need to Waterproof Your Basement
The first step is knowing when and if you must waterproof your basement. There are a few telltale signs to watch for:
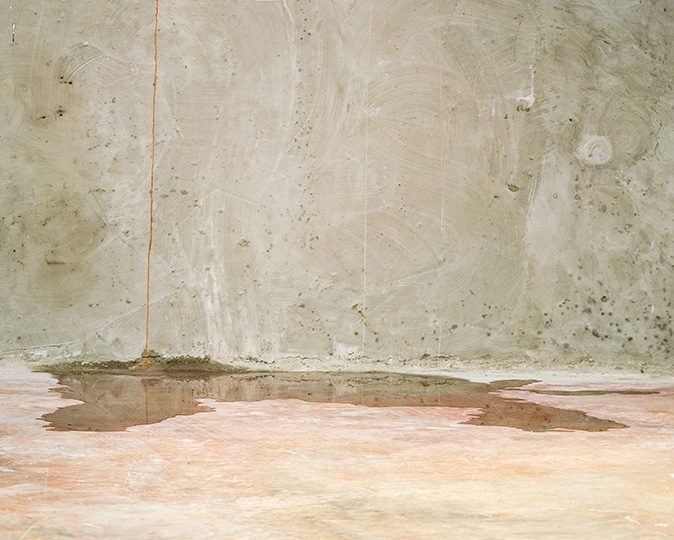
- Visible water leaks
- Cause: Cracks in walls or foundation
- Risks: Structural damage and potential flooding
- Damp spots on walls or floor
- Cause: Poor insulation or groundwater seepage
- Risks: Mold growth and weakened structure
- Mold or mildew
- Cause: Persistent moisture
- Risks: Health issues and damage to stored items
- Musty odors
- Cause: Hidden moisture and poor ventilation
- Risks: Indicates underlying dampness that can lead to mold
- Efflorescence (white, powdery residue)
- Cause: Water seepage bringing salts and minerals to the surface
- Risks: Signs of water intrusion that can lead to more severe issues
If you notice any of these signs, it's time to consider basement foundation waterproofing to prevent further damage.
Related: Does a home warranty cover frozen pipes?
How Much Does Waterproofing Basements Cost?
Whether you opt for DIY solutions or hire professionals, understanding the cost breakdown can help you plan and budget effectively. Below is a detailed table showing the typical expenses involved in DIY and professional basement waterproofing projects.*
|
Method |
Cost Range |
|
DIY Methods |
|
|
Waterproofing paint or sealant |
$30 - $200 per gallon |
|
Hydraulic cement for crack repairs |
$20 - $50 per large container |
|
Caulking gun and silicone caulk |
$10 - $30 for small cracks |
|
Wire brush and cleaning supplies |
$10 - $50 |
|
Sump pump installation |
$150 - $700 |
|
Total DIY Cost Range |
$220 - $730 |
|
Professional Help |
|
|
Basic interior waterproofing |
$500-10,000 |
|
Exterior excavation and waterproofing |
$3,000 - $15,000 |
|
Comprehensive basement waterproofing system |
$1,500- $20,000 |
|
Total Professional Cost Range |
$500-$20,000 |
*Prices sourced from individual product research and This Old House. Pricing is variable based on basement size, type of waterproofing, and extent of damage/issue.
How to Waterproof Basements
Waterproofing your basement helps protect your home from water damage, mold growth, and structural issues. Here's a detailed guide to help you through the process.
Tools You'll Need
- Waterproofing paint or sealer
- Wire brush
- Hydraulic cement
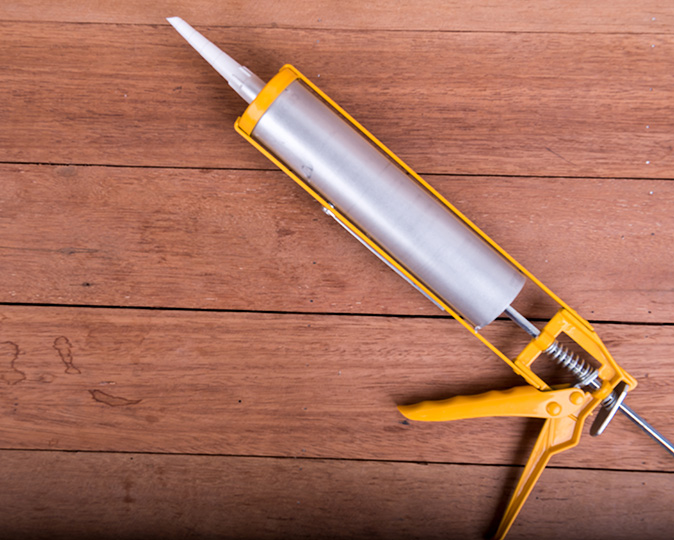
- Caulking gun and silicone caulk
- Paint roller and brushes
- Safety equipment (gloves, goggles)
Step-by-Step Guide
1. Remove Standing Water and Dry the Area
- Ensure the basement is completely dry: Remove standing water using a wet/dry vacuum. Set up fans and dehumidifiers to dry out the area thoroughly. Starting with a completely dry basement is essential to ensure the waterproofing materials adhere properly.
2. Clean and Prepare the Area
- Remove dust, grime, and old paint: Use a wire brush to scrub the walls and floors, removing any dust, grime, and old paint. This helps create a clean surface for the waterproofing materials to adhere to. (Read more on how to clean mold.)
- Check for mold or efflorescence: Look for any signs of mold or efflorescence (a white, powdery residue). Clean these areas with a mold remover or a mixture of water and bleach. Rinse well and let dry.
3. Plug Holes and Cracks
- Fill any gaps and cracks: Use hydraulic cement to fill any visible cracks and gaps in the walls and floors. Hydraulic cement expands as it dries, making it effective for sealing cracks. Mix according to the manufacturer's instructions and apply with a trowel, pressing firmly into the cracks. Allow it to cure as per the instructions.
4. Seal Windows and Doors
- Apply caulking: For basement sealing, use a caulking gun to apply silicone caulk around windows, doors, and any other openings. You can also try weatherstripping doors to seal any larger gaps. Pay special attention to window wells and any penetrations through the foundation walls, such as pipes or ducts. This prevents water from seeping in through these areas and helps insulate a basement.
5. Apply Waterproof Coating
- Choose the right waterproofing paint: When you're learning how to waterproof basement walls and floors, the first step is selecting a high-quality waterproofing paint or sealer suitable for masonry surfaces. Options include masonry paint, epoxy paint, and acrolein elasticized paint, all known for their water-resistant properties.
- Apply the first coat: Using a paint roller or brush, apply the first coat of waterproofing paint to the walls and floors. Ensure even coverage, working the paint into any crevices or uneven areas.
- Let it dry: Allow the first coat to dry according to the manufacturer’s instructions. This usually takes a few hours but may vary.
- Apply the second coat: Apply a second coat for added protection. Again, ensure even coverage and pay attention to areas needing extra sealing.
6. Install a Sump Pump (if needed)
- Choose the right sump pump: If your basement experiences regular flooding, consider installing a sump pump. There are two main types: pedestal pumps (less expensive, easier to install) and submersible pumps (more effective, more complex to install).
- Install the sump pump: Place the pump in a sump pit dug at the lowest point of your basement. Connect the discharge pipe to direct water away from the foundation. Ensure the pump has a battery backup for power outages.
7. Maintain Exterior Drainage
- Check gutters and downspouts: Make sure gutters and downspouts are clean and in good repair. Downspouts should direct water at least 4-6 feet away from the foundation.
- Grade the ground: Ensure the ground slopes away from the foundation. You may need to add soil in certain areas to achieve the proper grade.
More Ways to Protect Your Home
Waterproofing your basement is vital to protecting your home from water damage, mold growth, and structural issues. By following the steps outlined above, you can effectively seal your basement and help prevent future problems. However, maintaining a dry basement is only one aspect of home protection.
Consider getting a home warranty to protect your home's appliances and systems. Coverage can save you money on unexpected repairs and replacements when covered items fail due to normal wear and tear. A home warranty can provide peace of mind and protect your budget by ensuring you are prepared when an appliance or home system stops working. Get a free online quote today to learn more.
The contents of this article are provided for general guidance only. First American Home Warranty does not assume any responsibility for losses or damages as a result of using this information.
Please be aware that if you disassemble a covered system or item, it can invalidate your home warranty or manufacturer's warranty.


Keep Reading






Home Care Buzz Experts
The First American Home Care Buzz team is made up of experienced home warranty writers and editors. Our team provides valuable insights and information to help homeowners like you meet the daily challenges of homeownership.
This article is about...