
How to Do an Oven Door Gasket Replacement
SEPTEMBER 02, 2025 | Home Care Buzz Experts | 4 minute read
If your oven isn’t holding heat like it used to, the issue might not be the heating element. Instead, it could be the oven door gasket. Also known as the oven door seal, this rubber or fibrous strip lines the edge of your oven door and helps keep heat inside during cooking and baking. When it wears out, your oven can lose heat, become less efficient, and cook food unevenly.
This is true for both electric and gas ovens. Without a proper seal, your oven must work harder to maintain the right temperature. That not only increases energy use, but it can also shorten the life of your appliance. The good news? Replacing an oven door gasket is a common DIY-friendly project you can tackle yourself.
Signs Your Oven Door Gasket Needs Replacing
Not sure if your gasket is to blame for your oven’s heat loss? Here are some common signs that it may be time for an oven gasket replacement:
- Heat escapes around the door while cooking and baking
- Food is taking longer to cook or bakes unevenly
- The oven struggles to preheat or maintain the right temperature
- You feel warm air coming from the sides when the door is shut
- The gasket looks cracked, frayed, flattened, or brittle
Sometimes, a quick visual inspection is all it takes to realize your gasket has reached its limit. If the oven door seal looks damaged or worn down, replacing it can make a big difference.
Tools and Materials You’ll Need
Before you begin your oven door gasket replacement, gather the following tools:
- A new gasket (specific to your oven’s make and model)
- Screwdriver (if needed for either removal or new gasket installation)
- Mild soap and warm water
- Clean cloth or sponge
- Work gloves
Some ovens use a rubber oven door gasket, which is common in newer ranges and slide-in models. Others may use a fiberglass rope gasket, especially in wall ovens or older units. Either way, it’s important to get the right fit. Not sure what type you need? Check your oven model number (usually found inside the door or on the back panel) and refer to your user manual.
Safety Tips for Your Oven Gasket Replacement
Once you’ve gathered your tools and the correct gasket, it’s essential to take a few safety precautions before you get started. Make sure the oven is turned off and completely cool. Wear gloves to protect your hands from sharp metal edges and avoid forcing the new gasket into place. It should fit snugly without excessive stretching. Never run your oven without a gasket installed.
Step by Step: How to Replace an Oven Door Gasket
Step 1: Turn Off the Oven
Before starting, make sure your oven is completely off and cool. Whether you have a standard or wall oven, it’s also a good idea to turn off the circuit breaker, too.
Step 2: Locate the Gasket
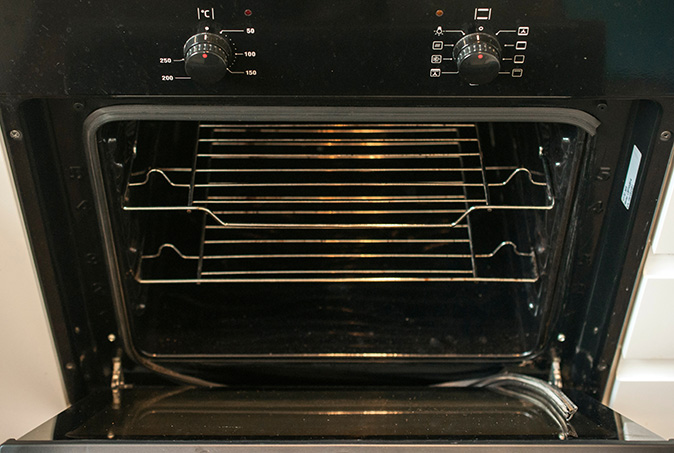
Open the oven door fully. The gasket is a flexible rubber or fiberglass rope that lines the inner edge of the door or, on some models, the oven cavity.
Step 3: Remove the Old Gasket
Carefully pull the gasket out of its mounting holes or channel. Some gaskets may be held in place with clips or screws. If it’s stuck, gently wiggle it loose, or refer to your manual for instructions.
Step 4: Clean the Area
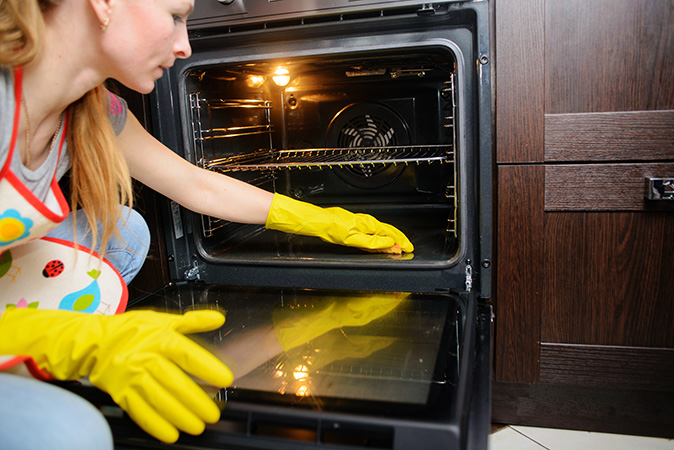
Clean the channel where the gasket was installed with a damp cloth and mild soap. This helps the new oven door seal grip securely.
Step 5: Install the New Gasket
Line up the new gasket with the holes or channels and press it into place. Work your way around evenly, ensuring it sits snugly with no twists or gaps.
Step 6: Test the Fit
Close the oven door and check for any bulges or loose areas. The gasket should compress slightly and create a tight seal.
Step 7: Turn the Oven Back On
Once the new oven door gasket is in place, you can turn your oven back on and test it.
Test Your Oven After Replacing the Gasket
Once your new oven door gasket is installed, running a quick test is a good idea. Turn your oven to 350°F and let it preheat. Check to see if:
- Heat is staying inside the oven
- The door is closing snugly without resistance
- The oven is maintaining its correct temperature
You can also place your hand a few inches from the door’s edge to feel for any escaping heat. A new, properly installed gasket should stop most of that airflow.
How to Keep Your Oven Gasket in Good Shape
You can help extend the life of your new oven door seal with a few simple habits:
- Avoid slamming the oven door
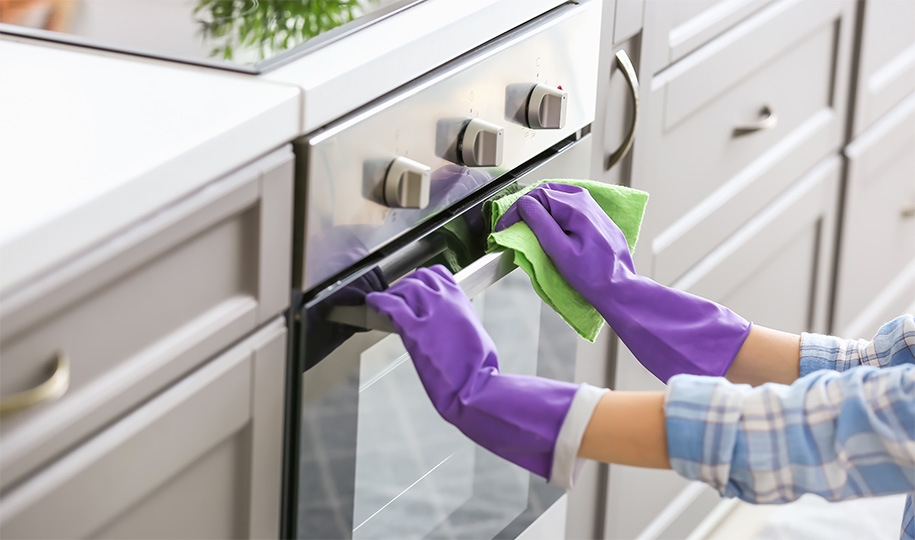
- Wipe down the gasket regularly with a damp cloth
- Don’t use harsh chemicals when cleaning the oven cavity
- Inspect the seal every few months for signs of wear
With routine maintenance, your new gasket could last 5 to 10 years. However, frequent oven use or high-heat cleaning cycles may cause it to wear out sooner.
What if the New Gasket Doesn’t Fix the Problem?
If your oven still doesn’t work correctly after replacing the gasket, the issue might be elsewhere. It could be a faulty heating element, a worn-out thermostat, or even misaligned door hinges. In some cases, the oven door frame might be warped, or there could be a power issue like a tripped circuit breaker.
If you’ve checked the basics and your oven still isn’t holding heat, it’s probably time to call a pro to diagnose the cause of the problem.
Can a Home Warranty Help?
Replacing a worn oven door gasket can improve heat retention and cooking or baking performance. However, if your oven still isn’t working correctly after a gasket replacement, the problem might be more serious. Having home warranty coverage can help safeguard your budget when your oven requires a covered repair or replacement.
First American home warranty plans cover many major home appliances and systems you use every day to keep your household running smoothly. Our plans can help you manage costly repairs or replacements when covered items unexpectedly break, giving you budget protection and valuable peace of mind.
Get a free quote today to learn more about our coverage and the peace of mind it offers.
The contents of this article are provided for general guidance only. First American Home Warranty does not assume any responsibility for losses or damages as a result of using this information.
Please be aware that if you disassemble a covered system or item, it can invalidate your home warranty or manufacturer's warranty.




Keep Reading




Home Care Buzz Experts
The First American Home Care Buzz team is made up of experienced home warranty writers and editors. Our team provides valuable insights and information to help homeowners like you meet the daily challenges of homeownership.
This article is about...