
Project Overview

Intermediate

1 Hour and 30 Minutes

< $150
All Values are Estimates
Want to create a softer glow in your living room or better lighting control in your bedroom? A dimmer switch may be your best solution. Learning how to install a dimmer switch is a simple way to boost comfort, save energy, and add a touch of style to your home.
Whether you're changing a switch to a dimmer for the first time or upgrading an older one, this project is beginner friendly with the right tools and safety steps. Our guide walks you through the installation process, explains what a dimmer switch is, and helps you choose the right switch for your setup.
What Is a Dimmer Switch?
Before we get into the details on how to install a dimmer switch, it’s helpful to understand what a dimmer switch does. Unlike a standard light switch that simply turns lights on or off, a dimmer light switch allows you to control the brightness level. It adjusts the amount of electricity flowing to the light fixture, letting you dial in exactly how much light you want.
Dimmer switches are useful for creating a comfortable ambiance, saving energy, and extending the life of your bulbs. Many modern dimmer switches are compatible with LED, incandescent, and halogen bulbs, but it’s important to check before installation.
What You’ll Need to Install a Dimmer Switch
Before you begin, gather everything you’ll need for the installation:
- A compatible dimmer light switch
- Flathead and Phillips screwdrivers
- A voltage tester to confirm the power is off
- A wire stripper
- Wire connectors (usually included with the dimmer)
- Electrical tape
- A flashlight (in case you're working in a dark area)
Having the right tools ready ahead of time helps the project progress faster and more safely.
Note: Electrical work can be dangerous. If you don’t feel confident with DIY projects like this one, stop and contact an electrician.
Safety First: Turn Off the Power
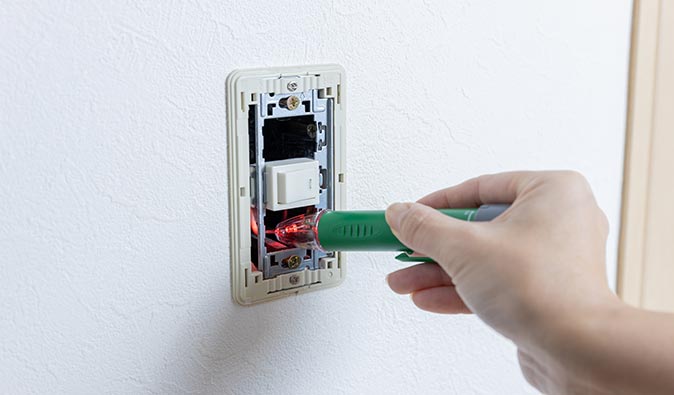
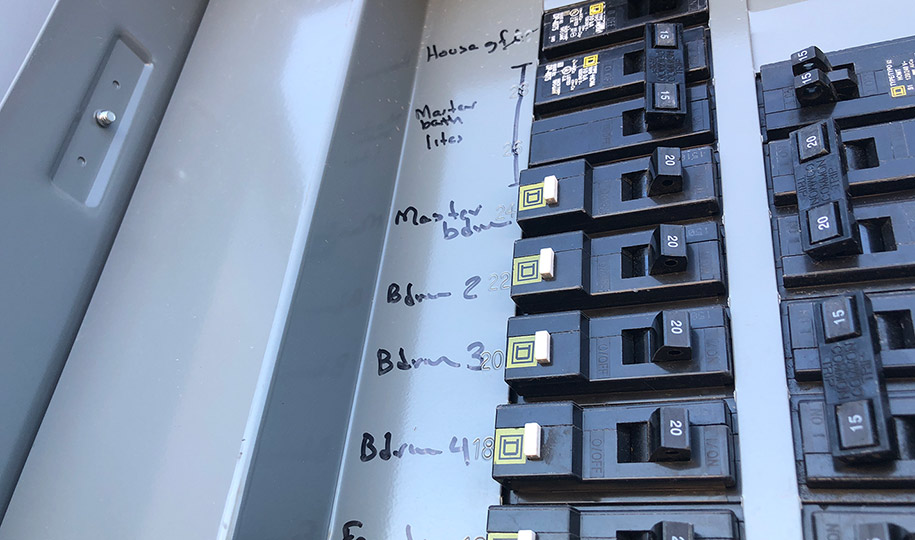
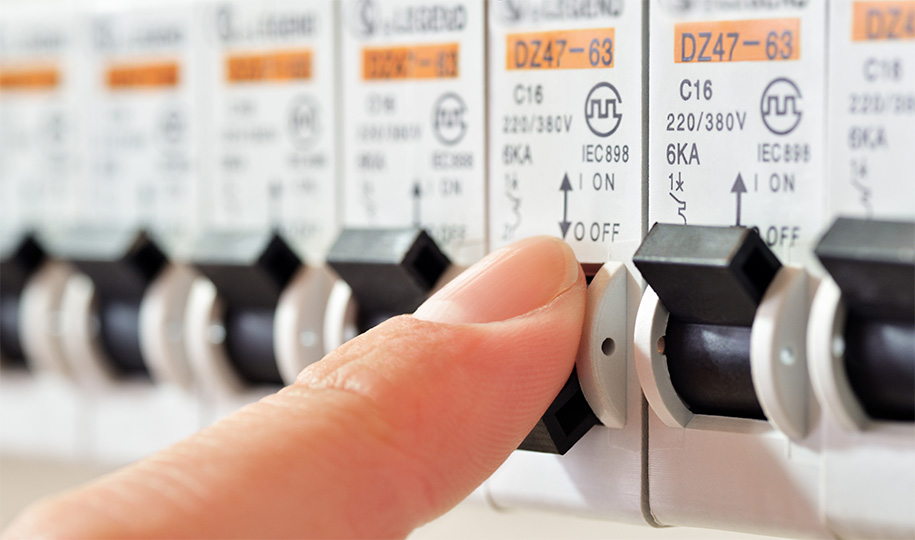
Before doing anything with wires, head to your breaker box and turn off the power to the whole house (preferred for safety). You can also turn off power to the light switch you’re replacing if you’re confident it’s the right circuit, or your panel is well-mapped. In either case, you must use a voltage tester to confirm that the power is off at the switch you are working on. This step is critical. Never work on a live electrical connection.
Step-by-Step Guide: How to Install a Dimmer Switch
Step 1: Remove the Old Switch
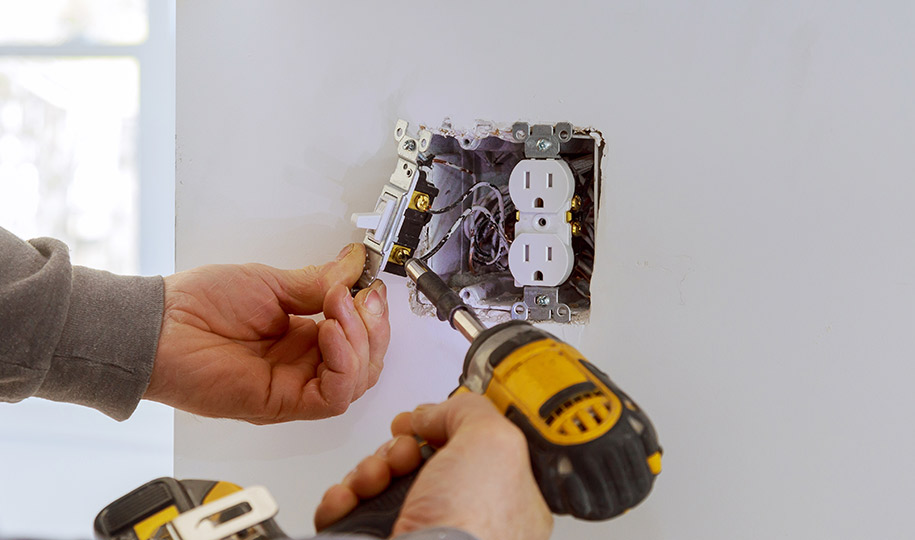
Start by unscrewing and removing the wall plate. Then unscrew the existing light switch from the electrical (junction) box and gently pull it out. Use your voltage tester again to confirm that no power is running through the wires.
Step 2: Disconnect the Wires
Once you're sure the power is off, take a photo of the wiring setup, then carefully disconnect the wires from the old switch. Depending on your setup, you may see two or more wires connected with screws or inserted into small holes.
Pro tip: Taking a photo is also helpful in Step 3, when you’re ready to connect the wiring to the new switch.
Step 3: Connect the New Dimmer Light Switch
Now it’s time to wire your new dimmer. Most dimmers come with black wires that should connect to the same terminals where the old switch was attached, but configurations may vary. In general terms, you:
- Connect the black (hot) wire to black
- Attach the green wire (if present) to the ground wire or grounding screw
Use wire connectors to secure the wires and wrap each connection with electrical tape for safety reasons.
Step 4: Install the Dimmer in the Box
Once your wiring is secure, gently fold the wires back into the junction box. Screw the dimmer light switch into place using the screws provided. Make sure it’s flush with the wall.
Step 5: Add the Wall Plate
Most dimmers come with a matching wall plate. Attach it using the screws provided, and make sure it fits snugly. This not only looks cleaner but also helps prevent dust from getting inside the box.
Pro tip: Use a black Sharpie to write the corresponding circuit label or number for the dimmer on the inside of the new wall plate. This handy tip helps you quickly switch off the correct circuit to troubleshoot electrical problems.
Step 6: Restore Power and Test
Turn the power back on at the breaker box and test your new dimmer switch. The light should turn on, and the brightness should adjust smoothly as you slide or rotate the dimmer control. If the lights flicker or don’t respond, turn the power off and double-check your connections.
Types of Dimmer Switches
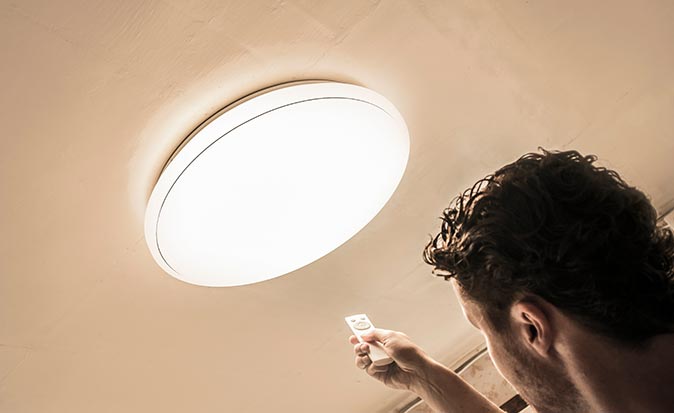
Fortunately, you’ll find several types of dimmer switches to choose from. Select the style that best fits your needs and aesthetic preferences:
- Rotary dimmer: Turn a dial to adjust brightness
- Slide dimmer: Move a slider up or down to change light levels
- Toggle or rocker dimmer: Combines a rocker switch with a small slider
- Smart dimmer: Connect to apps or voice assistants for remote control
Each type of switch works similarly but offers different levels of control and convenience.
Do Single-Pole and Three-Way Switches Work as Dimmers?
Yes. While slightly more complicated than changing a standard switch to a dimmer, you can also swap out single-pole switches (which control one light fixture from one switch) or three-way switches (which control one light from two locations).
However, before you install any type of dimmer switch, make sure it’s compatible with your lighting setup and bulb type, especially if you use LEDs. Some dimmers are specifically made for certain bulbs or wattage levels.
Turn off the power at the breaker before starting and snap a photo of your current wiring to guide reinstallation. Taking your time and following the instructions in this guide carefully will help ensure a smooth, safe installation.
If changing a single-pole or three-way switch to a dimmer seems more complex than you bargained for, stop and contact your electrician.
Electrical Systems Are Covered by Home Warranties
With the right tools and safety steps, installing a dimmer switch is a quick DIY project that can instantly improve your home’s lighting and comfort.
However, if you run into larger electrical issues in your home, such as faulty wiring or a broken circuit, and you have a First American home warranty, you simply request our service.
A home warranty helps protect your budget from costly repairs or replacements when covered appliances and systems unexpectedly break. Coverage can include electrical and plumbing systems, dishwashers, ovens/cooktops, and many additional items you use every day to keep your home running smoothly.
Get a free quote today and discover the financial peace of mind that home warranty coverage offers.
The contents of this article are provided for general guidance only. First American Home Warranty does not assume any responsibility for losses or damages as a result of using this information.
Please be aware that if you disassemble a covered system or item, it can invalidate your home warranty or manufacturer's warranty.



Keep Reading





Home Care Buzz Experts
The First American Home Care Buzz team is made up of experienced home warranty writers and editors. Our team provides valuable insights and information to help homeowners like you meet the daily challenges of homeownership.
This article is about...