How to Install Whole-House Humidifier
DECEMBER 02, 2025 | Home Care Buzz Experts | 5 minute read
Dry winter air can leave your home feeling uncomfortable. When humidity levels drop too low, the results can be frustrating: itchy skin, sore throats, static shocks, and even damage to wood floors and furniture. Many homeowners turn to portable humidifiers for relief, but these small machines usually only work in a single room. If you want consistent comfort throughout your home, a whole-house humidifier may be the better solution. These units work with your HVAC system to add moisture to the air that circulates throughout your home.
If you’ve been wondering how to install a whole-house humidifier system or whether this project is worth the effort, here’s what you need to know.
How a Whole-House Humidifier Works
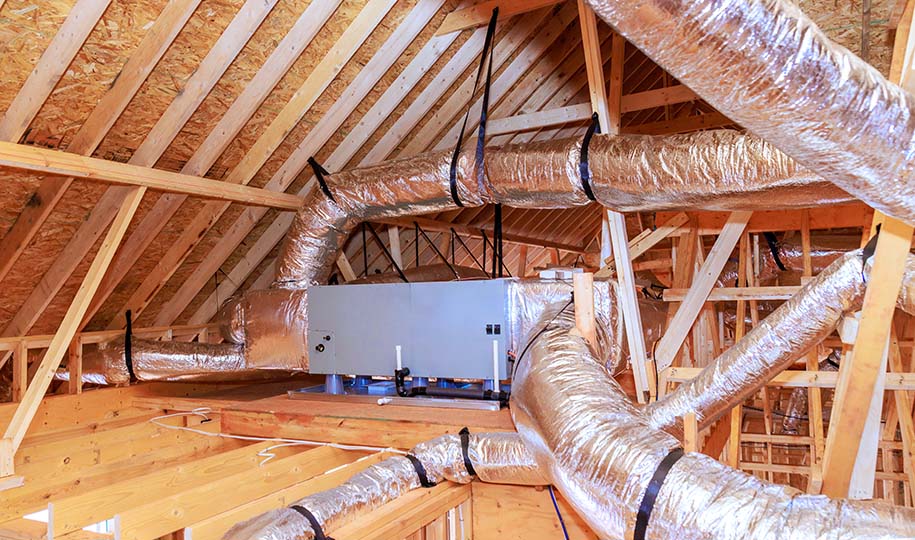
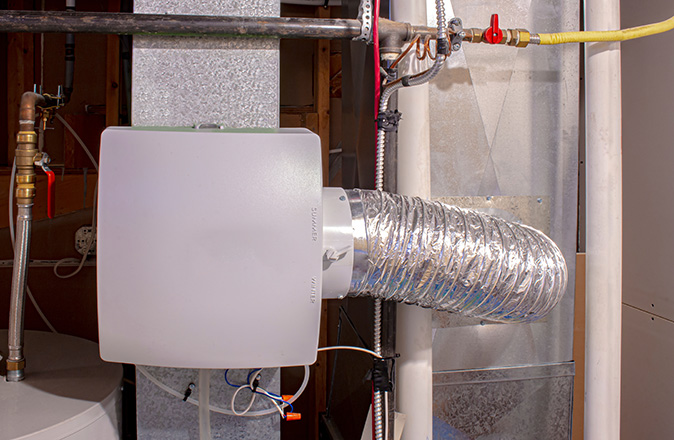
A whole-house humidifier connects directly to your home’s HVAC system. Instead of adding moisture to one room at a time, it introduces water vapor into the air that flows through the ducts, just like heated or cooled air from a furnace or air conditioner.
There are two main types of systems:
- Evaporative humidifiers use a water panel or pad. As air passes through, the water evaporates, adding moisture to the air.
- Steam humidifiers heat water until it turns into steam, which is then released into your ductwork.
No matter which type of device you choose, whole-house humidifier installation helps regulate the air throughout every room, keeping levels maintained within the recommended range — generally 30% to 50%.
When to Install a New System
The best time for whole-house humidifier installation is often during a furnace replacement or major HVAC upgrade, since technicians already have access to the ductwork and water lines. However, it’s possible to add one at any point if you want better control over your home’s air quality.
Signs you might benefit from a whole-house humidifier include:
- Frequent dry skin or nosebleeds during the winter.
- Static electricity around fabrics or electronics.
- Wood furniture or flooring showing cracks or gaps.
- A persistent feeling that the air is “too dry.”
Benefits of a Whole-House Humidifier
A whole-house system manages the humidity in every room, not just the areas where you place a portable unit. Here are some of the most significant benefits:
- Comfort: Proper humidity helps skin, eyes, and sinuses feel better during dry winter months.
- Home protection: Maintaining a balanced humidity level in the house helps protect wood floors, cabinets, furniture, and musical instruments from cracking or shrinking.
- Energy efficiency: Humid air feels warmer than dry air. By keeping levels steady, you may feel comfortable at a slightly lower thermostat setting.
- Reduced static: Fewer shocks when you touch doorknobs or electronics.
For those in regions with long, dry winters, learning how to install a whole-house humidifier can make day-to-day life more comfortable.
How to Install a Whole-House Humidifier
Installing one of these systems is a moderately advanced DIY project. It involves cutting into ductwork, adding a water line, and wiring the humidistat (a humidity monitoring tool that helps keep your home at the optimal level of moisture).
Be sure to check whether your local or state codes require permitting and take the necessary safety precautions for this project, such as wearing protective eyewear and work gloves for cutting into ductwork. And if you decide that completing these steps feels outside your wheelhouse, consider hiring a professional.
If you’re comfortable with tools and home projects, here’s a general overview of the process:
1. Choose the Location
Most units mount on the supply or return air duct near your furnace. Make sure you have a water line and sufficient space to access ductwork.
2. Shut Off Power and Water
Before working with your HVAC system, always turn off the power at the breaker and shut off the water supply.
3. Cut an Opening in the Duct
Use the manufacturer’s template to mark and cut the section of duct where the humidifier will sit.
4. Mount the Humidifier
Secure the unit with screws or brackets, ensuring it sits flush against the duct opening.
5. Connect the Water Supply
Attach a saddle valve or tee fitting to an existing cold-water line. Connect this line to the humidifier’s inlet.
6. Wire the Humidistat
Many systems come with a control that allows you to set your preferred humidity level. Wire this humidistat to the humidifier and furnace controls. Depending on the model you choose, you may be able to mount it on a wall, similar to a thermostat.
7. Test the System
Restore power and water, run your furnace, and confirm that the humidifier is adding moisture to the airflow. Check for leaks and listen for unusual sounds.
If you’re not comfortable with electrical or plumbing work, hiring a prescreened technician may be the safer route.
How Long Does a Whole-House Humidifier Last?
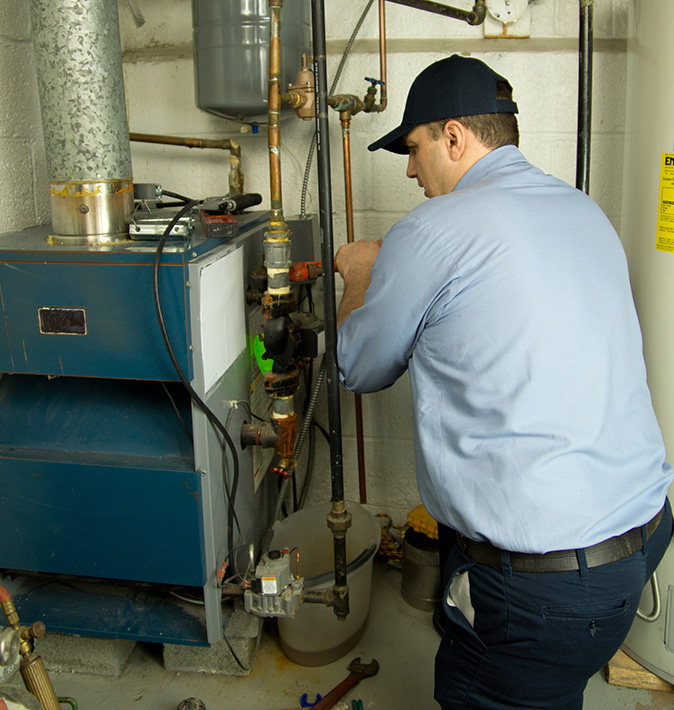
Most systems last around 10 years with regular maintenance, although this can vary depending on usage and water quality. Replacing the water panel or filter once or twice a year, or more if you live in a hard-water area, is often recommended. Inspect the filter monthly during the winter to check for signs of wear or mineral buildup. Keeping up with maintenance helps the humidifier run efficiently and ensures you continue to enjoy balanced humidity in your house year after year.
Warranty Coverage and Peace of Mind
A whole-house humidifier can make your home more comfortable, but the humidifier itself is not a covered item under a First American home warranty. What is covered, depending on your plan, are many of the major home systems your humidifier relies on, such as the furnace or air conditioner.
That means if a covered HVAC component breaks down from normal wear and tear, you can request service through your plan. A prescreened service provider will be sent to diagnose the issue, and if it can’t be repaired, it can be replaced.*
Please review your sample contract for specific coverage, terms, and limitations. Not all parts or labor may be included, and non-covered costs can apply.
Get Your Plan Today
For added confidence in your home’s essential systems, consider a plan from First American Home Warranty. When covered appliances or systems fail due to normal wear and tear, we’ll take care of the repair or replacement so you can focus on enjoying your home.
Get a free quote today and see how First American Home Warranty can help you feel more prepared for the unexpected.
*Repair or replacement of covered items will only be completed when parts are available
The contents of this article are provided for general guidance only. First American Home Warranty does not assume any responsibility for losses or damages as a result of using this information.
Please be aware that if you disassemble a covered system or item, it can invalidate your home warranty or manufacturer's warranty.



Keep Reading