
How to Wire a Light Switch: Tools, Steps, and FAQs
JUNE 06, 2025 | Home Care Buzz Experts | 4 minute read
Project Overview

Intermediate

1 Hour

< $150
All Values are Estimates
Wiring a light switch can be a simple DIY job you can do in under an hour. Whether you’re replacing a broken switch or upgrading to a new style (like a dimmer switch), following a step-by-step guide can make the process easier.
Below, we’ll walk through the steps for wiring a light switch on your own, when to hire a professional, and whether electrical issues are covered by a home warranty.
Why Replace a Light Switch?
You might need to update your light switch for a few different reasons:
- It doesn’t work: If your lights flicker, the switch sparks, or the lights don’t turn on, it could be time to replace your light switch.
- It looks outdated: Old switches may not match your home’s style or work with other modern fixtures.
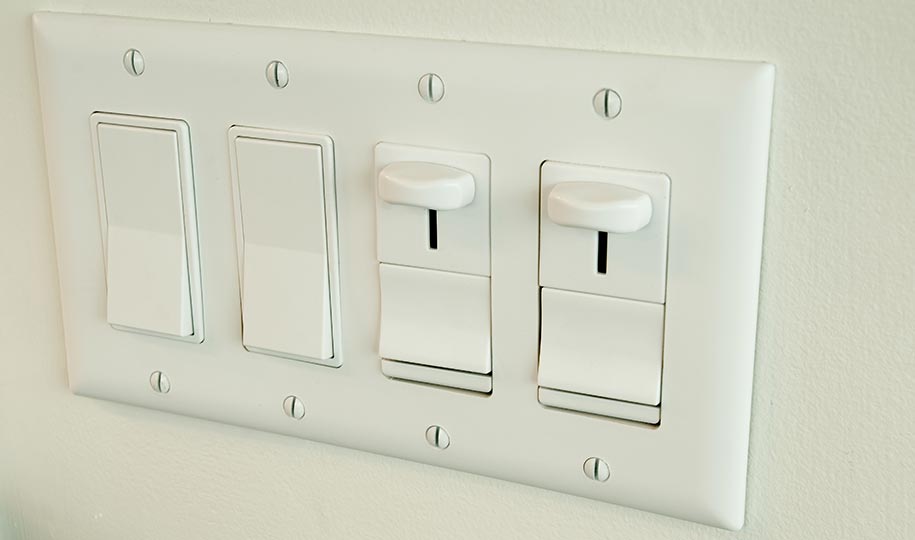
- You want a dimmer switch or smart switch: These switches give you better control over a room’s lighting and your energy usage.
Tools You’ll Need to Wire a New Light Switch
Before you start the project, gather these tools and materials:
- New light switch (single-pole or three-way, depending on your setup)
- Flathead and Phillips screwdrivers
- Needle-nose pliers
- Voltage tester (use this to confirm the power is off)
- Electrical gloves
- Wire cutters
- Wire strippers
- Electrical tape
- Wire nuts
How to Replace a Light Switch in 8 Steps
Wiring a light switch is similar to replacing an outlet. If you’re ready to wire the light switch for the first time, follow these eight steps.
Step 1: Turn Off the Power
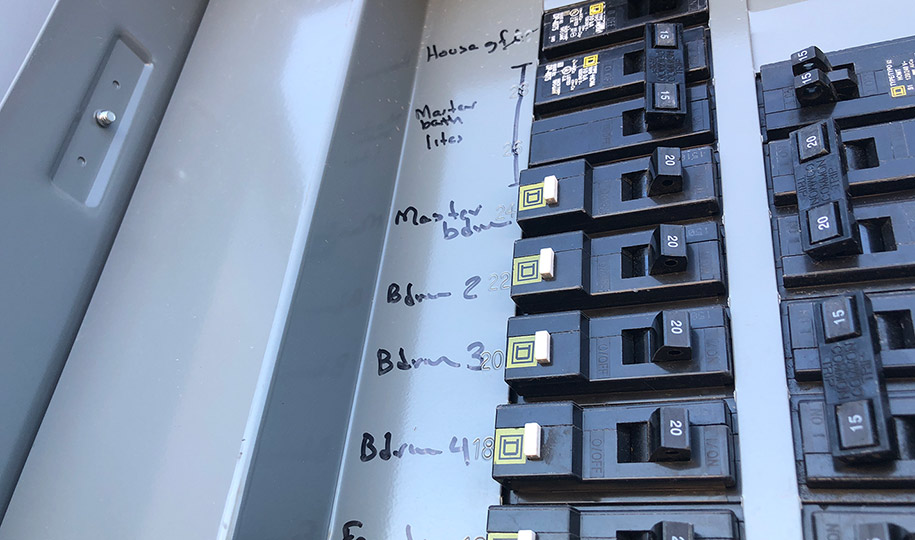
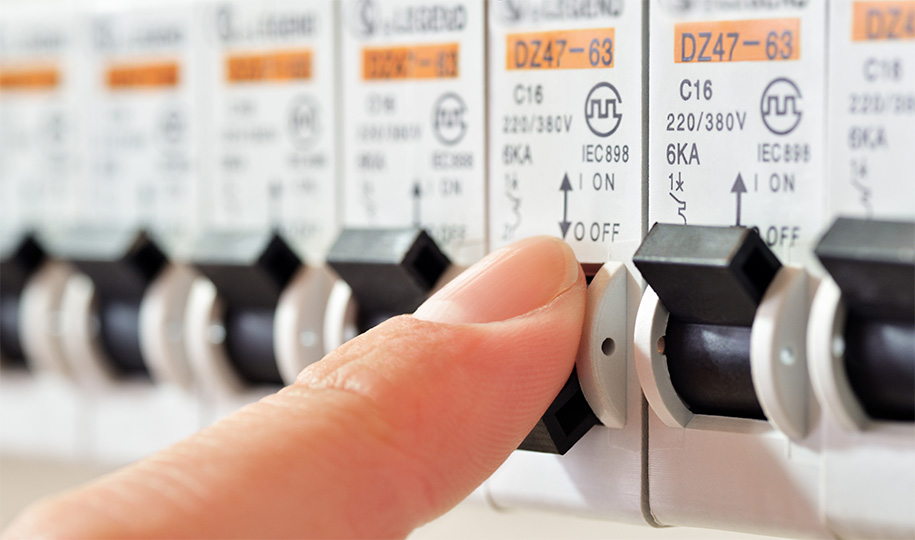
Find your home’s electrical panel and switch off the breaker for the light switch you’re replacing.
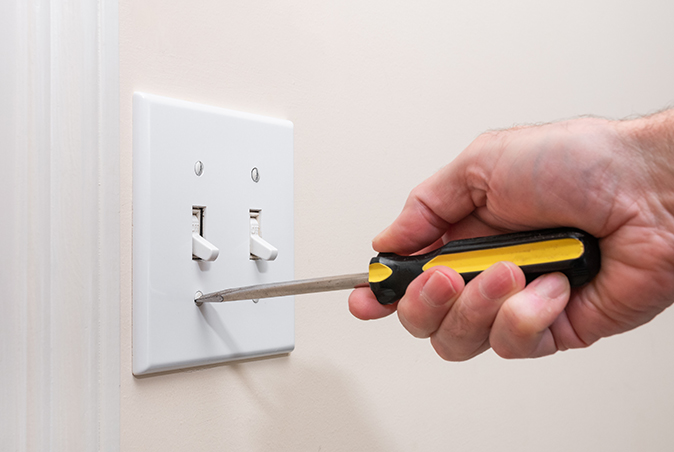
Step 2: Remove the Cover Plate
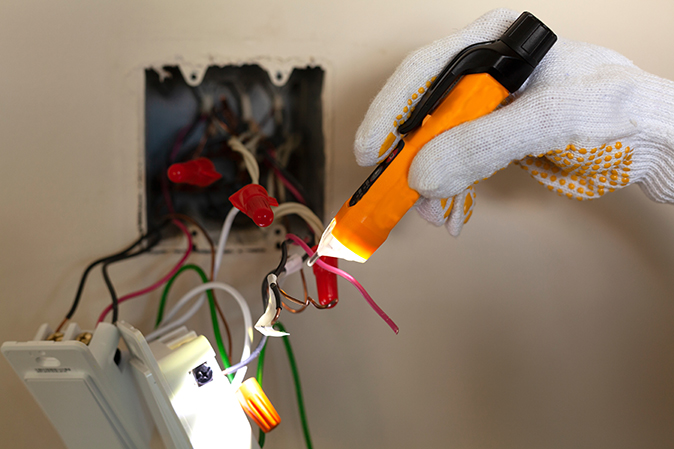
Use a screwdriver to remove the screws from the cover plate. Pull the plate away to reveal the switch. Use a voltage tester (sometimes called a multimeter) to check the switch terminals and confirm the power is off. Never assume a switch is safe without testing first; otherwise, it can be dangerous.
Step 3: Remove the Old Light Switch
Unscrew the light switch from the electrical box and pull it out to expose the wires. Look for these wires:
- Black wire (hot or load wire): This wire carries the power from the breaker panel to the light switch.
- White wire (neutral wire): If this wire is present, it moves any unused electricity back to the breaker panel.
- Green or bare copper wire (ground wire): If there’s a short circuit or other electrical problem, the ground wire safely disperses the electricity.
Pro tip: Take a photo of the wiring so you can double-check your work when you replace the new light switch.
Step 4: Disconnect and Inspect the Wiring
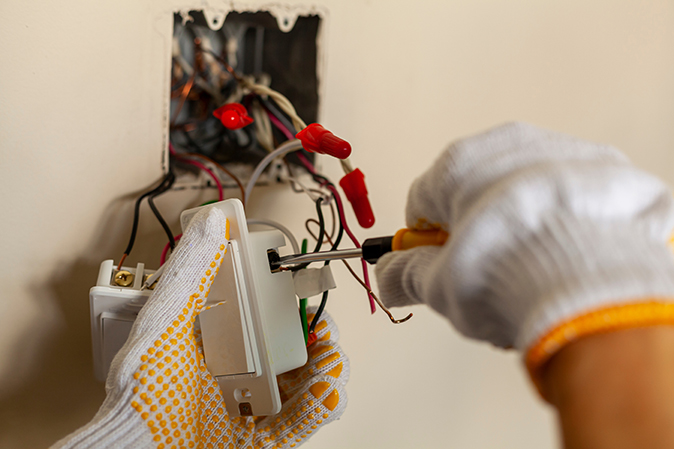
Using a screwdriver, loosen the screws that attach the wires to the switch and gently remove the wires. Make sure the wire ends are clean and aren’t corroded. If necessary, use your wire strippers to trim and expose a fresh section of wire.
Step 5: Wire the New Light Switch
Reattach the wires to the new switch.
To wire a standard single-pole switch:
- Connect the two black wires to the brass screws.
- Attach the green or copper (ground) wire to the green grounding screw.
If you’re wondering how to wire a three-way light switch, then:
- Find the common terminal and connect the black wire to it.
- Attach the traveler wires to the other screws.
- Secure the ground wire by connecting it to the green ground screw.
Tighten all the screws to make sure the connections are secure.
Step 6: Attach the New Switch
Tuck the wires back into the electrical box. Then, line up the switch with the screw holes and fasten it in place. Make sure the switch is straight before fully tightening the screws.
Step 7: Restore Power and Test the Light Switch
Go to the circuit breaker panel and turn the power back on. Go to the light switch and flip it on and off to make sure it’s working correctly. If the lights don’t turn on, turn off the power again and check the wiring.
Step 8: Install the Cover Plate
After you confirm the switch works, replace the cover plate and screw it in. Make sure the plate sits flush with the wall, so it looks straight and neat.
When to DIY vs. Call a Professional
You can replace a basic light switch if the wiring is simple and in good shape. Call a pro if:
- You see damaged or outdated wiring.
- The wiring doesn’t match standard setups.
- The breaker trips when you turn on the switch.
- You’re installing a dimmer or smart switch and need help with wiring.
Complete Your Light Switch Installation With Confidence
Replacing a light switch yourself can be a simple task if you follow the steps carefully. Always turn off the power, test for voltage, and make sure you understand how the different-colored wires work. If you encounter any issues, don’t hesitate to call a professional.
If you want extra peace of mind for your home’s electrical system, consider a home warranty. Get a free quote today and see how a home warranty can help you.
FAQs on Wiring a Light Switch
Can I replace a light switch without turning off the power?
No, working with live wires is dangerous. Always turn off the power at the breaker and test for voltage before handling wires.
What happens if I wire a light switch incorrectly?
Incorrect wiring can stop the switch from working, cause electrical shorts, and create a fire risk. Always double-check connections before turning the power back on.
Do I need an electrician to replace a light switch?
Not always. If the wiring is standard and in good condition, you can replace it yourself. If you’re unsure or working with old wiring, an electrician can help.
Does a home warranty cover electrical issues?
Yes, a home warranty covers the repair or replacement of many electrical issues. Electrical system warranty coverage from First American can help with problems like faulty outlets or system failures by connecting you with a pre-screened professional.
Having a home warranty ensures that the covered electrical issues are handled safely without you having to troubleshoot or repair them yourself.
The contents of this article are provided for general guidance only. First American Home Warranty does not assume any responsibility for losses or damages as a result of using this information.
Please be aware that if you disassemble a covered system or item, it can invalidate your home warranty or manufacturer's warranty.

Keep Reading





Home Care Buzz Experts
The First American Home Care Buzz team is made up of experienced home warranty writers and editors. Our team provides valuable insights and information to help homeowners like you meet the daily challenges of homeownership.
This article is about...