
How to Replace an Outlet (DIY)
AUGUST 07, 2023 | Home Care Buzz Experts | 4 minute read
If you're a homeowner who likes to tackle improvement projects, you might find joy in performing basic home maintenance on your refrigerator, fixing leaky faucets, or flushing your water heater. However, even fixing common electrical problems can seem like a daunting task better left to the professionals. While there are some electrical improvement shortcuts to avoid, like installing a dedicated circuit, replacing an outlet that's not working or burned out isn't one of them. With a little help from this step-by-step guide, a few basic tools, and a trip to the hardware store, you can keep your outlets in working order and avoid running an extension cord from an operational outlet in another room.
Step 1: Turn Off the Power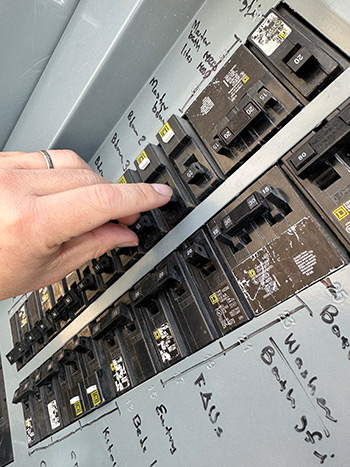
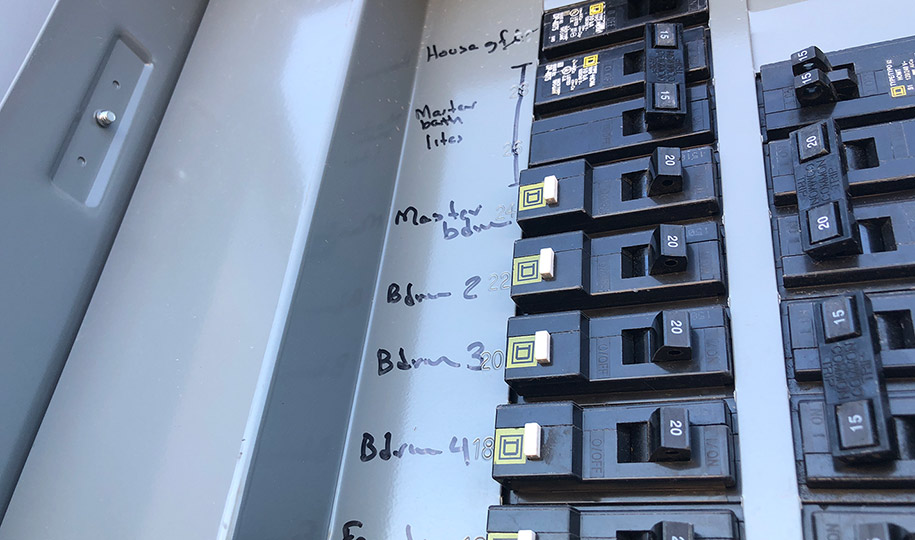
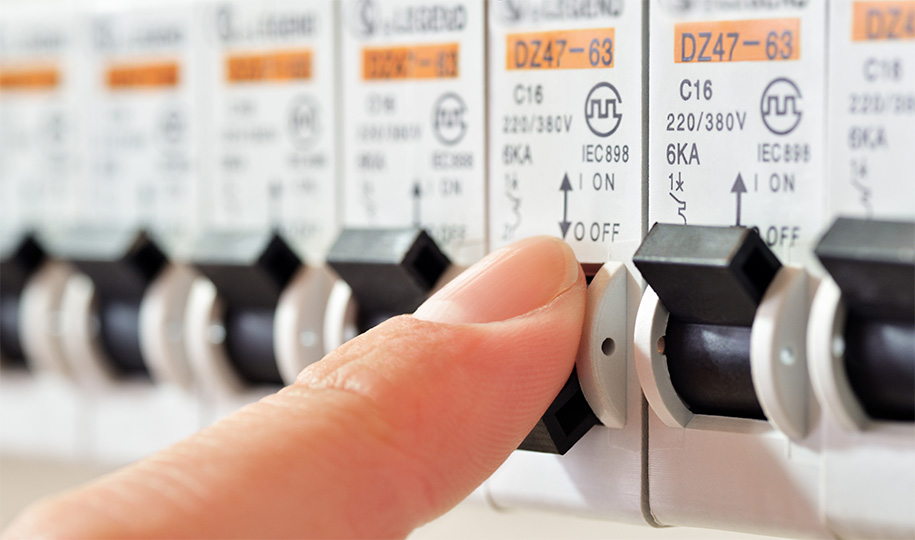
The first thing you should do when changing an electrical outlet or doing any electrical work around the house is to turn off the power to prevent electrocution. To do this, open your breaker box, find the circuit breaker that controls the outlet you’re replacing, and switch it to the “off” position. If you can't find the specific breaker, you can switch off the main breaker, which will turn off all the electricity in your home. It’s a good practice to check your electrical outlets with a voltage tester after turning off the breaker to ensure no electricity is flowing.
If you turn off the main breaker, be sure not to open your refrigerator or freezer until the power returns to prevent your food from spoiling.
Step 2: Remove the Face Plate and Outlet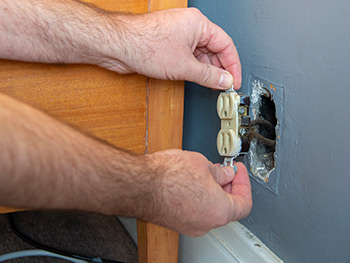
This part of replacing the outlet is fairly simple, as most face plates can be removed with a screwdriver. After removing the face plate, touch your voltage tester to the outlet again, then the wires and screws inside the outlet box. If your outlet is malfunctioning, sometimes power can come through one wire but not the rest of the outlet, leaving you vulnerable to being shocked.
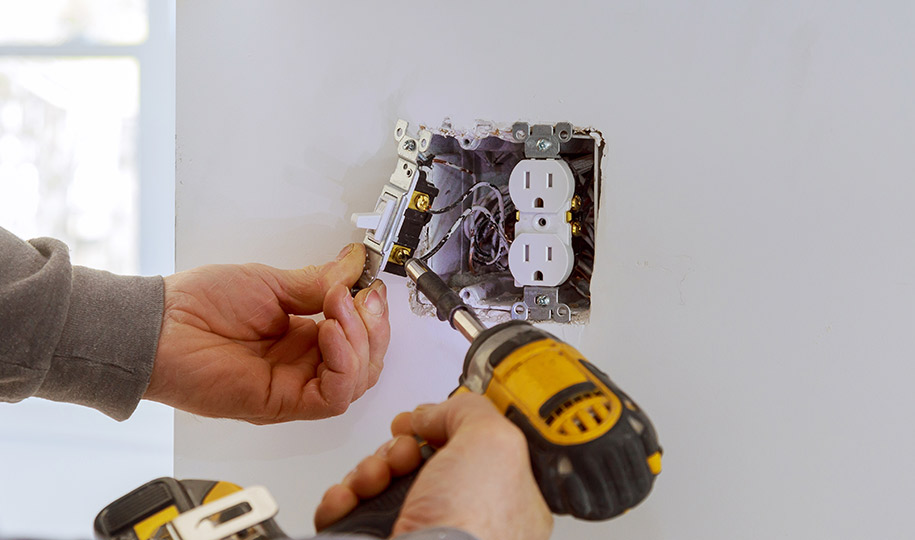
Once the outlet is exposed, unscrew it at the top and bottom and gently pull it from the box, being careful not to tug too hard on any wires.
Step 3: Determine Your Circuit Rating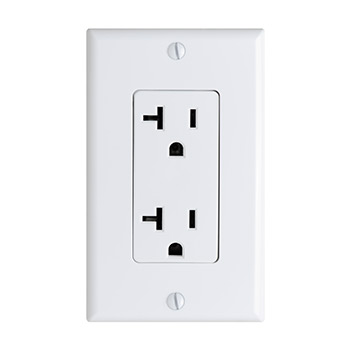
One of the most important things to know when learning how to replace an outlet is to match the amperage of your outlet to the amperage of the circuit that controls it. Circuit ratings typically come in two varieties: 15 and 20 amps. While a 15-amp outlet can work fine on a 20-amp circuit, a 20-amp outlet will overload a 15-amp circuit and can damage your internal wiring, possibly starting a fire.
One way to tell which one you have is to look at your old outlet; if one of the slots has a T-shape, you likely have a 20-amp outlet. Another way to determine your circuit rating is to look at the wiring during outlet replacement. 15-amp wiring is typically a bit thicker than wires used in 20-amp wiring, and the sheath around the different amperage wiring should be white and yellow, respectively. If you know the circuit breaker is tied to the outlet you're replacing, there may be a 15 or 20 next to the breaker switch in your box.
Step 4: Removing the Wires
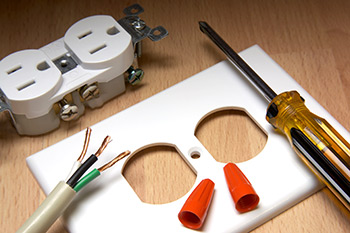 Now that the power is off and you have the correct amperage replacement outlet, you're ready to remove the old outlet. To do this, you must detach the old wires to remove the old outlet completely. However, when you're replacing an outlet, there are typically three wires you'll have to familiarize yourself with so that you can properly reattach them to the new outlet.
The ground wire is typically bare copper or has a green sheath, and it's connected to the green grounding screw of the outlet and a screw at the back of the outlet box. This wire helps protect people from electrocution in case of a short circuit. Black-sheathed wires are live or hot wires that carry live voltage and are typically attached to brass terminal screws on the side of the outlet. White-sheathed wires are neutral and typically attach to silver screws on the opposite side of the outlet from brass terminal screws. In some outlet models, the wires may be inserted into slots in the back or along the sides next to the screws.
Most home outlets will have one hot and one neutral wire, but some have two of each, depending on the model. To remove the wires when changing the electrical outlet, partially unscrew the terminal screws and unwrap the wires with needle nose pliers.
Step 5: Check for Wire Damage
If the ends of any wires look scarred or damaged, you'll need to fix them before you continue with your outlet replacement. Use a wire stripper and cut to trim off the damaged end and strip the sheath at the end, just enough to make a loop of exposed wire around the terminal screws or fit them into the outlet's slots.
Step 6: Install the New Outlet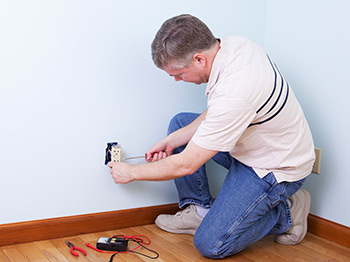
Your new outlet may have plastic tabs connecting the terminal screws on either side; gently remove these with your pliers. Use the pliers to create hooks at the end of the wires. Then insert or fully coil the ends of the wires as they were connected to your old outlet: Black wire to brass screws, white wire to silver screws, and, finally, the brass or green wire to the green screw. When replacing an outlet with two screws but only one hot or neutral wire, it won't matter which of the two screws is used. Push the new outlet into the box until it fits snugly, screw it back into the box, and then attach the face plate.
Turn the power back on and use your voltage tester to ensure that power is flowing; you may want to plug in a simple appliance afterward to ensure everything works normally. If it does, you've successfully learned how to replace an outlet—well done!
If the outlet still doesn't work, don't worry; there's nothing wrong with needing professional assistance. Electricians perform this kind of work every day and can replace your outlet quickly and efficiently. If you have a home warranty, you may be able to have your broken outlet replaced for a simple service request fee. Get a free home warranty quote today to discover what else can be covered by a home warranty contract.
The contents of this article are provided for general guidance only. First American Home Warranty does not assume any responsibility for losses or damages as a result of using this information.
Please be aware that if you disassemble a covered system or item, it can invalidate your home warranty or manufacturer's warranty.


Keep Reading





Home Care Buzz Experts
The First American Home Care Buzz team is made up of experienced home warranty writers and editors. Our team provides valuable insights and information to help homeowners like you meet the daily challenges of homeownership.
This article is about...