
How to Clean Air Ducts: A Step-by-Step Guide
APRIL 04, 2025 | Home Care Buzz Experts | 6 minute read
Air ducts are responsible for distributing heated or cooled air throughout your home. When ducts are clean and well-maintained, you’re more likely to have efficient airflow and better air quality. Blockages, leaks, or buildup can lead to inefficiency, poor air circulation, and higher energy bills. That’s why it's important to regularly inspect and maintain your air ducts to ensure optimal system performance and home comfort.
Let’s walk through how your home’s air ducts work, the signs that it’s time to clean them, the tools you’ll need, and the steps for a successful cleaning process.
How Do Air Ducts Work?
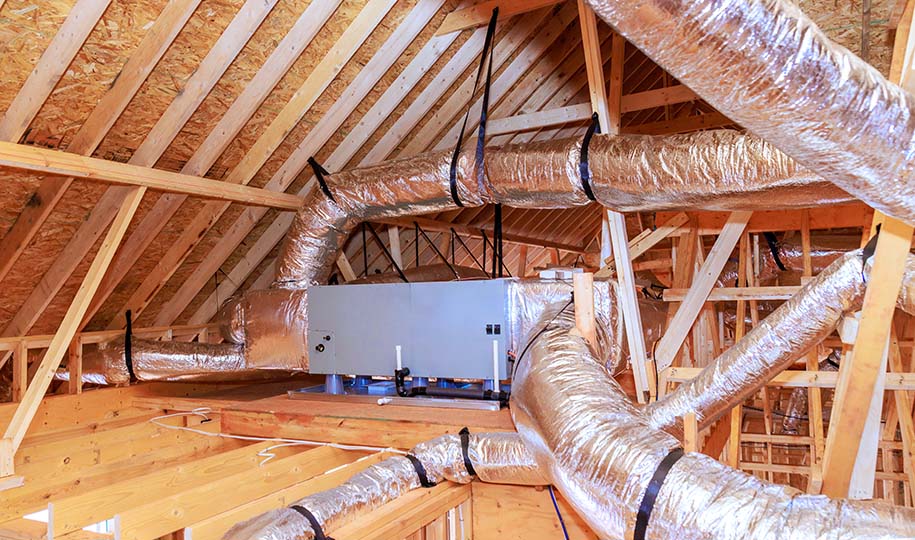
Air ducts are designed to carry air from your HVAC (heating, ventilation, and air conditioning) to different areas of your home. The system consists of supply ducts that carry conditioned air to rooms and return ducts that bring air back to the HVAC unit to be reheated or cooled.
Air is pushed through the ducts by a blower fan in the air handler, which ensures even temperature distribution in the house. The ducts work together to circulate air continuously, keeping rooms at the desired temperature. Proper ducts and HVAC system maintenance is crucial for energy efficiency and indoor air quality.
When Should I Clean My Home’s Air Ducts?
Aside from routine HVAC maintenance – which should involve cleaning your air ducts every 3 to 5 years as part of your regular home maintenance – there are several signs that can mean your air ducts need to be cleaned. These circumstances include:
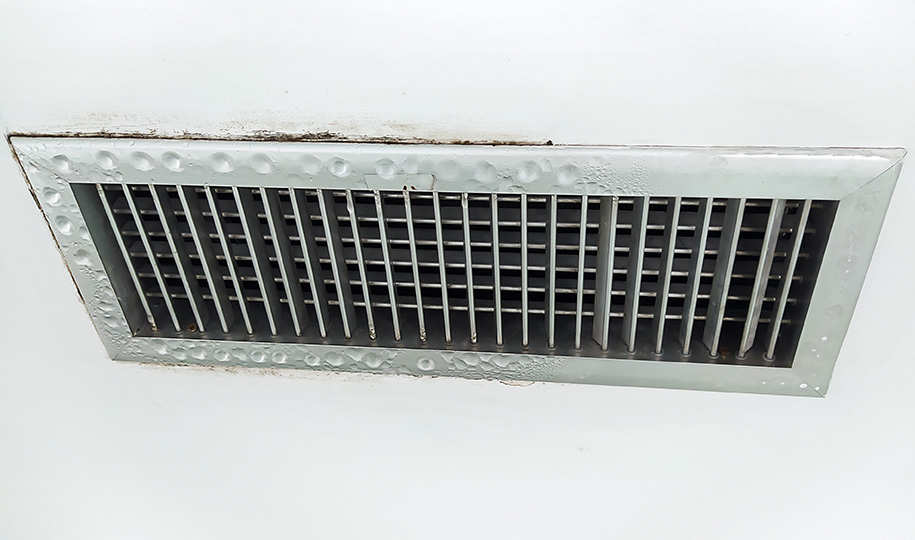
- Visible mold: If you notice mold inside the ducts or on other HVAC components, such as the evaporator coils, it’s time to clean the ducts. Mold can spread throughout your system and affect the quality of the air.
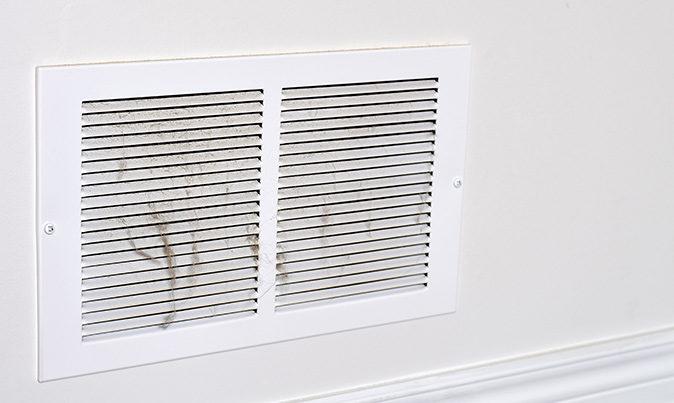
- Excessive dust and debris: If you notice a lot of dust around your home or within the ducts themselves, cleaning your ducts might be necessary.
- Allergy or respiratory issues: If you or a family member are experiencing more allergies, asthma, or respiratory issues than usual, it could be due to contaminants like dust, mold, or pet dander in the ducts.
- Unusual odors: If you notice a musty, stale, or unusual scent coming from the air vents when the system is running, it could indicate a buildup of mold, dust, or pet hair inside the ducts. Cleaning will help eliminate these odors.
- After renovations: If you’ve had major home renovations, air ducts might have accumulated drywall particles and other debris. Cleaning after renovation projects can help prevent these particles from spreading throughout your home.
- System performance problems: If your HVAC system isn’t heating or cooling effectively, or if you notice reduced airflow, it could be due to clogged ducts. Cleaning the ducts will ensure proper airflow and can improve the system’s performance.
What Equipment Will I Need to Clean My Air Ducts?
To clean your air ducts yourself, you’ll need various cleaning tools and materials and some optional ones. Here’s a list:
- A vacuum cleaner with a hose and attachments (a wet/dry vacuum would work best)
- A screwdriver for removing vent covers
- A soft brush, like a long-handled duct brush
- Microfiber cloths or rags
- Dish soap for cleaning vent covers
- A compressed air canister (this one is optional, but it can help loosen dust)
- Gloves and safety goggles
- A dust mask
Ductwork Cleaning, Step By Step
Cleaning your home’s air ducts is a crucial task for maintaining good air quality and ensuring the efficiency of your HVAC system. Below is our step-by-step guide on how to clean your air ducts.
Step 1: Turn Off Your HVAC System
Before you begin, turn off your HVAC system and, as a precaution, flip the breaker to your system to prevent dust from blowing around as you work.
Step 2: Remove Vent Covers and Registers
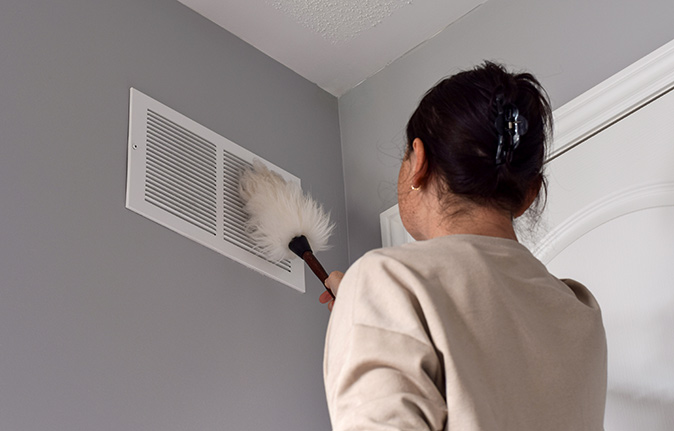
Next, you’ll use your screwdriver to remove the vent covers and registers from the floors, walls, or ceilings. Be careful not to damage them. You’ll also wipe the covers clean with a microfiber cloth or wash them with warm water and dish soap to remove grime and dust.
If you wash them, make sure they’re completely dry before putting them back – especially if there’s insulation behind the vent – to prevent moisture from building up.
Step 3: Clean the Ducts
Now you can finally get to the point of the project – the actual cleaning of the ducts. You’ll begin by vacuuming inside the ducts using a vacuum hose with a narrow attachment to reach inside the ducts. Carefully vacuum to remove visible dust and debris from the inside. Make sure to pay attention to the areas around the register openings.
For more thorough cleaning, you can use a long-handled brush designed for air ducts to scrub the interior. Insert the brush into the duct and move it back and forth gently to dislodge dust. Be careful not to use excessive force, as some ductwork – especially flexible or older ducts – can be easily damaged.
You can also use a compressed air canister to blow dust out of hard-to-reach spots, but avoid using high-pressure air that could loosen duct connections.
Step 4: Clean the HVAC Blower and Coils
While this step is optional and not easy to do, if you’re handy, it’s a good idea to clean your HVAC blower and coils while you’re at it.
- For the blower: Start by removing your furnace's access panel or door. The blower fan is typically inside the blower housing or wheel. Follow the manufacturer’s guidelines for removing the fan from its housing and cleaning it. Use a soft-bristled vacuum brush to remove dirt and dust. This step is usually done for deeper cleaning and may require professional help if you’re not sure how to access these parts of your system.
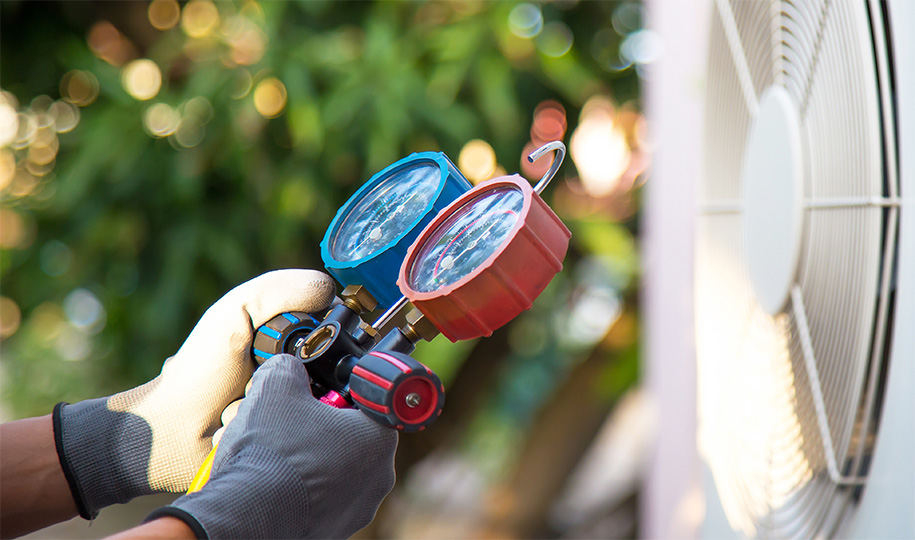
- For the coils: It is recommended that you have a professional clean the two coils (evaporator and condenser) in your HVAC system. If you’re familiar with these systems and comfortable with DIY, however, you can use specific coil cleaners or dish soap and spray the coils, then follow the manufacturer’s guidelines to complete the cleaning process.
Note: Note that when you schedule an HVAC service, ask your technician if cleaning the blower and coils is included. Often, you may have to pay an additional fee for these services.
Step 5: Vacuum the Ducts Again
After brushing and dislodging the dust, it’s a good idea to vacuum the ducts once more to remove loosened particles.
Step 6: Check and Clean the Air Filter
It’s also a good time to check the air filter in your HVAC system while you’re cleaning the ducts. You’ll want to change or replace the air filter if it’s dirty. A clean filter will make sure your system is operating efficiently and helps prevent dust from making its way back into the ducts.
Step 7: Reassemble the Vents
When you’re finished cleaning, replace the vent covers and register and screw them back into place. Ensure everything is securely reattached.
Step 8: Turn the HVAC System Back On
You’ll finish by turning your system back on and letting it run for a few minutes to confirm everything is working the way it should. Check to make sure the airflow seems cleaner and stronger.
When to Call a Professional for Cleaning Air Ducts
If you’re not sure how to properly disassemble your HVAC system, or if your ducts are excessively clogged with dust, mold, or debris, it’s probably best to call a professional duct cleaning service instead of trying to clean the ducts yourself. A professional technician will have the expertise and equipment that are necessary to clean the ducts thoroughly.
Protect Your Home’s Air Ducts With a Home Warranty
While home warranties don’t cover home air duct cleaning, a home warranty with First American will cover the repair or replacement of your home’s ductwork system if it fails due to normal wear and tear. If your ductwork needs attention, we’re here to help make sure your covered HVAC system returns to top form. A home warranty can save you time and money by providing coverage when important home systems and appliances break down.*
Are you ready to purchase a home warranty with First American Home Warranty? Get a quote today to see how we can help protect your home and budget.
*Please read your contract for specific coverage and limitations.
First American Home Warranty does not cover all ductwork parts and issues, including grills and registers, improperly sized ductwork, insulation, dampers, collapsed or crushed ductwork, ductwork damaged by moisture, ductwork where asbestos is present, costs for inspections, locating leaks to ductwork, diagnostic testing of ductwork when required by any federal, state or local law, regulation or ordinance, or when required due to installation or replacement of any system equipment and ductwork located in or under concrete.
The contents of this article are provided for general guidance only. First American Home Warranty does not assume any responsibility for losses or damages as a result of using this information.
Please be aware that if you disassemble a covered system or item, it can invalidate your home warranty or manufacturer's warranty.




Keep Reading



Home Care Buzz Experts
The First American Home Care Buzz team is made up of experienced home warranty writers and editors. Our team provides valuable insights and information to help homeowners like you meet the daily challenges of homeownership.
This article is about...