How to Winterize a Pool: Your Step-by-Step Guide to a Successful Pool Closing
OCTOBER 29, 2025 | Home Care Buzz Experts | 6 minute read
When summer fun has ended and you’re ready to enjoy a winter wonderland, your pool might not be. Pool winterization should be an important task on your homeowner’s winter checklist. The process helps prevent surface cracks, algae, and damage to pool pumps, heaters, and water pipes.
Luckily, learning how to winterize a pool is simpler than many home DIY projects. The process can take several days, but it typically only requires an hour or two of daily work. So, whether you’re interested in how to winterize an above-ground pool or an in-ground one, let’s dive in.
When to Close a Pool for Winter
Preparing your pool for wintertime is best done when the average temperature consistently drops to 65 degrees Fahrenheit. If you start too early, while the water is still warm, algae can quickly bloom. If you wait until it’s late in the season, freezing temperatures can cause cracks in your in-ground pool's pipes, resulting in expensive damage.
While many homeowners begin the pool closing process after Labor Day, the smartest approach is to monitor your local forecast and time your pool winterization carefully.
Equipment and Materials
You may already have most of the supplies needed to winterize a pool, but there are a few items you'll need to buy each year. Purchasing a pool winterizing kit can save you time and ensure you’re adequately prepared.
The equipment and materials you need to effectively winterize your pool include:
- Water test kit
- Balancing chemicals
- Shock chemicals
- Algaecide
- Stain and scale remover
- Shop vac or air blower
- Skimmer
- Vacuum
- Cover
- Pool pillow (for above-ground pools)
- Expansion/winterization plugs
- Pool antifreeze (optional)
How to Winterize a Pool
While the process varies depending on whether the pool you are closing is above ground or in the ground, most of the steps apply to both. Within some steps, however, you’ll find tasks that are specific to one type of pool or the other.
Step 1: Clear the Pool
Start with a clean slate. Remove all pool toys, ladders, floaters, skimmer baskets, and even ladders before you begin closing a pool for winter. Clean, dry, and store these items in a secure storage place until you’re ready to reopen your pool the following summer.
Step 2: Deep Clean
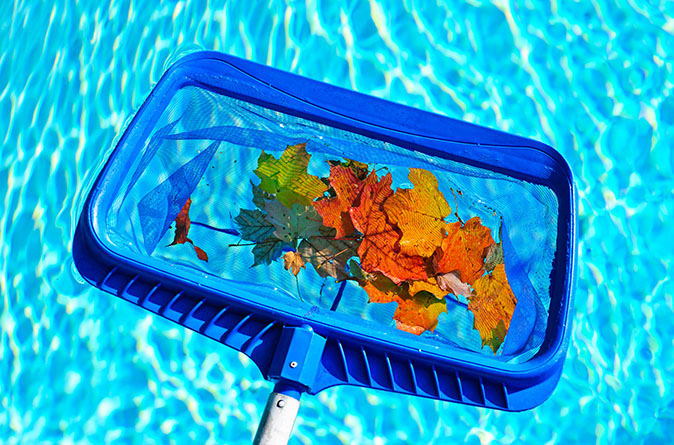
Remove any debris from the water, walls, and floor. Remove leaves and debris from the water surface with a pool skimmer. Brush the walls thoroughly, and use a pool vacuum to clean any remaining debris at the bottom. This is also an excellent time to clean your filters, so debris doesn’t float back into the water.
Pro tip: Whether you’re winterizing an above-ground pool or an in-ground one, take the time to do a thorough cleaning; otherwise, you could face a bigger mess come summer when you reopen your pool.
Step 3: Balance the Water Chemistry
Make sure the water chemistry is as close to ideal as possible. It can fluctuate during cold weather, so starting the process with everything in balance is essential. Use test strips to measure the water’s pH, alkalinity, and calcium hardness, and add balancing chemicals as needed. If you’re not sure what the correct level ranges are, here’s a quick guide:
- pH: 7.2 to 7.6
- Alkalinity: 80 to 150 ppm
- Calcium hardness: 175 to 250 ppm
Step 4: Add Shock Chemicals
Shock your pool until chlorine levels reach between 1 and 3 ppm to kill harmful bacteria in the water. Let the chemicals circulate in the pool for a full day before you move on to the next step.
Step 5: Add Algaecide
Algae can thrive in winterized pools because pool covers allow some sunlight to pass through. That’s why it’s important to add algaecide to kill spores and prevent growth. This is also a good time to use stain and scale remover for extra protection.
As mentioned above, be sure to wait a whole day after you’ve shocked your pool before adding algaecide, because mixing shock chemicals with algaecide can harm your pool.
Pro tip: Running your pool pump after adding the algaecide and the stain and scale remover will increase the efficiency of these additives.
Step 6: Lower the Water Level
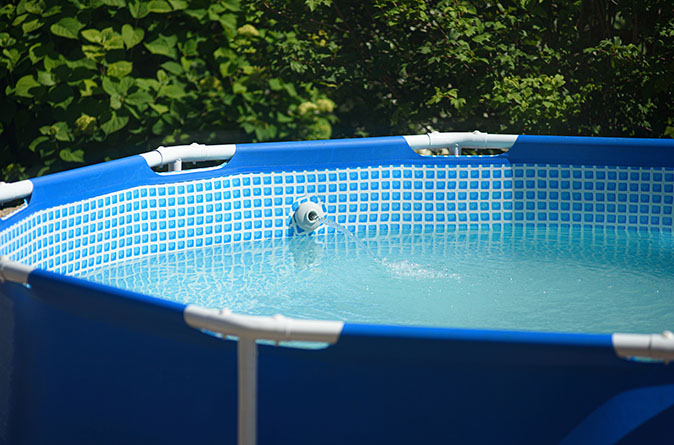
For above-ground pools: Lower the water level below the skimmer line, but not too far. If you drain too much, the pool walls could become unstable.
For in-ground pools: Lower the water level slightly to prevent freezing damage.
Step 7: Replace Pool Plugs
Remove the regular plugs on your drain lines, skimmer lines, and filters.
For in-ground pools: Use a shop vac or air blower to force out water in the lines.
Next, replace the regular plugs with expansion plugs. Also called winterization plugs, they help protect your pool’s plumbing system during cold weather.
To install them, start by carefully cleaning each opening. Next, insert the right-sized plug into each opening, hand-tightening to ensure a snug seal (but don’t use excessive force). This is one of the most crucial steps when learning how to winterize a pool, particularly in regions susceptible to freezing temperatures, because expanding water can cause extensive damage to hard-to-access pipes.
Pro tip: If you live in a colder area, adding pool antifreeze can help lower the risk of freezing water and bursting pipes. Be sure to use non-toxic antifreeze specifically designed for pools (not car antifreeze) and follow the manufacturer’s instructions carefully.
Step 8: Manage Pool Equipment
For above-ground pools: Disconnect and remove hoses, pumps, chlorinators, cartridge filters, and heaters. Allow these items to drain before storing them, preferably indoors in a dry place.
For in-ground pools: Heaters, pumps, and filters can be left in place, but should be drained.
Step 9: Cover Your Pool
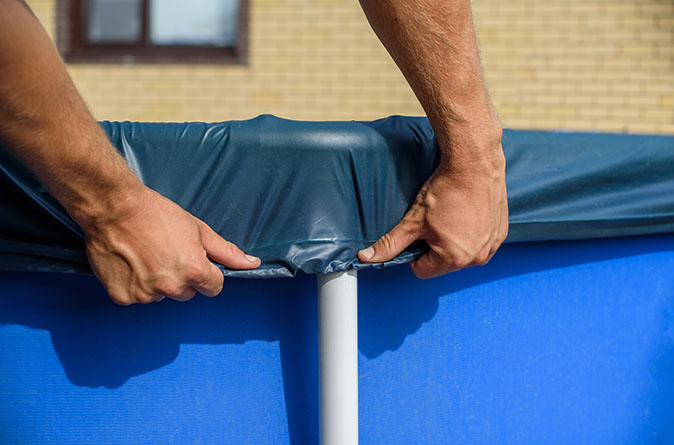
For above-ground pools: Put a pool pillow (expanded to 60% to 80% capacity to allow for compression) in the center of your pool and anchor it using string or thin ropes tied to the edges of your pool. Then carefully cover your pool and secure it in place.
As ice forms, the pillow directs the pressure of expanding water away from the pool walls and inward toward the pillow. It also helps reduce pressure from ice or snow on your pool cover. Above-ground pools are more vulnerable to collapsing or tearing if not covered properly.
For in-ground pools: Although pool pillows are not mandatory for in-ground pools, many homeowners opt for them for the protection they offer. (Follow the same placement steps as in-ground pools covered above.) Be sure to use a strong cover to safeguard your pool from the outside elements, and as with above-ground pools, be sure it is secured firmly.
Common Mistakes to Avoid When Winterizing a Pool
Even if you know the basics of how to winterize a pool, a few common mistakes can lead to costly repairs. Skipping essential steps (like forgetting to drain the water level, or failing to correctly balance pool chemicals) can lead to a host of issues, including:
For above-ground pools: Pool wall collapse, liner tears, and cover damage
For in-ground pools: Broken equipment, cracked pipes, and algae growth
Another mistake is closing your pool too early or too late. As mentioned, proper pool closing should begin when the average temperatures are consistently around 65 degrees. Closing your pool too early can lead to algae accumulation if the water warms up under the cover. But closing too late, such as after the first cold snap, could cause damage from freezing temperatures.
Add Protection with a Home Warranty
Whether you’re focused on winterizing an above-ground pool or an in-ground one, proper winterization protects your investment and prevents costly repairs. However, even the best cared-for pools experience wear and tear, and components eventually break down.
The good news? With a First American home warranty, you can protect your budget from the cost of repairing or replacing covered parts for in-ground pools, combination pools, and spas. Add this special coverage to your home warranty plan for peace of mind when parts like filters, pumps, heating units, valves, and saltwater cells fail due to normal wear and tear.
Get a free quote today and see how affordable pool protection can be.
The contents of this article are provided for general guidance only. First American Home Warranty does not assume any responsibility for losses or damages as a result of using this information.
Please be aware that if you disassemble a covered system or appliance, it can invalidate your home warranty or manufacturer's warranty.