
How to Drain a Washing Machine: Causes, Fixes, and Prevention
FEBRUARY 03, 2026 | Home Care Buzz Experts | 4 minute read
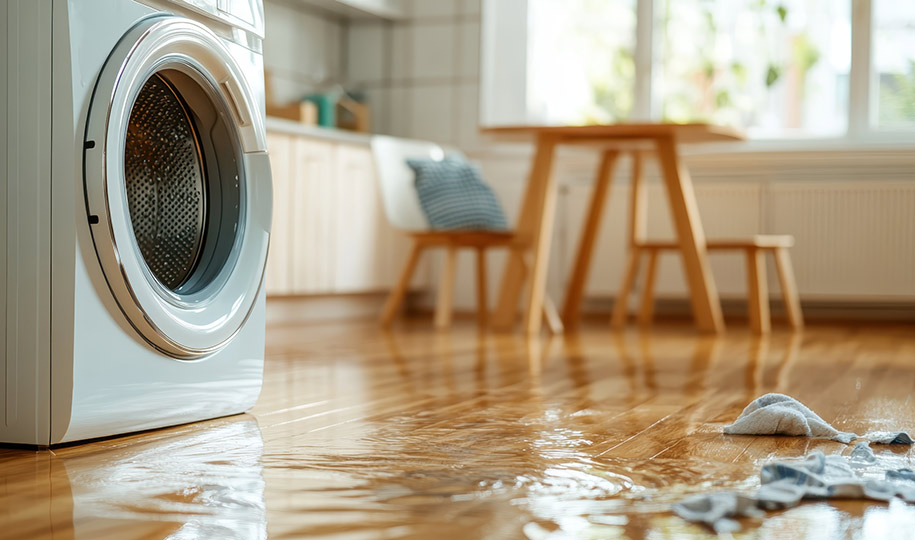
A washing machine that won’t drain can turn laundry day into a frustrating mess. The good news? Learning how to drain a washing machine is usually straightforward. The process involves finding the cause, safely removing the water, and making simple fixes to prevent it from happening again.
In this guide, you’ll learn why your washer might not be draining, how to drain water from a washing machine step-by-step, and when to call a professional for help.
Why Your Washing Machine Isn’t Draining
Your washing machine pumps wastewater from the drum into a drainpipe during the spin cycle. If something blocks that flow or the pump stops working, the machine can’t remove the water. Common reasons for a washing machine that won’t drain include:
- Clogged or kinked drain hose
- Blocked drain filter
- Faulty or broken drain pump
- Lid or door switch issues
- Belt damage
- Improper hose installation or drain height
How to Drain a Washing Machine: Step-by-Step
Follow these steps to remove water from your washer and troubleshoot the problem safely.
Step 1: Turn Off the Power and Water
Turn off the power to your washer by unplugging it from the outlet or turning off the breaker that powers your unit. You should also shut off the water to the machine in case of a backup or clog.
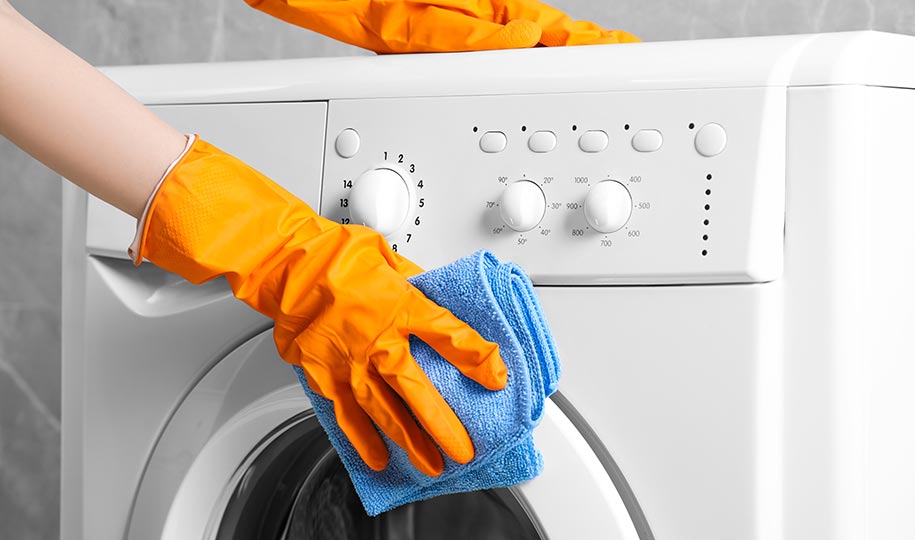
Safety note: If there's standing water in the machine, wear rubber gloves and work carefully to avoid major messes or electrical hazards.
Step 2: Locate the Drain Hose or Pump
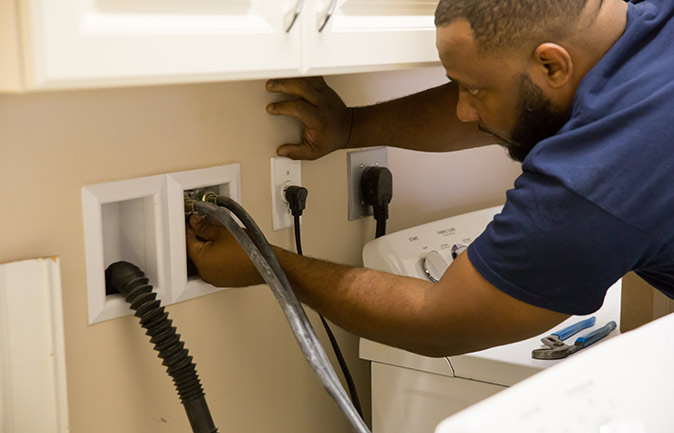
For top-load washers, the drain hose is usually behind the appliance and connects to the drainpipe. Check for kinks or bends and straighten them.
For front-load washers, the drain pump is often near the bottom front, behind an access panel. Some models have a small drain hose inside that panel, while others only have a pump filter.
Step 3: Manually Drain the Washer
Top-load models: Place the end of the drain hose into a bucket or tub and lower it below the drum level. Water should start flowing out. Lift the hose between bucket dumps to stop the flow.
Front-load models with a drain hose: Position the hose over a shallow pan or tray, open the valve, and let the water run out.
Front-load models without a hose: Place a shallow container under the filter area, remove the filter, and let the water drain.
If no water drains, you may need to clear a clog before continuing.
Step 4: Check for Clogs
Inspect the drain hose for debris. Use pliers to remove visible blockages or run a drain snake to clear deeper clogs. If you can’t reach the clog, call a plumber who has the right tools.
Step 5: Clean the Filter (If Applicable)
If you need to clean the drain filter and are unsure where to find it, consult your owner’s manual to determine its location. Remove and rinse the filter under running water to clear residue. Reinstall it securely before testing the machine.
Expert Tip: Clean your drain filter regularly to prevent these types of clogs in the future. Learn more about maintaining your washer and dryer.
Step 6: Inspect the Drain Pump
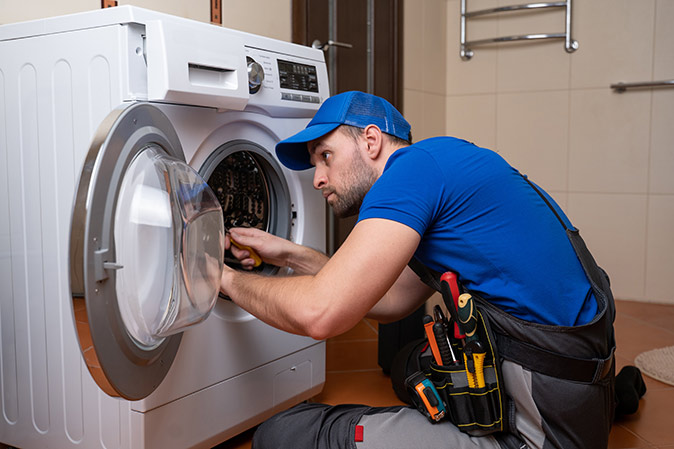
Check for clogs inside the pump housing. If the hose and filter are clear but water still won’t drain, the pump could be the problem.
Look around the pump area for any visible cracks, loose connections, or obvious damage. When you run a test cycle, listen for unusual grinding, rattling, or no sound at all from the pump area, which can also signal problems.
Pro Tip: It may be best to call a professional if you see damage to the pump, hear strange noises, or the machine still won't drain after these steps.
Step 7: Test Smaller Components
Now that you’ve checked all the large components, if your washer still isn’t draining, it’s time to look into the smaller parts that could malfunction. Check the lid switch (top-load) or door switch (front-load) by pressing it and listening for a click. No sound may mean it needs replacing. You can also inspect belts for wear if you can access them.
How to Prevent a Washing Machine from Not Draining
Regular maintenance can help you avoid future drainage problems.
- Clean the drain filter every few months
- Check hoses for kinks and blockages
- Use the right detergent and recommended amount to reduce buildup
- Avoid washing items that shed excess lint without a lint trap
- Schedule professional service if you hear unusual noises or notice leaks
Call a plumber or appliance technician if the pump or belts are damaged, you can’t remove a clog yourself, water is leaking from multiple areas, or you’ve tried all the steps on this list and the washing machine still won’t drain. A professional can safely diagnose hidden issues and replace parts.
Protect Your Washer with a Home Warranty
Whether you’ve completed all the steps above or need a professional’s help, a protection plan from First American Home Warranty can help when unexpected appliance breakdowns happen. If your covered washer isn’t repairable, we’ll replace it with a new one with the same functionality.
With First American, you’ll have access to a network of prescreened service providers for covered repairs and replacements. Plus, coverage extends to many other home systems and appliances, so you can protect more than just your laundry equipment.
Get a free quote today to see how a home warranty can help you manage repair and replacement costs for your washer and more.
FAQs About Draining a Washing Machine
1. What’s the fastest way to drain water from a washing machine?
The quickest way to drain a top-load washer is to lower the drain hose into a bucket. For front-load washers, use the built-in drain hose or remove the pump filter.
2. Why does my washing machine keep stopping mid-cycle with water inside?
This can happen if the drain pump is clogged or failing, if the lid/door switch is faulty, or if there’s a blockage in the hose.
3. How often should I clean my washer’s drain filter?
Most experts recommend every three to four months, or more often if you do a lot of laundry or wash heavily soiled items.
The contents of this article are provided for general guidance only. First American Home Warranty does not assume any responsibility for losses or damages as a result of using this information.
Please be aware that if you disassemble a covered system or item, it can invalidate your home warranty or manufacturer's warranty.

Keep Reading




Home Care Buzz Experts
The First American Home Care Buzz team is made up of experienced home warranty writers and editors. Our team provides valuable insights and information to help homeowners like you meet the daily challenges of homeownership.
This article is about...