
How to Clean Washing Machine Buildup
AUGUST 13, 2025 | Home Care Buzz Experts | 5 minute read
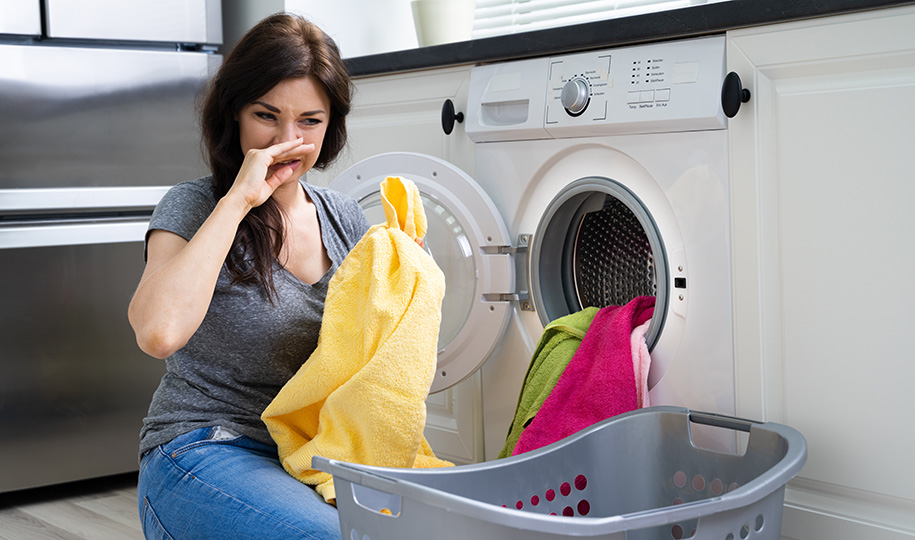
You rely on your washing machine every day, but what happens when it starts to smell or leaves your laundry items less than fresh? Over time, detergents, liquid fabric softener, hard water minerals, and even mildew can build up inside. That buildup can lead to odors, staining, and performance issues.
Fortunately, it’s easy to clean your washing machine, and it doesn’t require disassembly. Once you get started, cleaning your washer every few months will become routine — and you’ll love your sparkling-clean laundry.
Why Your Washing Machine Needs Cleaning
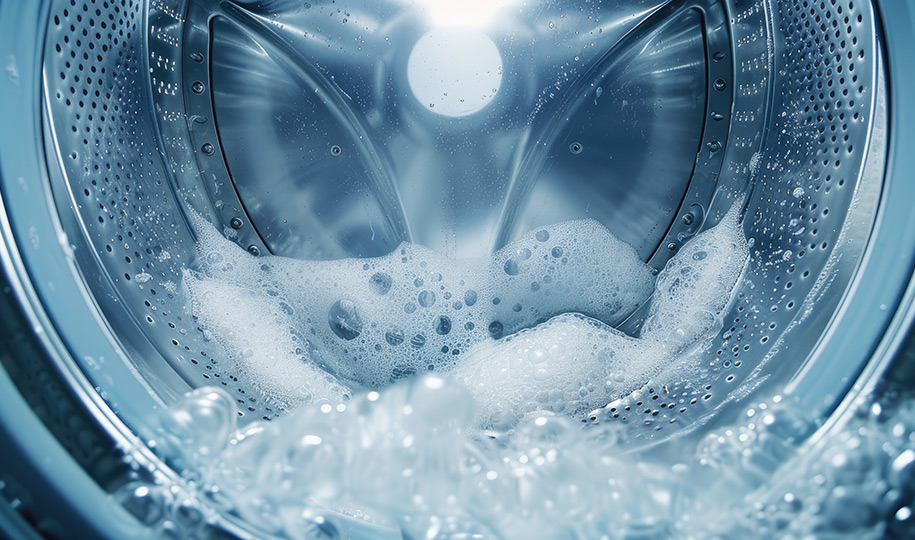
Even though it’s designed to clean, your washer is exposed to more than just soap and water, and requires maintenance to prevent issues. Detergents, liquid fabric softener, lint, body oils, and minerals can settle in the drum, hoses, and seals. Add the fact that typically, washers also have water or moisture left in the drum after each load and you’ve got a breeding ground for mildew and bacteria.
Regular cleaning helps your washer stay fresh, run more efficiently, and last longer. It’s a great way to:
- Prevent musty smells and mildew
- Help your machine run better
- Keep laundry free from buildup
- Extend the life of your washer
How Often Should You Clean Your Washing Machine?
Most experts recommend cleaning your washing machine about once a month. You may want to clean it more often if any of these scenarios apply to you:
- You run your washer a lot
- You use cold water for most loads
- You live in a region with hard water
- You frequently wash heavily soiled clothes
Quick tip: After each load, leave the door or lid open to help it dry out, and wipe away any moisture lingering in the drum or seal.
Step-by-Step: How to Clean a Washing Machine
1. Empty the Washer
Before you begin, make sure the washing machine is completely empty. Remove any laundry, detergent pods, or forgotten socks.
2. Run a Cleaning Cycle
Using the hot water setting, run a cleaning cycle with one of the following solutions:
- A store-bought washing machine cleaner
- A DIY solution: 2 cups white vinegar added to the drum + ¼ cup baking soda in the detergent tray
If your washer has a “Tub Clean” or “Self-Clean” setting, use it. Otherwise, choose the longest and hottest cycle, and stop the wash cycle after the tub fills with water to let your solution soak for 30 to 60 minutes. This helps break down deeper residue and odors.
If you’re using vinegar or baking soda, run an extra rinse cycle afterward to flush out any remaining residue.
Warning: Never mix bleach or hydrogen peroxide with vinegar. The combination can release potentially deadly toxic fumes.
3. Clean the Detergent Dispenser
Pull out the detergent drawer (if your model has one) and rinse it under hot water. Use a small brush, like an old toothbrush, to scrub away gunk in tight corners. Let the dispenser dry completely before putting it back.
If the drawer isn’t removable, pour a vinegar-water mix into the compartment, let it soak for 10 to 15 minutes, then scrub and wipe clean. Dry thoroughly to prevent mold.
Pro tip: Check for buildup under the fabric softener compartment. It often collects thick residue, and if you find any, it should be removed. Check your owner’s manual for tips on cleaning this compartment, but you can follow the same cleaning instructions for the detergent dispenser.
4. Clean the Door Seal or Lid
Door seals and lids collect a lot of hidden grime and can be major sources of washer odor.
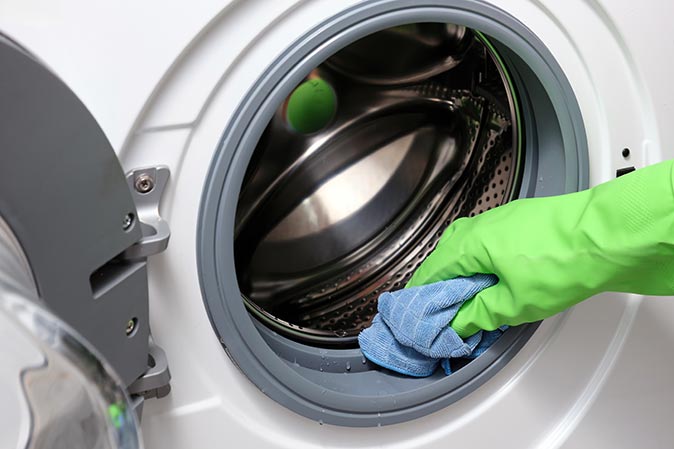
- Front-loading washers: Use a microfiber cloth, warm soapy water, and a soft-bristled brush to clean around and under the rubber gasket. Be sure to reach inside all folds where lint, hair, and moisture can hide.
- Top-loading washers: Clean the underside of the lid and the rim around the drum. Use a cloth and warm water to wipe down these surfaces. If the center agitator cap can be removed, pop it off and clean underneath with a sponge or soft brush.
For both types of washers, regular wipe-downs and monthly cleaning cycles will help keep your machine fresh and running smoothly.
5. Wipe Down the Drum and Interior
After the cleaning cycle ends, use a damp microfiber cloth to wipe the entire interior, including the drum walls, agitator fins (if your machine has them), and around the lid or door opening. Dry all surfaces thoroughly with a clean towel to prevent water spots and mildew.
Pro tip: For top-loading washers, remember to wipe under the lid’s inner lip and around the agitator cap to remove trapped lint and detergent residue.
6. Check and Clean the Filter
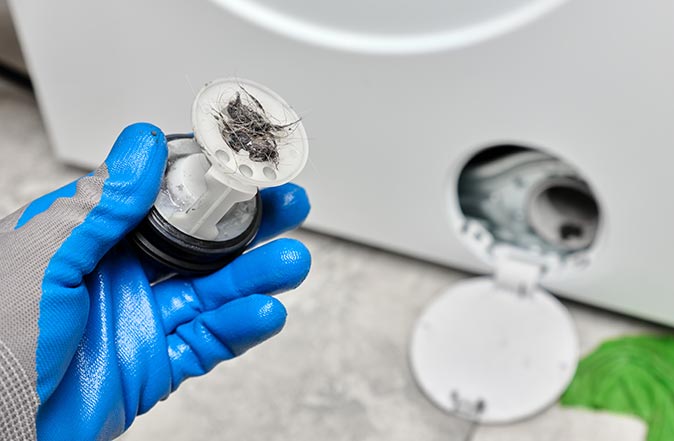
Front-loading washers often include a cap on a drain pump filter behind a small panel near the base. Lay down a towel and a shallow tray to catch water, then unscrew the cap to access the filter.
Rinse the filter under warm water and scrub it gently with dish soap and a small brush. Check inside the filter housing, and use the brush (or a cloth) to remove any trapped debris. Even small objects like coins or hair can block proper drainage. Consult your user manual for helpful tips on this step.
7. Leave the Washer Open to Dry
After cleaning your washer, leave the lid or door open for a few hours to let the inside dry completely. You might want to get in the habit of always leaving your washer door or lid open between loads to help prevent mildew and odors from forming.
What Is the Best Washing Machine Cleaner?
When deciding how to clean washing machine residue in your appliance, the best approach depends on your washer and how dirty it is. A store-bought washing machine cleaner is easy to use and works well on tough buildup, though it can be more expensive than DIY options.
If you paste “how to clean a washing machine” into your web browser, you’ll find some natural methods. One of the best is a mix of white vinegar and baking soda, as described above (see step 2). Your washing machine manual may also indicate specific cleaners that work well with your model.
Protect Your Washer With a Home Warranty
Even with regular care, washers can still break down from everyday use. A First American home warranty can help take care of covered repairs or replacements when your appliances stop working due to normal wear and tear.
Want peace of mind? Get a free home warranty quote and see how First American can help protect your home’s essential appliances and systems.
The contents of this article are provided for general guidance only. First American Home Warranty does not assume any responsibility for losses or damages as a result of using this information.
Please be aware that if you disassemble a covered system or item, it can invalidate your home warranty or manufacturer's warranty.




Keep Reading



Home Care Buzz Experts
The First American Home Care Buzz team is made up of experienced home warranty writers and editors. Our team provides valuable insights and information to help homeowners like you meet the daily challenges of homeownership.
This article is about...