
8 Plumbing Maintenance Tips You Can Do in 1 Hour
OCTOBER 09, 2025 | Home Care Buzz Experts | 7 minute read
Performing basic maintenance for your home’s plumbing systems can help prevent bigger issues from erupting. Emergency plumbing repairs can cost big bucks, even without factoring in potential water damage, so spending just one hour on preventive maintenance is a valuable investment.
The good news? Most essential plumbing maintenance tasks are straightforward enough for any homeowner to tackle. You don't need years of experience or a garage full of professional tools. Here are eight DIY plumbing maintenance tips that can help prevent costly breakdowns and keep your home running smoothly year-round.
Eight Essentials to Good Plumbing Maintenance
1. Buy the Right Tools
Having the right tools on hand means you can address minor problems immediately before they become big, expensive ones. A complete homeowner's plumbing toolkit should include a few essential items.
Plungers
Start with two types of plungers: a cup plunger for sinks and a flange plunger specifically designed for toilets. Many homeowners make the mistake of using the same plunger for both, which is neither hygienic nor effective.
Wrenches
Two adjustable wrenches (10-inch and 12-inch) can handle most plumbing connections, while channel-lock pliers provide the grip you need for stubborn fittings. A pipe wrench set and some plumber's tape (Teflon tape) round out your essential kit for basic repairs and maintenance.
Snakes
Add a basic drain snake (25-foot length) for clearing clogs beyond what plunging can handle. Look for one with a hand crank, as it’s easier to control than an electric version for most homeowner applications. Also consider keeping a couple of hair snakes on hand. These barbed plastic sticks are about 20 inches long and help remove hair from bathroom sinks and drains.
2. Fix Leaks and Clogs Immediately
Plumbing issues like these can quickly turn simple repairs into expensive ones, leading to water damage and unhealthy mold or mildew buildup. A small drip from a faucet might seem harmless, but it can waste over 3,000 gallons of water per year and signal bigger problems developing in your plumbing system.
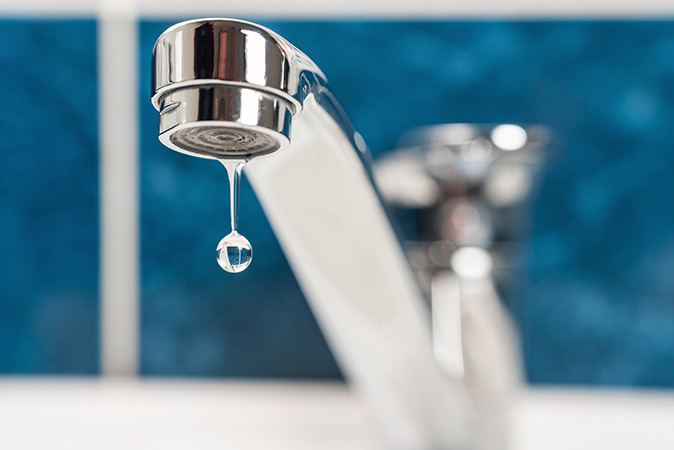
Start with a systematic leak detection walk-through. Check under every sink, around toilet bases, near your water heater, and along any visible pipes in basements or crawl spaces. Look for water stains, mineral deposits, or that telltale sound of dripping water. Even small puddles or damp spots deserve immediate attention.
For minor faucet leaks, the culprit is often a worn washer or O-ring that you can replace with basic tools. However, if you notice multiple leaks or signs of pipe corrosion, these red flags indicate it's time to call a professional plumber. The key is catching problems early, when fixing them is still manageable and affordable.
3. Use Non-Toxic Drain Cleaners
A solution of baking soda and vinegar can clear most minor drain clogs without the harsh chemicals that can damage your pipes over time. Commercial drain cleaners might promise quick results, but they're incredibly caustic and can weaken pipe joints and corrode metal components in your plumbing system.
Here's the proper technique for natural drain cleaning:
- Pour one cup of baking soda down the drain, followed by one cup of white vinegar.
- Cover the drain with a plug or cloth for 15 minutes to let the fizzing work.
- Flush with hot water.
- For particularly stubborn clogs, let the mixture sit for 30 minutes before the hot water flush.
This gentle approach works especially well for kitchen sinks where grease buildup is common. The baking soda helps break down organic matter, while the vinegar's acidity dissolves mineral deposits. For bathroom drains dealing with hair and soap scum, try adding a few drops of dish soap to help the solution penetrate and break apart the clog.
If natural methods don't clear the blockage after two attempts, it's time to try a plunger. For stubborn clogs, try mechanical removal with a drain snake. Alternatively, you can call a professional rather than reach for chemical cleaners.
4. Keep Drains Object-Free
Install properly fitting drain screens and sink stoppers to prevent food, hair, and other debris from going down the drain and creating clogs in your pipes. This simple prevention strategy can eliminate many common drain problems before they start.
Different fixtures need different approaches to drain protection:
- Kitchen sinks: Use fine mesh strainers that catch food particles while allowing water to flow freely.
- Bathroom sinks and tubs: Look for drain covers designed to catch hair while maintaining good water flow.
- Shower drains: Use covers with smaller holes that can trap hair and soap chips.
Clean your drain covers weekly as part of your regular household cleaning routine. Hair and debris accumulating on the screen are much easier to remove than clogs forming deep in your pipes. For kitchen sink strainers, empty food debris into your compost or trash, never down the garbage disposal.
Learn More: Here’s how to fix a clogged kitchen sink using simple methods, plus ways to prevent future clogs.
5. Learn What Your Disposal Can Handle
Not everything can be chewed up by the kitchen disposal. Check your manufacturer's manual for specifics, but generally, never put cooking grease, coffee grounds, eggshells, pasta, or rice in your disposal. These items can damage the blades, clog your pipes, or create a paste-like substance that blocks drain lines.
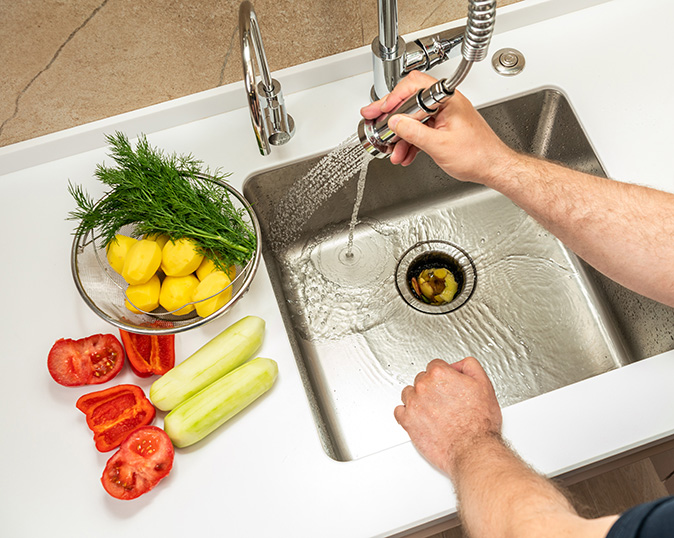
Beyond avoiding problematic foods, your garbage disposal needs regular maintenance to stay in peak condition. Once a week, drop a handful of ice cubes down the disposal while running cold water. The ice helps sharpen the blades and remove grease buildup from the grinding chamber. Follow this with lemon or orange peels to freshen and deodorize the unit.
Monthly deep cleaning involves a simple process:
- Turn off the disposal.
- Pour half a cup of baking soda down the drain.
- Add half a cup of vinegar.
- Cover the opening for 10 minutes.
- Flush with cold water while running the disposal to remove any loosened debris.
If your disposal starts making unusual noises, stops working, or develops persistent odors, check for the reset button on the bottom of the unit before calling for service. Many disposal "failures" are simply tripped safety switches that reset with the push of a button. However, if the unit frequently trips or makes grinding noises, these signs indicate it may be time for replacement.
6. Know Locations for All Shut-Off Valves
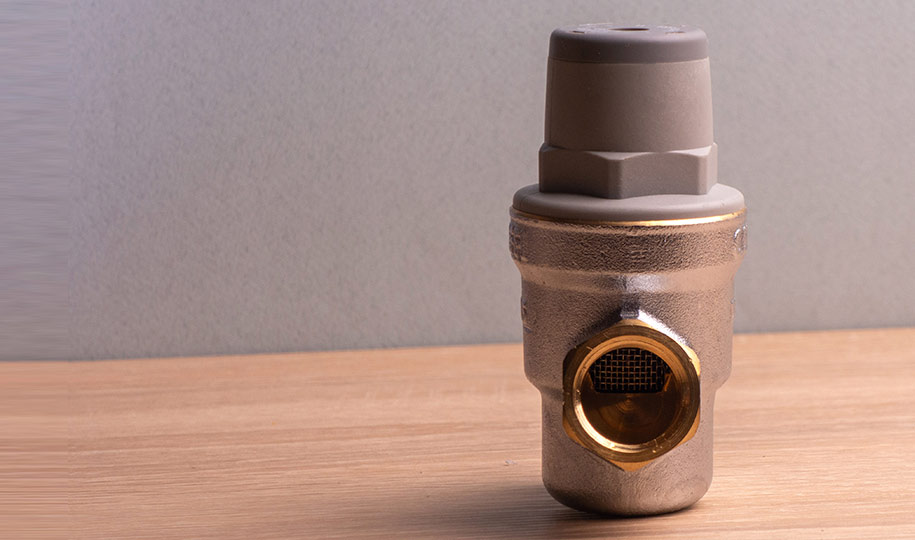
Your home's washing machine, sink, toilet, and water heater should all have shut-off valves. Know where they are, as well as your home's main water shut-off valve and any outside clean-outs. Knowing these locations can mean the difference between a minor inconvenience and major water damage in a plumbing emergency.
It may seem tedious, but test each shut-off valve monthly by turning it a quarter turn and then back to the original position. When valves sit unused for months, they can easily seize up and be difficult to turn when you need them most. If a valve feels stiff or won't turn easily, apply a small amount of lubricant to the threads and gently work it back and forth until it moves smoothly.
Individual fixture shut-offs give you more control during repairs because you can work on a toilet or sink without cutting water to the entire house. However, when you discover a significant leak or burst pipe, head straight for the main shut-off valve before assessing the damage or calling for help.
Pro tip: Create a simple labeling system so anyone can quickly locate the main shut-off valve in an emergency.
7. Prepare for the Season
Think of seasonal maintenance on your plumbing as insurance. A small investment of time helps prevent major problems when the weather conditions become extreme. Follow these seasonal tips:
- Spring maintenance should focus on checking for any damage from winter weather. Look for new cracks in exposed pipes, loose fittings, or signs of minor leaks that developed during cold snaps. This is also an ideal time to test your water pressure throughout the house by turning on multiple faucets simultaneously to ensure adequate flow and pressure.
- Summer brings its own maintenance opportunities. Check outdoor spigots and hose connections for leaks and ensure proper drainage around your home's foundation. Heavy summer rains can reveal drainage problems that might affect your plumbing system later.
- Fall preparation involves cleaning leaves and debris from gutters, downspouts, and outdoor drains to prevent water backup that could affect your roof, foundation, and yard. If you live where it freezes, disconnect and drain garden hoses, shut off outdoor water valves, and add extra insulation to pipes in unheated areas.
- Winter preparedness includes inspecting the insulation around pipes under your house, in the basement, and in the garage before the cold weather sets in. Proper insulation helps keep your pipes from freezing and bursting.

8. Schedule Regular Plumbing Checkups
Consult with your plumber about a schedule for routine maintenance needs for your home's water heater and major plumbing systems. Also, schedule a professional cleaning of your sewer lines via your home's clean-out at least every two years to keep pipes free of clogs and buildup.
Between professional visits, maintain your own monthly inspection routine to help avoid plumbing disasters. Check water pressure, listen for unusual sounds from pipes or fixtures, and monitor your water bill for unexpected increases that might signal hidden leaks. A sudden spike in water usage often indicates a problem developing somewhere in your system.
Keep records of your maintenance activities, both DIY and professional. Note dates of major repairs, parts replacements, and any recurring issues. This documentation helps identify patterns and can be valuable information for future service calls or when planning system upgrades.
Don't wait for problems to develop. Proactive maintenance costs a fraction of emergency repairs and helps ensure your plumbing systems provide reliable service for decades.
Remember: Your Home's Plumbing Has a Tell
The hour you spend each month on these maintenance tasks can prevent thousands of emergency repairs and water damage. More importantly, it gives you confidence and peace of mind knowing your home's plumbing systems are in good working order.
While regular maintenance can prevent many plumbing problems, a home warranty from First American can help protect your budget when covered plumbing components break from normal wear and tear over time. When the items covered break, we'll repair or replace them, helping you avoid unexpected expenses. Learn more about how a home warranty can complement your maintenance efforts and get your free quote today.
The contents of this article are provided for general guidance only. First American Home Warranty does not assume any responsibility for losses or damages as a result of using this information.
Please be aware that if you disassemble a covered system or item, it can invalidate your home warranty or manufacturer's warranty.




Keep Reading






Home Care Buzz Experts
The First American Home Care Buzz team is made up of experienced home warranty writers and editors. Our team provides valuable insights and information to help homeowners like you meet the daily challenges of homeownership.
This article is about...