
How to Change a Refrigerator Water Filter
JUNE 26, 2025 | Home Care Buzz Experts | 4 minute read
Project Overview

Beginner

30 Minutes

< $150
All Values are Estimates
Your refrigerator’s water filter helps keep your drinking water clean and your ice fresh. But like anything with regular use, it needs to be replaced over time. If you’ve never done it before, don’t worry — swapping out the filter is easier than it sounds. In this guide, we’ll show you step-by-step instructions on how to change a filter on a refrigerator.
Types of Refrigerator Water Filters
Before you replace your refrigerator water filter, figure out what type of filter your fridge uses. The most common types include:
- Twist-in filters: These twist into place inside the fridge compartment or grille.
- Push-in filters: These snap into place, usually inside the fridge or behind a panel.
- In-line filters: These connect to the water supply line, often behind the fridge.
- Drop-down filters: These sit behind a drop-down compartment in the fridge.
Check your refrigerator’s manual to find the correct type and location of the water filter for your fridge.
How to Change a Water Filter On a Refrigerator
Follow these steps to safely and efficiently change the water filter in your fridge. Keep in mind that the specific instructions for replacing your fridge's water filter may vary, so it’s always a good idea to check your owner’s manual first.
1. Turn Off the Power and Water
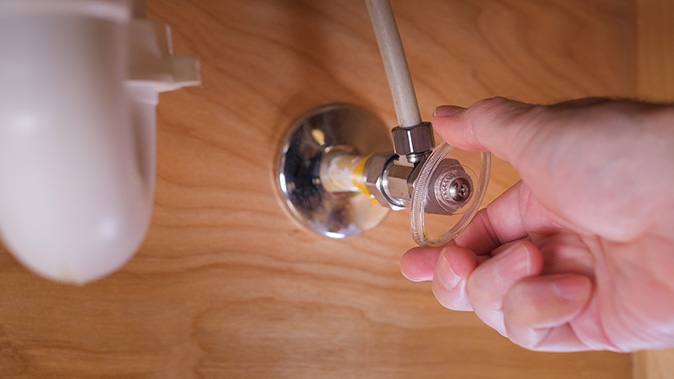
Depending on your fridge, you may need to shut off the water supply or unplug the appliance before replacing the filter. If your fridge has a water shut-off valve — often located under the sink or in the basement — go ahead and turn that off to prevent leaks.
If the filter is close to any electrical components or you're working at the back of the unit, unplugging the fridge is a smart safety move. Not every fridge requires these steps, but it’s better to be safe than sorry.
2. Locate the Water Filter
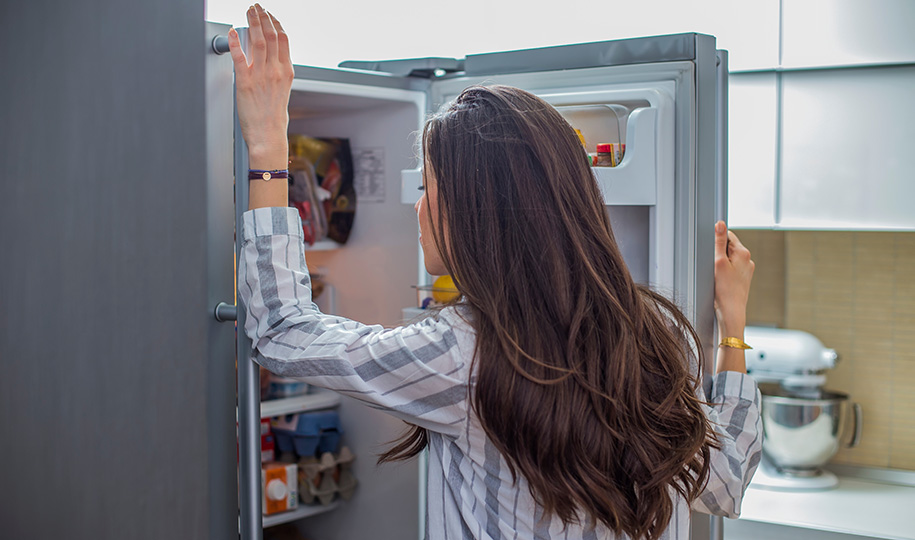
Most refrigerator water filters are easy to spot once you know where to look. In many models, the filter is inside the upper-right corner of the fridge, behind a small cover. Others place the filter behind the bottom grille or kickplate. Some units use external in-line filters mounted behind the fridge.
If you’re unsure, check your owner's manual or search your fridge model online to find the exact location.
3. Take Out the Old Water Filter
The removal process depends on the type of filter your fridge uses.
- For twist-in filters, you’ll grip the filter and rotate it counterclockwise until it comes free.
- For push-in filters, press the release button (if there is one) and pull the filter straight out.
- Drop-down filters are often inside a small compartment: open the door, then either twist or pull out the filter as needed.
- If your fridge uses an in-line filter, you may need to press down on quick-connect fittings to detach the tubing.
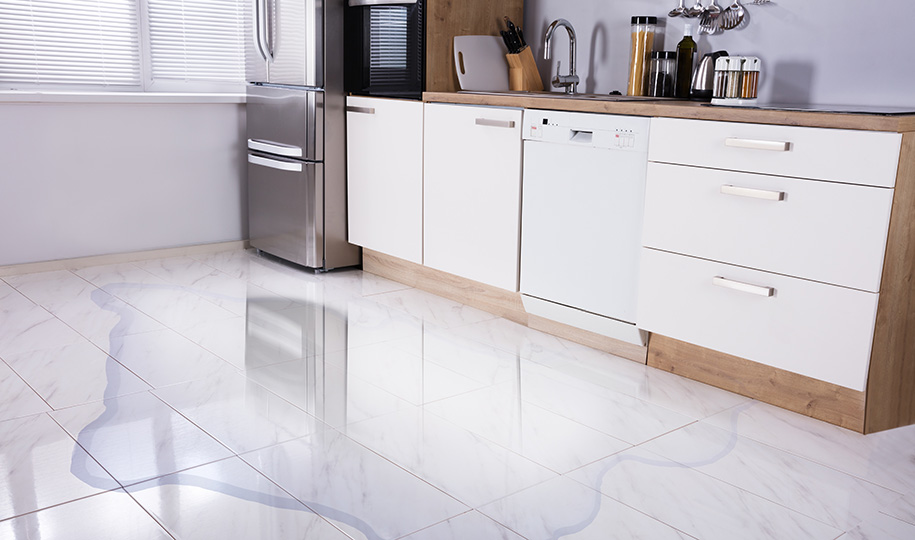
Don’t be surprised if a little water drips out when you remove the old filter. It’s a good idea to have a towel or bowl handy, just in case.
4. Prep and Install the New Filter
Before installing the new filter, double-check that it’s the correct model for your fridge. Filters often look similar, but won’t always fit the same. Remove any packaging or protective caps. Some filters may need to be soaked in water or flushed before installation, so check the instructions that came with your filter.
Once it's ready, align the new filter the same way the old one came out. Twist it until it locks or push it in until it clicks securely into place.
5. Turn the Power and Water Back On
If you turned off the water supply or unplugged your fridge earlier, now’s the time to turn everything back on. Plug the fridge back in and restore the water flow. Over the next few minutes, watch for any leaks around the filter area, just to be safe.
6. Flush the Water Filter
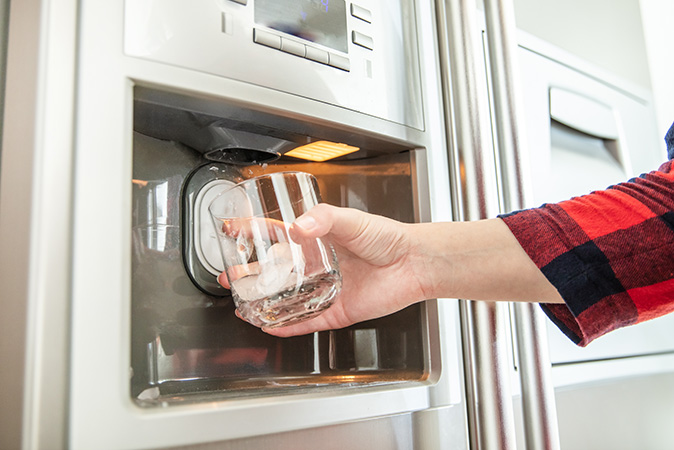
Run two to three gallons of water through the water dispenser to clear out any air in the water lines or carbon particles left in the new filter. You might see cloudy water at first, which is normal. If your fridge has an ice maker, throw out the first few batches of ice as well. Flushing ensures you’re drinking clean water right from the start.
7. Enjoy the New Filtered Water
That’s it! Once the new filter is installed and flushed, your fridge is ready to go. You can start using your water dispenser and ice maker as usual. If your fridge has a filter indicator light, reset it according to your model’s instructions. This is usually done by holding down a button on the control panel for a few seconds. This way, you’ll get a reminder when it’s time to replace the filter again.
How Often Should You Change Your Fridge Water Filter?
Most manufacturers recommend replacing your refrigerator water filter every six months, but you might need to do it more often if:
- Your water tastes or smells off
- You notice slower water flow
- Your fridge alerts you to change the filter
Pro tip: Set a reminder in your phone or on your calendar so you don’t forget.
What Happens If You Don’t Replace Your Water Filter?
If you don’t change your refrigerator’s water filter, it can get clogged with the contaminants it’s supposed to catch, like dirt and rust. This can lead to water that tastes or smells bad and may look cloudy.
A dirty filter can also slow the flow of water and cause your ice maker to stop working correctly. Sometimes, the buildup can also strain your fridge’s water system and lead to leaks or damage. Replacing the filter regularly helps keep your water clean and your refrigerator running smoothly.
Support Your Fridge and Budget With a Home Warranty
Changing your fridge’s water filter is a simple task that can make a big difference. And if your covered refrigerator breaks down, a home warranty can help take care of the repair or replacement.
Want to get your home appliances covered? Get a free quote today and see how a home warranty can help you save time and money.
The contents of this article are provided for general guidance only. First American Home Warranty does not assume any responsibility for losses or damages as a result of using this information.
Please be aware that if you disassemble a covered system or item, it can invalidate your home warranty or manufacturer's warranty.




Keep Reading


Home Care Buzz Experts
The First American Home Care Buzz team is made up of experienced home warranty writers and editors. Our team provides valuable insights and information to help homeowners like you meet the daily challenges of homeownership.
This article is about...